Showing posts with label Painting. Show all posts

Sunday, November 1, 2020

Our Guest Bathroom Makeover

Hello there! How are you?

I did this bathroom makeover way back in August but I'm just now sharing it here on the blog. Ya know how it is!

Anyway, there are lots of things that I would have done differently in this bathroom, but it looks to be a fairly new update, so we're going with what we have to work with, for now.  A fresh coat of paint never hurt anything, right!

This was one of the photos from the real estate listing when we were house searching. Whoa, that's a really bright and happy color, but not for us!

Let's get started!  This is actually the same paint color that I used in the man cave makeover that I haven't showed you yet either! lol!  Coming soon though!

I always like to line my paint tray with foil for easy clean up.  I also used a foam roller, my handy angle brush and of course some painter's tape to keep paint from getting on things that don't need paint on them!

This paint is from Home Depot and its really nice to work with and very affordable too.  I always grab the paint and primer paint because it takes two coats and your done!
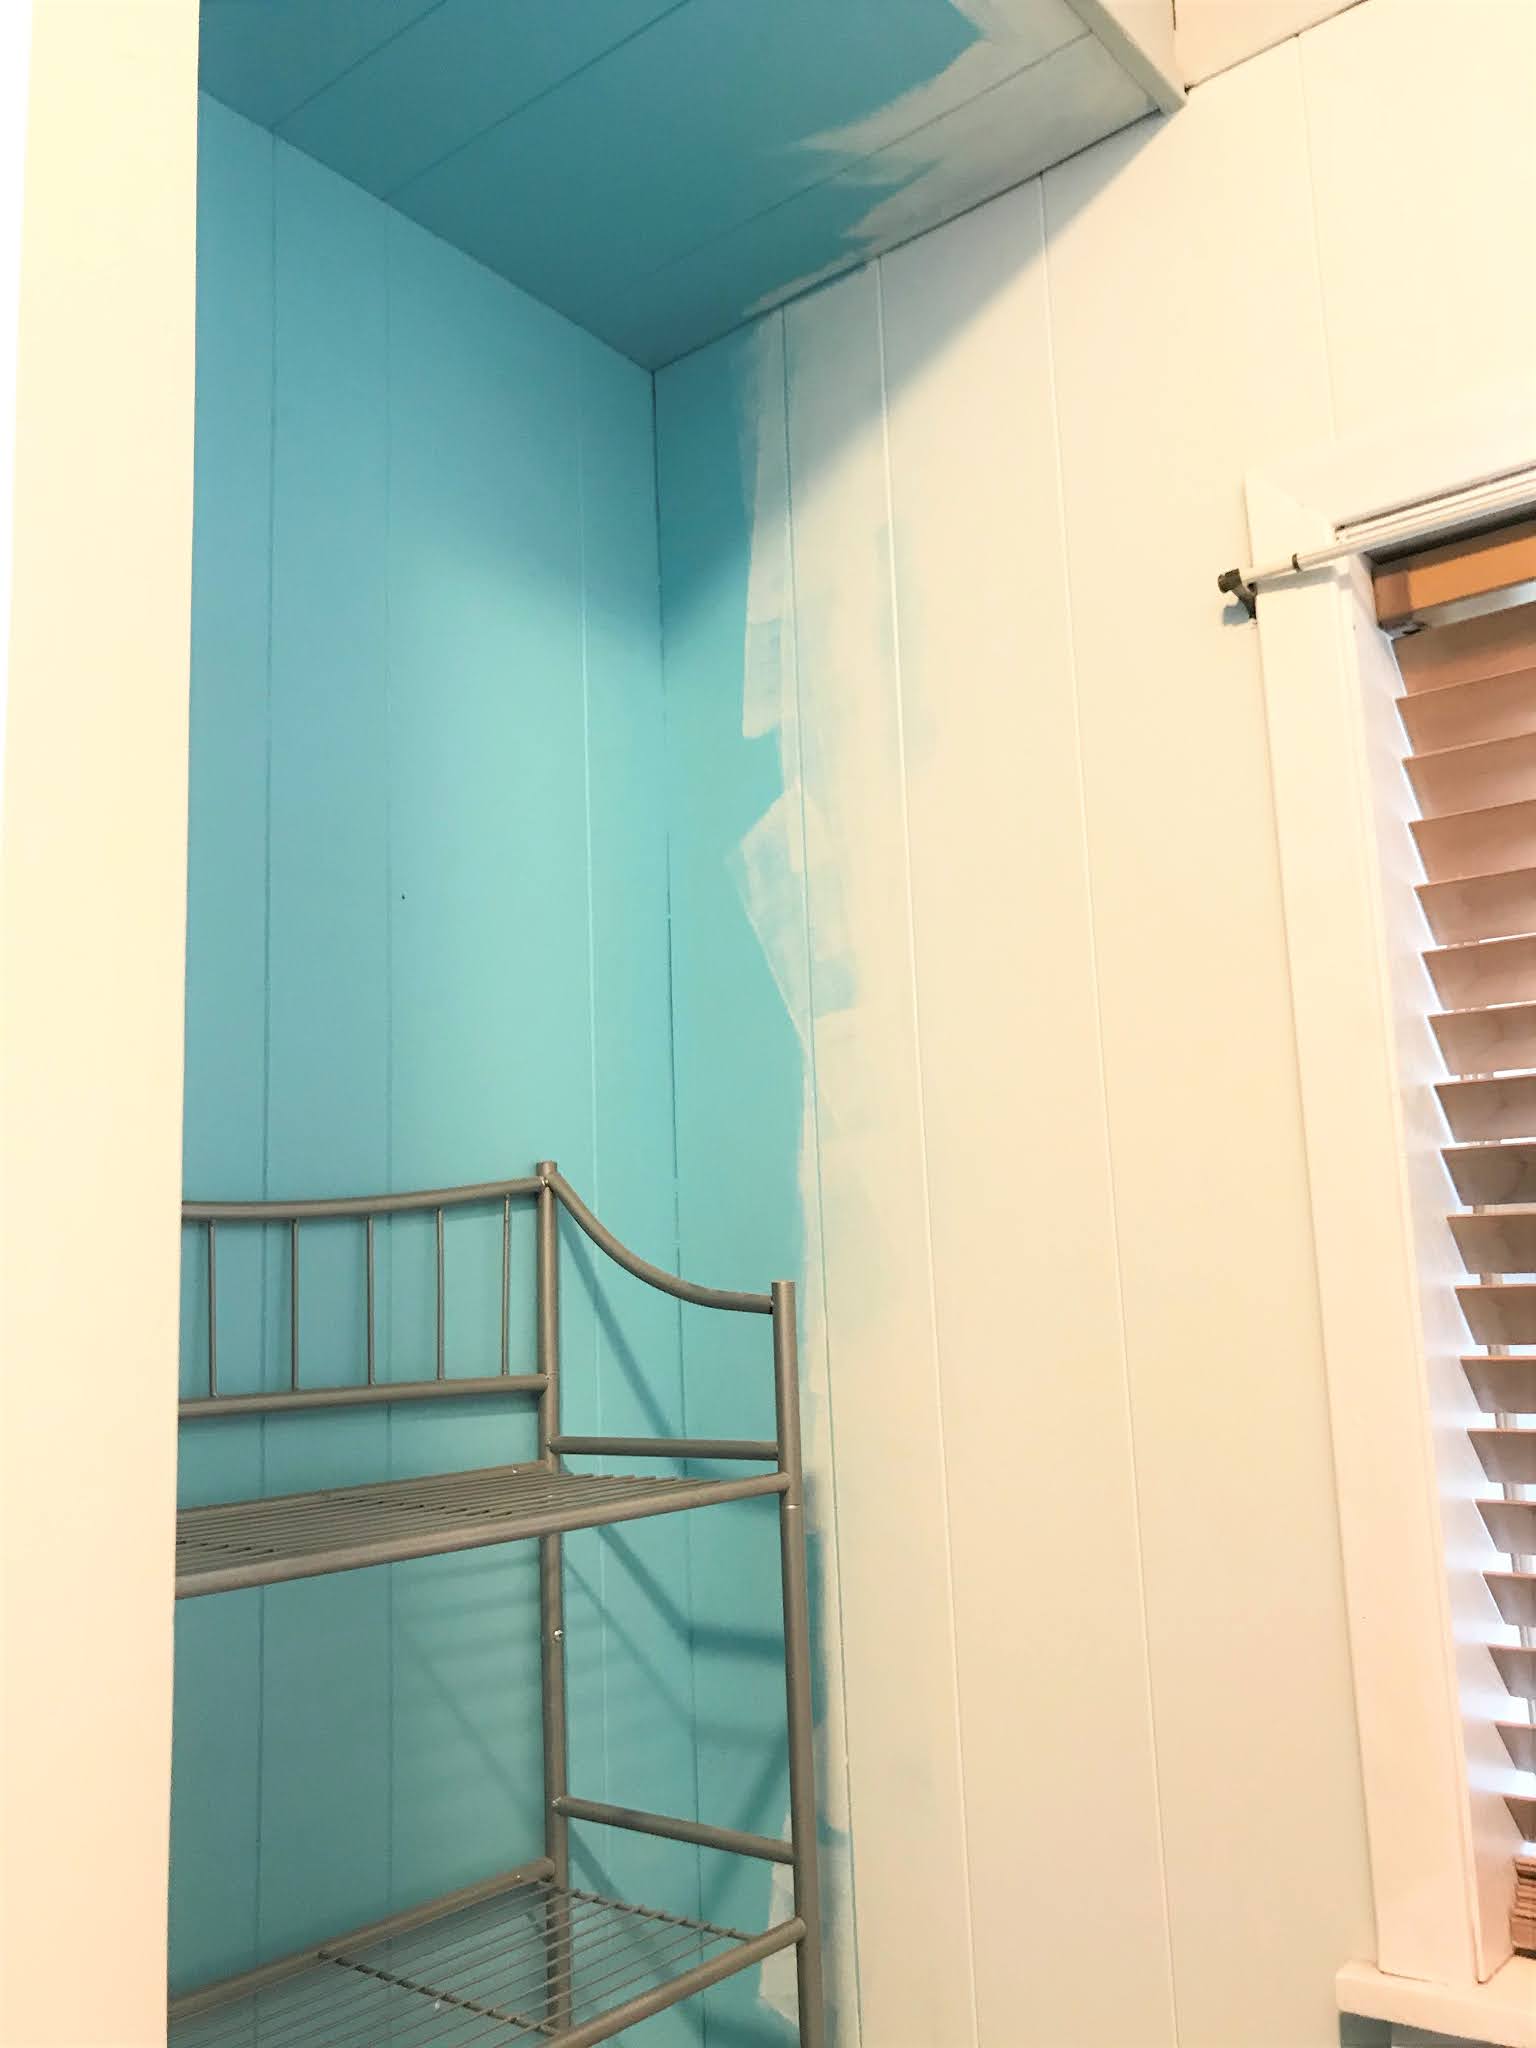
As you can see, the entire bathroom has this wood paneling on the walls.  Whoever installed the paneling was not as picky as I would be and did not seal the cracks and crevices with caulk.  Gaping cracks drives me crazy and makes your nice clean paint job look unfinished.


 As I kept painting it was obvious that I would have to fill the cracks to make my paint job look complete.

NOTE: For the actual painting process, I used my paint brush to paint the "cracks" in the paneling, then used the roller to finish it up.  You can see that best in this photo.

When I'm speaking of filling cracks with caulk, I'm not talking about the cracks/lines in the paneling.  I mean the corner cracks and the top up there were the walls meet the ceiling.  Big cracks, I don't like it at all! Lets fill those up with paintable caulk!

This photo is after two coats of paint.

Sorry, I couldn't show you how my caulk process goes, but I use a paintable caulk that we get at Home Depot.  I run a small thin bead along the crack and then smooth it out with my finger.  I also keep a damp rag with me in case the caulk goes a little off course!

As you can see here, it's filling the cracks nicely!  After it dries completely (I wait a good hour) I paint over it and them you never know it was there!

See! No more big crack in the corner to distract from the pretty new paint!


And now, some Fall decor to liven it up in here!

I found these amber jars on Amazon.  There were six in the case for an excellent price.  Click here if you need some too!

I also got my amber soap dispenser on Amazon too, click here for those.  Thanks so much for stopping by to see me!

Visit me over on Instagram @texasbluebingalow for more pretty views of this space!

If you loved this idea and want to save it for later, be sure to pin it to your favorite Pinterest board.  I have a Pinterest board set up just for all things related to Halloween and its called Our 1922 Blue Bungalow and I'm pinning something new every day. Won't you join me?

GREAT NEWS!  I now have an Amazon Storefront!  If you ever want to purchase anything I'm showing you here, you can pop over to my shop and see what I've picked out for you! Click right here to visit.
 

It doesn't have to be done all at once.  It is a slow process in the works! C-ya next time!

Pin It!

Sunday, October 25, 2020

How I Painted a Faux Rug on Our Front Steps

Hello there!  How's you Fall treating you?  Ours is currently treating us with some Winter weather!  Weird for Texas, but it is very cold and rainy here right now!

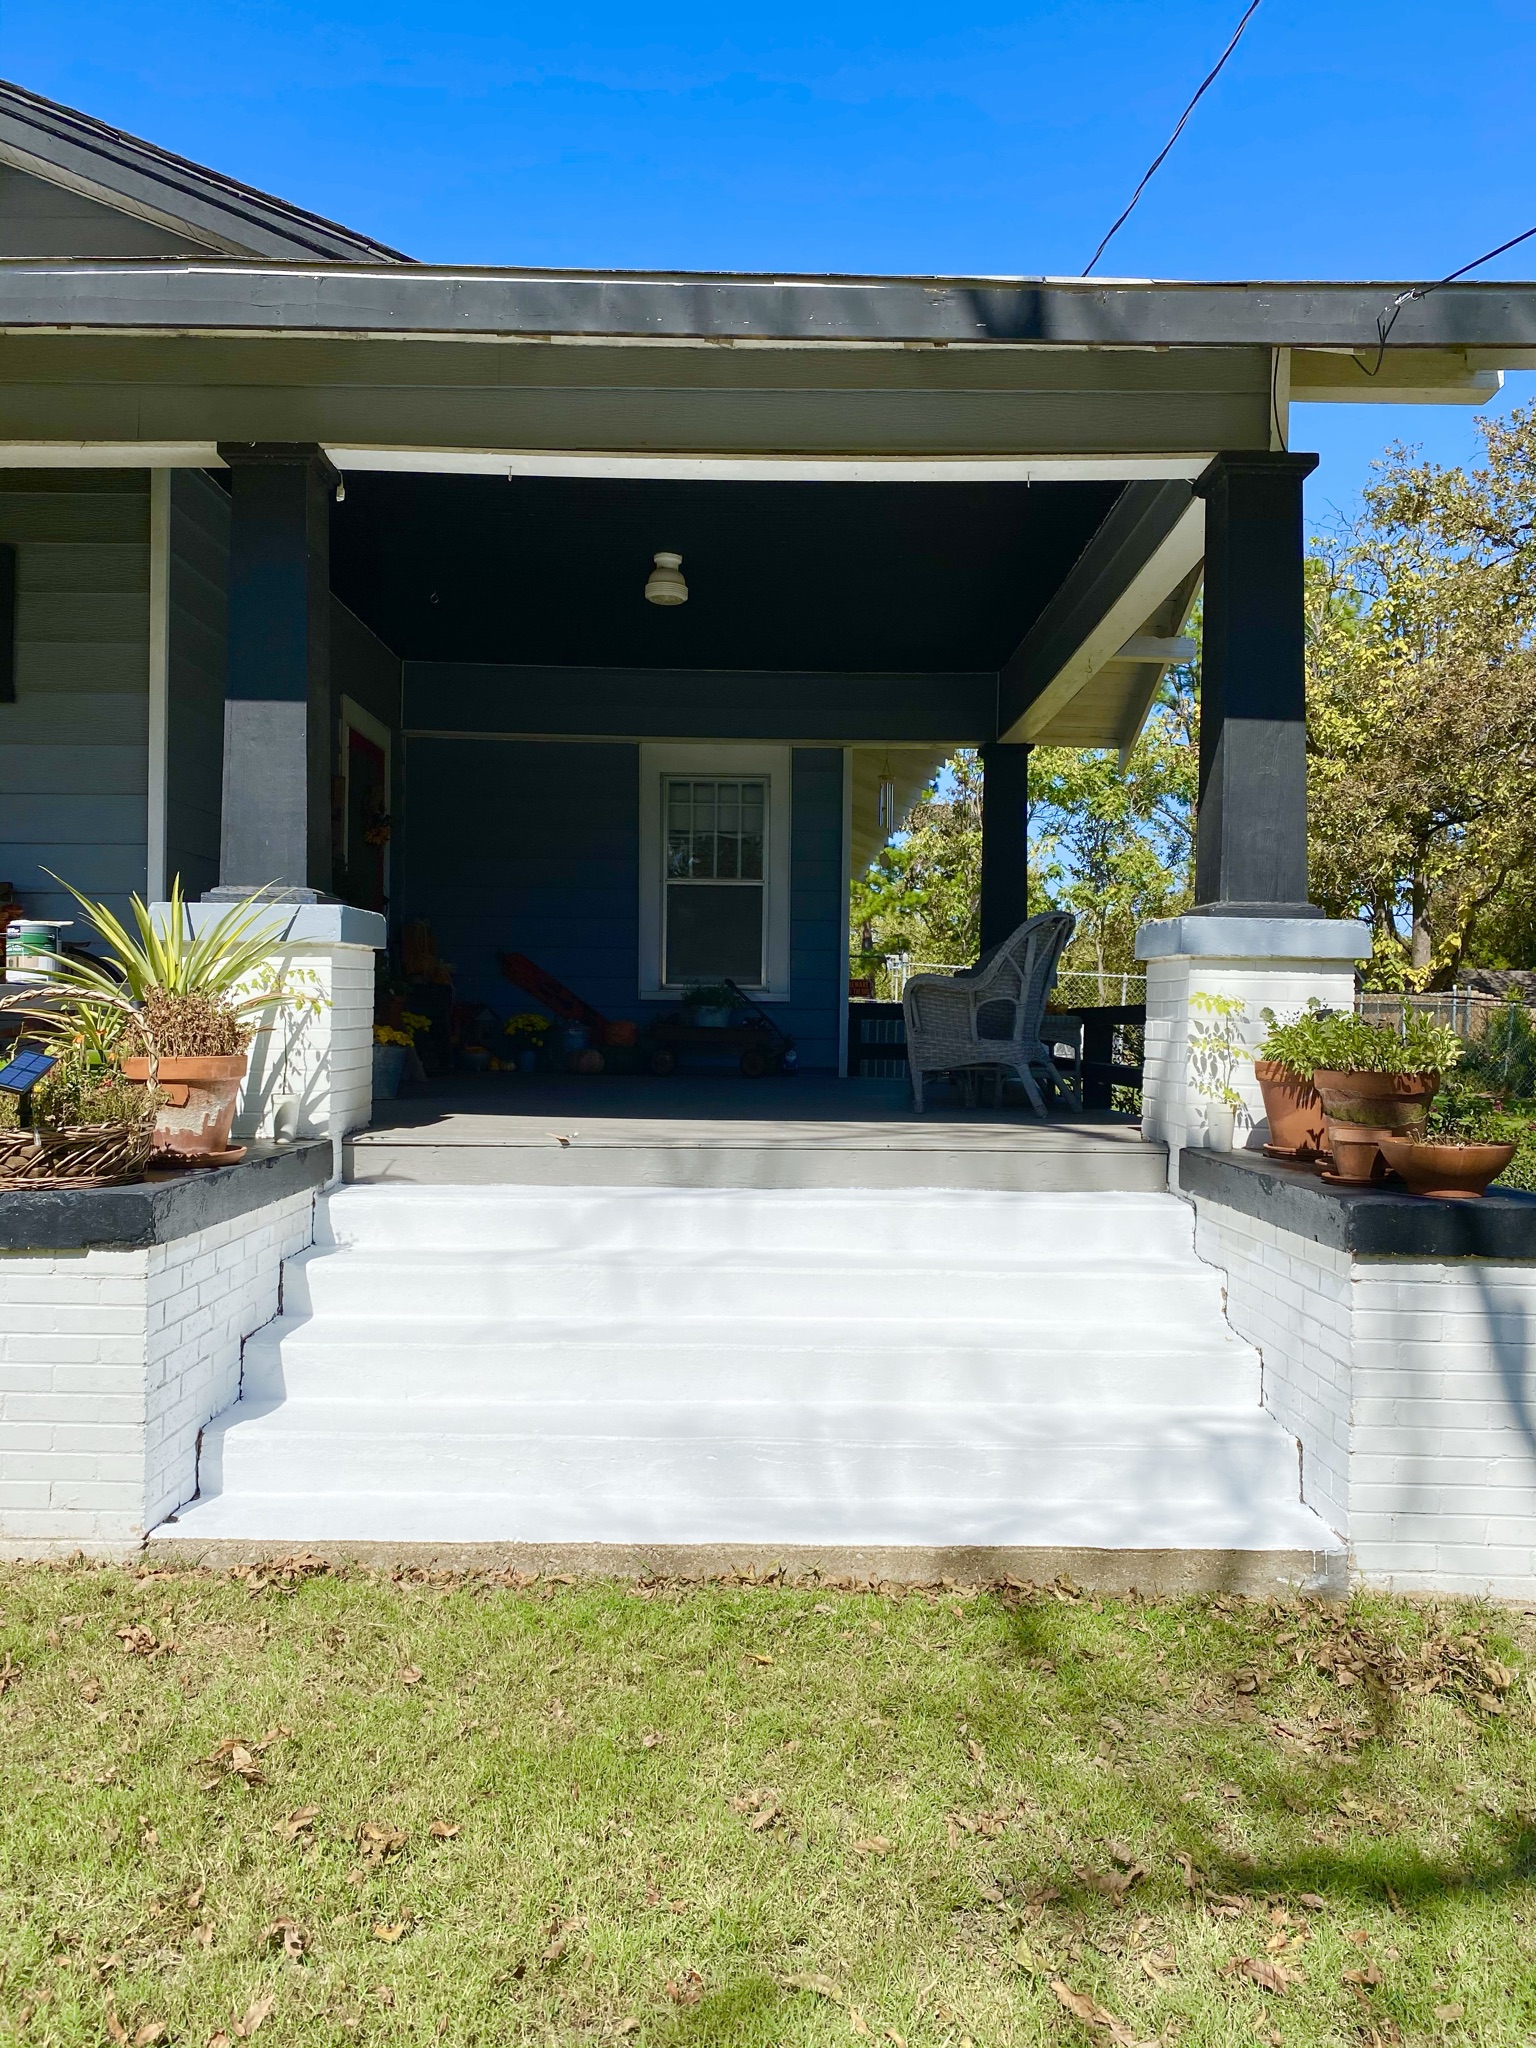
I wanted to share with you how I painted a faux rug on our front steps.  I am seriously loving how it turned out!


It was LOTS of work, but so worth it in the end.  My rug is very simple and I'm sure you could really go elaborate if you wanted to, but for me, I chose easy for the first time around!


It makes a very dramatic change for sure.  I added bunches of Fall goodness, like pumpkins and mums to really make it special!


STEP 1: PAINTING THE BASE

I gave the steps a good cleaning and then painted the entire thing white.  I used a small roller brush to apply the paints.  Here's what paints I used:

1 Gal. Ultra Pure White Textured Low-Lustre Enamel Interior/Exterior Anti-Slip Porch and Patio Floor Paint

and a small can of Behr Ultra Stain Blocking Paint and Primer in One in the Exterior Flat Deep base and had them tint it in black. Sorry, I can't link it because I could not find it on the site.


It's already looking much better!  The paint that was on the steps was not for porches and was starting to chip off in places.  Also, the concrete is very old and pitted, so it took two heavy coats of paint with lots of tapping brush work to fill in all the cracks and holes.  I almost used the entire gallon of white paint.

STEP 2: MARKING GUIDE LINES

Later in the evening after the paint was really good dry, we marked the lines for the tape to go down each step.  Trust me, you need guide lines on a space this big!  This part is totally up to you on how you want your end result to look.  We measured in from each side, 18 inches and marked a line.


We laid the 2 inch painter's tape on the line we just made and then measured 3 inches over from the tape edge and made another line.  I knew I wanted my white stripes smaller than the black stripes.

This is how our pencil marks looked all the way down.  This was my guide to lay down the tape on either side.
 

STEP 3:  LAYING DOWN THE TAPE

The next day I got to taping off the stripes and got ready to paint.  Since the tape is 2 inches wide, this left my white stripes 2 inches wide and the black stripes 3 inches wide.

NOTE: You want to rub the edges of the tape down as best as you can, its a chore and makes your fingers sore, but its necessary to keep as much paint as you can from seeping under the tape.

WARNING: Paint still gets under the tape!

STEP 4:  PAINTING ON THE "RUG"

Again, I used a small sponge roller (a new one because the one from the white paint was destroyed by the rough concrete) to paint on the flat black paint.  I took a good two coats and then lots of touch ups with a sponge brush too.  The concrete is not smooth and has lots of pits and chips to fill.
 
STEP 5:  REMOVE PAINTER'S TAPE

After two heavy coats of paint, I let it completely dry and then I removed the painter's tape.

Oh wow! It looks awesome from way back here! Lol!
 
STEP 6: TOUCH UPS

Up close, not so much! No matter how careful you put down the tape, it's going to seep under, it just is, its rough concrete!  I used a small sponge brush and the white paint and touched up the line to make them sharper.  Don't drink lots of coffee before this task! lol!

STEP 7:  ADMIRE YOUR HANDY WORK - LOTS!

Now to let it dry really well overnight.  I was so excited about how it turned out that I bet I came outside 15 more times just to stare at it! Ha!


The next morning I added my pumpkins and mums to the stairs and snapped about 1 million pictures!  It looks so pretty!


The white steps make everything look so much brighter, don't you think?

It looks really nice from the street too!  For a week after I painted the steps, I would slow down and look at them as I drove by! Hahah!

Let me know what you think down below!  Would you try this type of project?  It's kinda tedious, but so worth the end results!  Thanks for stopping by to see me!

Visit me over on Instagram @texasbluebingalow for more pretty views of this space!

If you loved this idea and want to save it for later, be sure to pin it to your favorite Pinterest board.  I have a Pinterest board set up just for all things related to Halloween and its called Our 1922 Blue Bungalow and I'm pinning something new every day. Won't you join me?

GREAT NEWS!  I now have an Amazon Storefront!  If you ever want to purchase anything I'm showing you here, you can pop over to my shop and see what I've picked out for you! Click right here to visit.
 

It doesn't have to be done all at once.  It is a slow process in the works! C-ya next time!

Pin It!

Sunday, September 6, 2020

I Painted the Fireplace Bricks

Hey there!  Well, we're still doing stuff over here at the Texas Blue Bungalow!

I think I may have mentioned before that all the paint colors were really dark here when we moved in.  We don't really care for the dark paints on every surface, so slowly I'm changing it.
The very first thing I changed was the fireplace surround.  It WAS painted black, now its a lovely shade of white!
I pulled out my trusty painting tarp and some paint I found in the shed and got to work.

First before starting, I dusted it all down and then ran the vacuum hose over the entire area for a clean painting surface.

It's hard to see, but I first taped off all the edges with some painter's tape so I didn't get white paint on anything I didn't want to.
These little angle brushes are my favorite for painting with.  It fits nicely in my hand and I can cut the paint almost exactly were I need it in tight places.  Also, everyone needs a paint key to open your paint cans!
I started on the inside section and then moved my way out.  Obviously its not done, but at this point I knew I was going to love it! It already looks 1000% better!
Since my hubs had to work late on a Saturday night, I did this little impromptu job after I got home from work.  It took no time at all to complete.  Mostly I just had to wait until the paint dried to add a second coat and keep three nosy cats out of the wet paint.  Black was a bit harder to cover up, so I kept having to touch up here and there when the paint would finally dry completely.
Isn't it fun how a little paint can change a whole room?  Since I already had everything I needed on hand, it was a FREE project for me.  Those are the BEST kind!

Do you ever grab a can of paint and just start painting?  Did you love the results? Let me know down below.

Visit me over on Instagram @texasbluebingalow for more views of this space!

If you loved this idea and want to save it for later, be sure to pin it to your favorite Pinterest board.  I have a Pinterest board set up just for all things related to home decor and its called Farmhouse Decor Ideas and I'm pinning something new every day. Won't you join me?

GREAT NEWS!  I now have an Amazon Storefront!  If you ever want to purchase anything I'm showing you here, you can pop over to my shop and see what I've picked out for you! Click right here to visit.


It doesn't have to be done all at once.  It is a slow process in the works! C-ya next time!


Pin It!

Sunday, December 23, 2018

DIY Christmas Sign

If you've been following me for a while, you've seen me make a sign like this one before.  If not, click right here to see it.
I'm in love with the Bromello font, so I used it again to make this believe sign for Christmas.
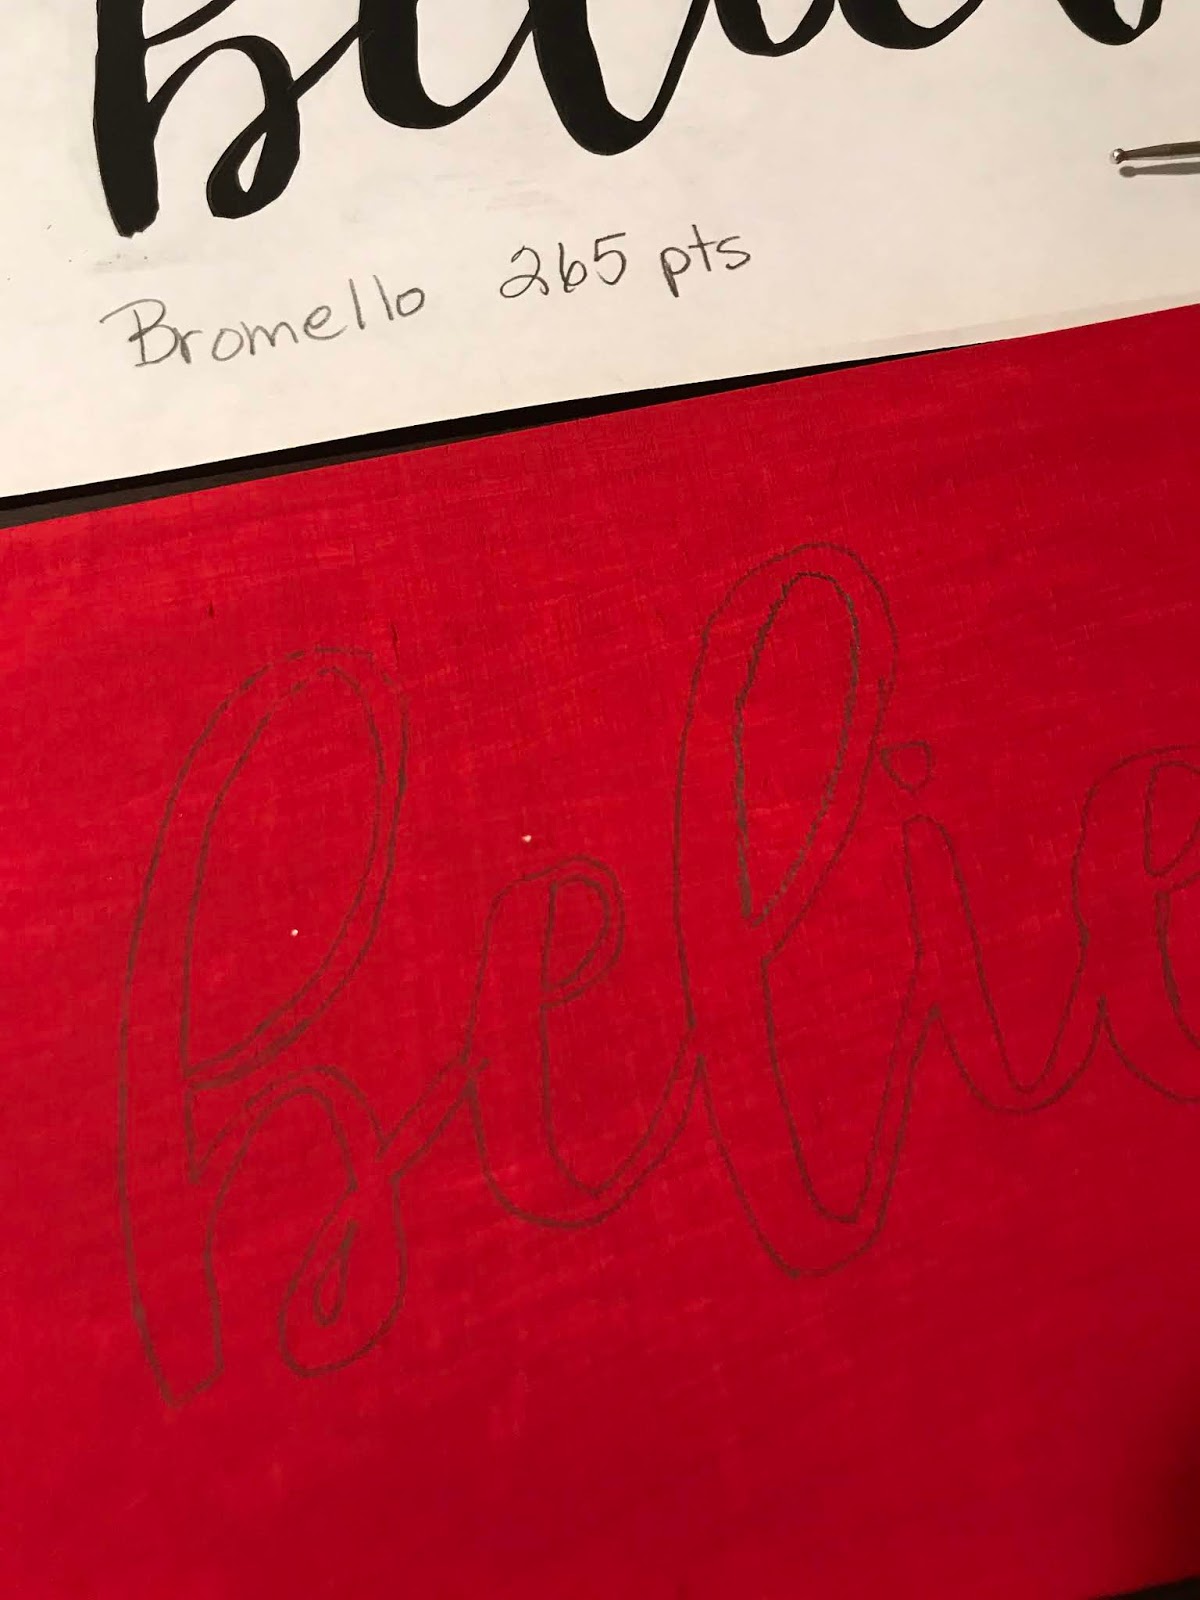
My piece of board is 13" wide x 6" tall and maybe a 1/4" thick.  Its just a scrap board that my uncle gave us a while back.  Using my home printer, I printed out my word using the Bromello font, setting it at 265 pts for the size.  This fit my board perfectly.
First, using my chip brush, I grabbed some red acrylic paint and painted the entire board (font side only) and let that dry really well.
While my paint was drying I went ahead and grabbed a pencil and on the back side of the print out, I covered the entire word with pencil like above.
Carefully, using washi tape, I added the printed word with pencil scribble to the front of my painted board.  I used my embossing tool to trace the entire word.  You can use the same pencil you used for the back if you don't have an embossing tool.
When you've traced the whole word, remove the paper and you should have an outline like this.
I used a fine tip brush and white acrylic paint to fill in my word.  This is tedious and it takes a while, but its so worth it in the end.
GO SLOW and take your time.  Turn the board as needed to keep from getting your hand in the wet paint.
When you're done it should look like this.  What I like about the Bromello font is that its not perfect to start with, its a bit jiggly already, so if you're painting skills aren't perfect, you've still done a great job! :)
After I made sure the entire painted area was dry (I waited about 1 hour) I took it out to the shop and distressed it with some fine grit sand paper.  I just grabbed a used piece of paper and a scrap 2x4 block and got to sanding.
Now its distressed like I like it.  You do not have to do this step if you don't want to, its just how I like it.  I got a damp paper towel and wiped all the dust off after I sanded it.

If you loved this project and want to save it for later, be sure to pin it to your favorite Pinterest board.

Want to see more Christmas Ideas?  Click on the links below.

Make Your Own Painted Holiday Sign

Vintage Tablecloth Curtain - The Christmas Version

How to Make Stove Top Potpourri

Countdown to Christmas with Free Printables

Peppermint Pretzel Bark - A Sweet Little Gift 

Clothespin Snowflake Ornament

DIY Vintage Christmas Decor

Christmas Shutter Decor

Clothespin Christmas Tree

Our Front Porch Tree

How to Wrap a Gift

Our Burlap Forest

Twig Snowflake Ornament


It doesn't have to be done all at once.  It is a slow process in the works! C-ya next time!
I'm Linking to:
These lovely and FUN parties!
Between Naps on the Porch
The Dedicated House  - (I was featured

Pin It!
01 09 10