Showing posts with label Decorating. Show all posts

Sunday, February 14, 2021

How I'm Using My Paper Bag Snowflakes for Winter

Hello there! How are you? I'm getting better and stronger every day. CLICK HERE for the details!

I wanted to share with you how I made these beautiful brown bag snowflakes or stars if you may. I also want to share with you how I'm still using them in my Winter decor.  They are not just for Christmas!I made three of my snowflakes back at Christmas time and used them around my tree in the dining room.  When I started putting away my Christmas decorations, I figured these paper stars are perfect to carry on through the winter as well, so I made two more.  Haha!

The wall over our fireplace is huge and sometimes I have trouble finding something large enough to use up there.  I started out with the three I had already.  Those are the three surrounding the mirror.  I felt like it needed more, so I made the two on the left of the original three.

SUPPLY LIST

Brown Paper Lunch Bags (9)

Hot Glue Gun and glue

Scissors

Hole Punch

Jute Twine (for hanging)

Count out 9 bags.  Make sure all the flaps are stacked in the same direction.  They should come out of the package like that, but who knows, maybe you drop the entire package on the floor and have to pick them up again!

 Who me? No, I did not! Yes I did! LOL!

Flap side up, start hot gluing all 9 bags together.  I use the low heat setting so it cools faster.  Be careful and not get glue at the top opening of the bag or your snowflake/star will not open up properly.  I found this out the hard way.

After you have all the bags glued together, this is where you will make the designs of your snowflake.  There is no right or wrong way to do this, just be careful not to cut too far into the bags or there will be parts that aren't attached to anything.  Cutting in too far causes your snowflake not too be sturdy.

When you get to the last bag, you will run your glue as you have been and then pull the top bag and the bottom bag together.  I put my hands on the inside of the bags to hold them for a minute until cool.  Now you are ready to hang them!  The two bags you just joined together will be the hanging point, or at least that's how I did it.  I used my hole punch in the center and then strung a long piece of twine through it.

For this wall treatment, I tucked my hanging twine behind them and hung them directly on the nail. (Find this beautiful eucalyptus garland HERE.)
I actually have no idea where I'm going to store these when warmer weather arrives, but I guess I'll figure that out layer on!

We are enjoying our paper snowflakes over the fireplace for Winter.  Did you make paper snowflakes this year?  If so, are you still showing them off?

Visit me over on Instagram @texasbluebingalow for more pretty views of my vintage holiday decor! 

If you loved this idea and want to save it for later, be sure to pin it to your favorite Pinterest board.  I have a Pinterest board set up just for all things related to Valentine's Day and its called Love Day and I'm pinning something new every day. Won't you join me?

GREAT NEWS!  I now have an Amazon Storefront!  If you ever want to purchase anything I'm showing you here, you can pop over to my shop and see what I've picked out for you! Click right here to visit.
 

It doesn't have to be done all at once.  It is a slow process in the works! C-ya next time!

Pin It!

Sunday, November 17, 2019

Ideas for a Farmhouse Christmas Bedroom

Do you love decorating for Christmas?  I do, but if you don't already know, we are selling our home.  Unfortunately, there is a possibility that I won't get to decorate for Christmas this year and I am so sad about it because it's my favorite time of year to decorate!  But no worries, I'm going to show you how I would decorate a cozy Farmhouse bedroom for the holidays!  I'll be showing you some things that I've used in the past and then down below towards the bottom, I'll also show you some things I want to get from Wayfair to decorate my new home!  You know this girl will be decorating in full swing next year!
The main focus is normally your bed.  This was our holiday bedding from last year.  You can never go wrong with festive color for your holiday bedroom!  My favorite thing to do is use different sheets and pillows and change it up a few times through the season.  Fun sheets are a must for our bed!

The sheets you see here are from Wayfair.  It's one of my favorite places to find fun sheets and bedding at affordable prices!  The white quilt can be used all year and the black and red buffalo check quilt can be used even after Christmas, throughout the winter season.
 You can visit here for last year's Christmas house tour.  There are ideas for every room there! :)
These fun snowflake pillow shams are also from Wayfair.  I'm telling you, they have the cutest stuff there, especially for the holidays!

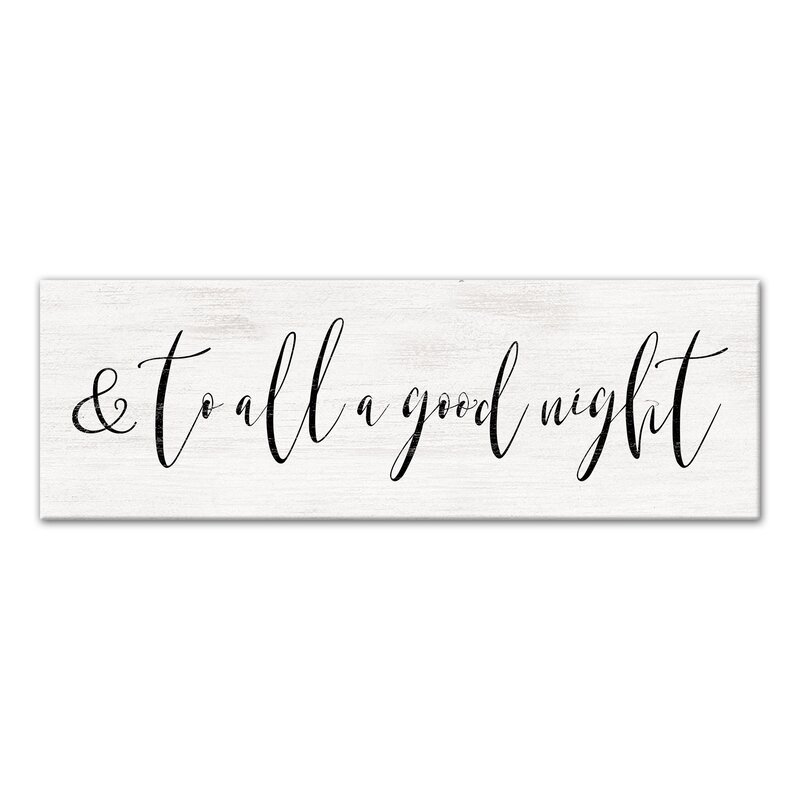
Also, a good holiday sign can be used as a headboard for a fun way to change up the look of your room too.
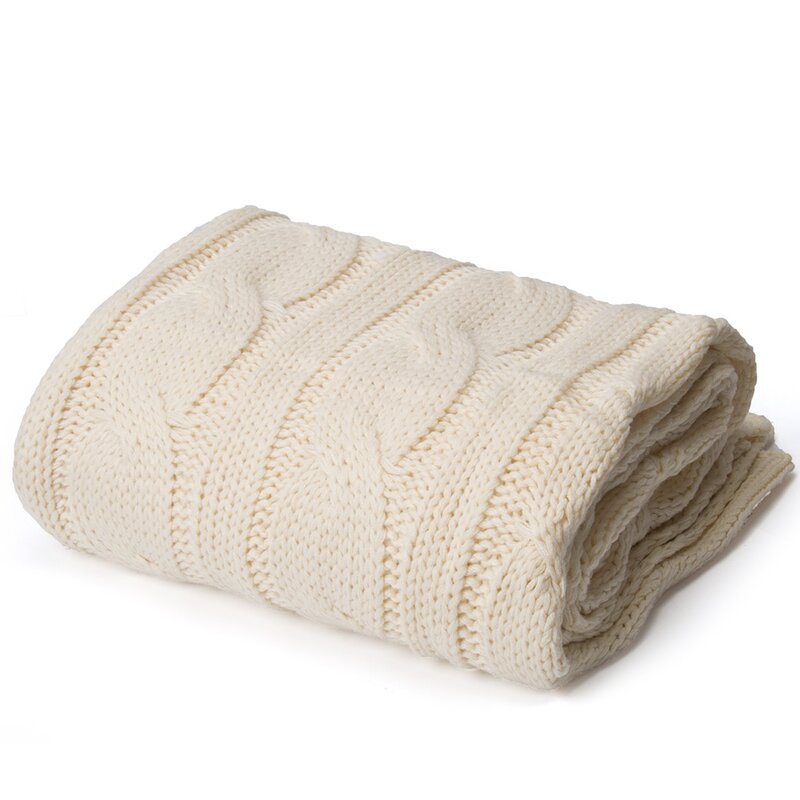
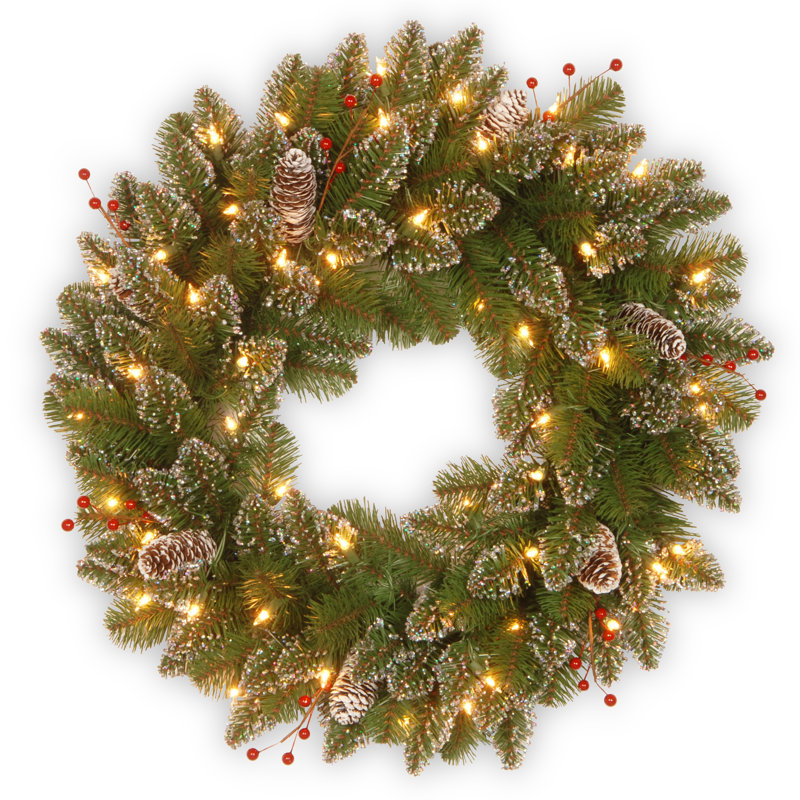
A garland or a wreath to accent with along with yummy cozy throws and then of course a few throw pillows to finish off the look. Yes please!
A solid color quilt will go a long way during the holiday season when you are switching out throw pillows and sheets.  I've got my eye on a red quilt for sure, but possibly a green one too!
Last but certainly not least, you'll need a beautiful tree with twinkle lights and some Christmas decor to cozy up your room.  The possibilities are endless really!  Pick out things you like and make them feel cozy to you.  We love color, so we've got color galore in our home!  As you can see, even the cats love the holiday decor.

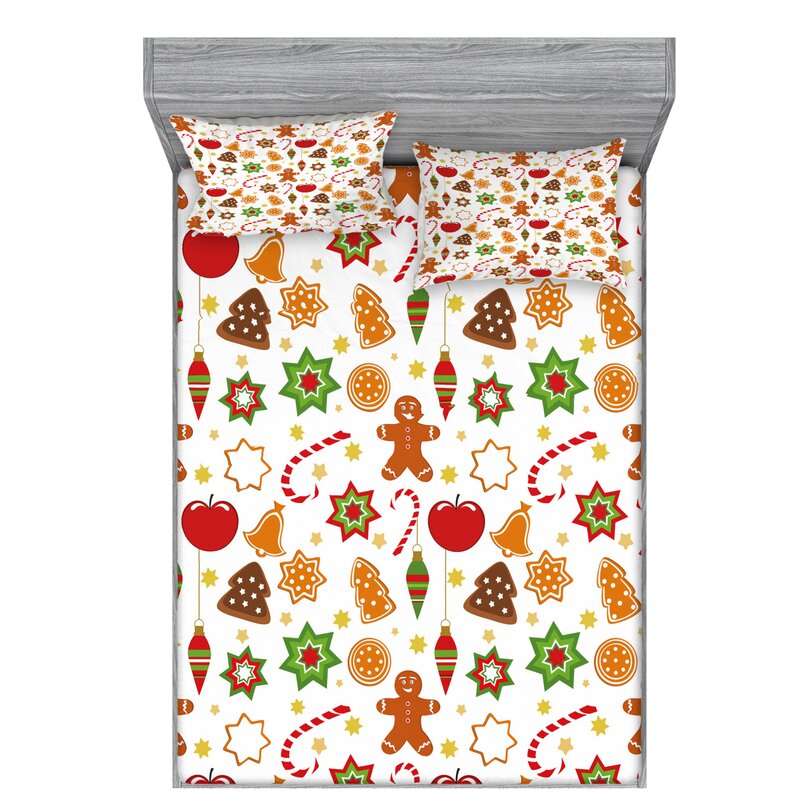
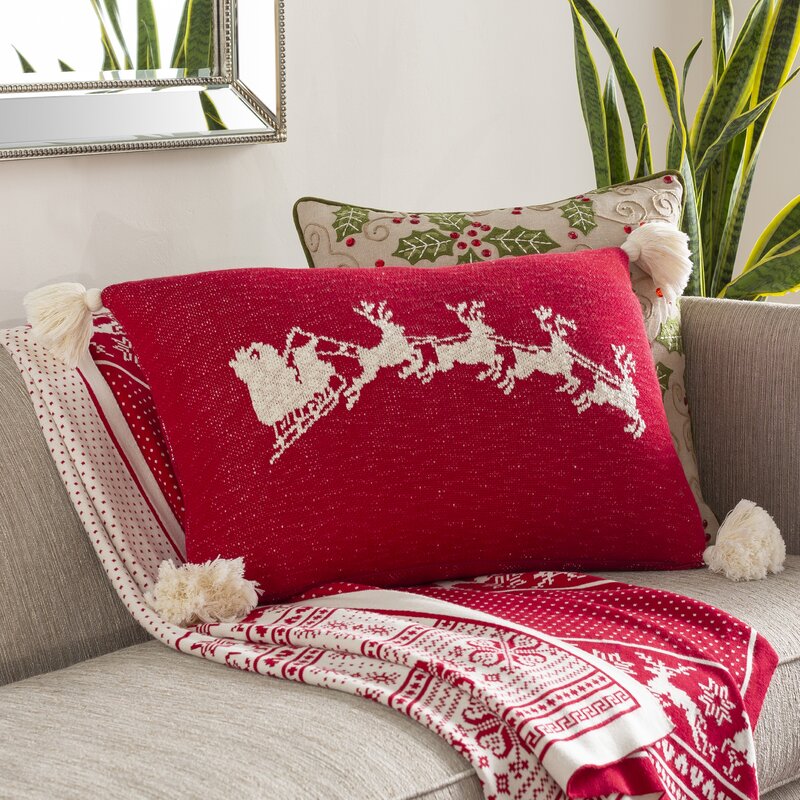
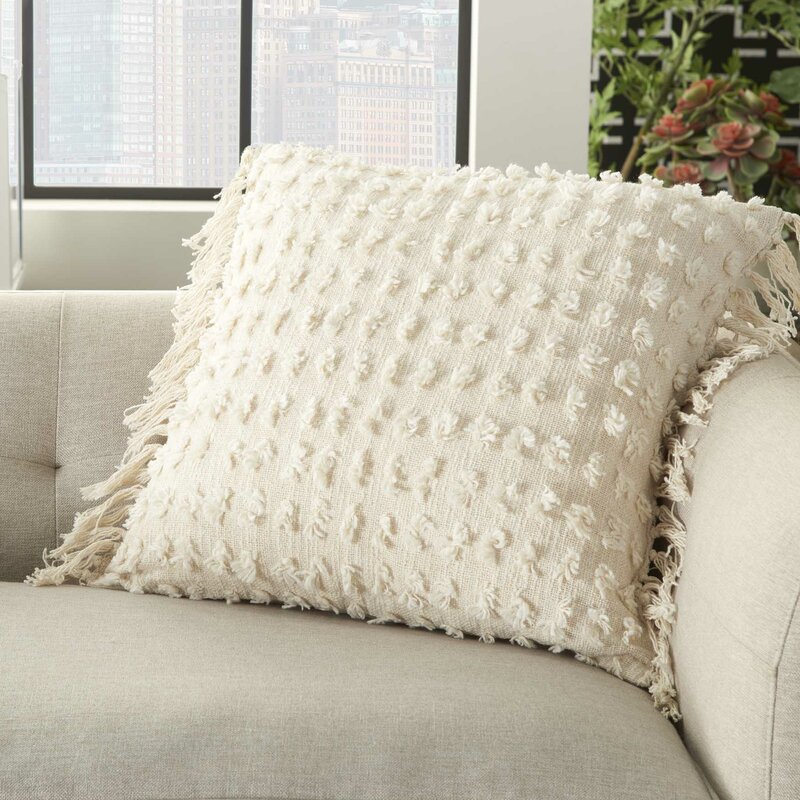
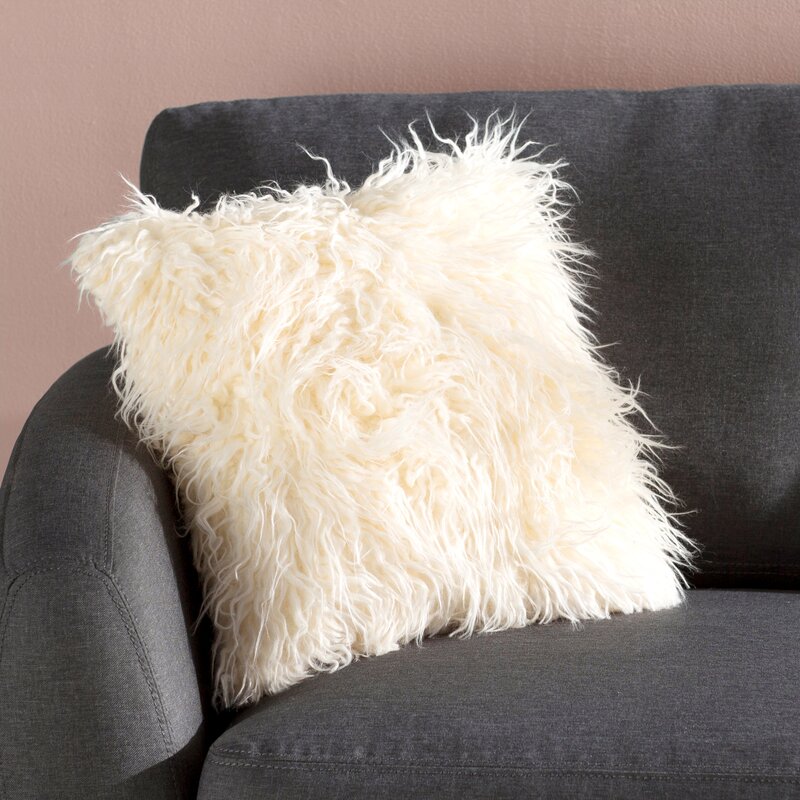
Below are a few things I've picked out to decorate our new home with.  Its going to be so fun to see it all come together soon!  What's your favorite?


I hope you've found some inspiration here that you can use to decorate your own bedroom this year.  Just remember, it needs to be festive,  but most of all cozy and enjoyable to you!  Let me know if you like any of the same things I do!  Happy decorating!

If you loved this idea and want to save it for later, be sure to pin it to your favorite Pinterest board.  I have a Pinterest board all set up just for Cool Yule and I'm pinning something new every day. Won't you join me?

GREAT NEWS!  I now have an Amazon Storefront!  If you ever want to purchase anything I'm showing you here, you can pop over to my shop and see what I've picked out for you! Click right here to visit.

It doesn't have to be done all at once.  It is a slow process in the works! C-ya next time!


I'm Linking to:
These lovely and FUN parties!
Between Naps on the Porch
The Dedicated House  - (I was featured)
The Self Sufficient Home Acre

Pin It!

Sunday, October 27, 2019

Spooky Cute Halloween Tablescape

How about a fun Halloween themed table setting for two?  Spooky cute?  Yes please!  I don't really do the really spooky Halloween decor, but I do have a few skeletons here and there.  They're pretty cute though!
How cute are these place mats?  My Aunt made them for me a few years ago.  The dessert plates were a find at Goodwill.  I added the vinyl stickers to them using my Cricut machine.
I found a lot of my decor at Dollar Tree.  They have some really cute items there and the price doesn't hurt either at only $1 each.

The witch's hat and shoes under the table came from Etsy several years ago.  The house witch leaves her things lying about and then tries telling me they are decor.  You don't fool me lady! lol!
I made these little cutie kitties a few years back and I use them every year in my Halloween decor.  They are so fun!  You can see how I made them, right here.
Those glitter balls came in a package from the Dollar Tree and were only $1.  When I bought them I didn't really know what I was going to do with them, but they were so pretty, I couldn't pass them up.
The black and white striped plates were a gift from a friend who knows I love to decorate.  The napkins are from Dollar Tree too!
Here's the other dessert plate I made.  Isn't it cute?  He has rhinestone eyes in amber.  Obviously these are for decor only, no eating off these cuties!
I love using my vintage silverware for photos.  We don't use them to eat with but they are fun to decorate with.  Have you ever put a silver fork in your mouth with a mouth full of old fillings?  Not a fun experience!  Eeek!
My favorite find of the year, these spooky hand glasses.  $1 at Dollar Tree again.  To me it looks like the creepy hand is holding a test tube.  I just used green food coloring in water for "the drink".  This type of thing is about as spooky as I get.
Mr Bones decided he should ride the sparkly spider to the party.  Again, both from Dollar Tree.

I created the centerpiece by using my largest silver tray, arranging a spooky cloth to fit in the center and then placing the black cats and my homegrown pumpkin in the center.  Mr Bones' brother is riding the pumpkin because his brother got to the spider first. lol!
The buffalo check pillow cover is from Three Little Mommas and the creepy cloth and witch legs are from Dollar Tree.  Adorable!
Same for the other side.  How cute is that pillow cover with the witch's hat? I love it!
There you have it, a spooky cute table setting for two!  It so fun to create these table settings.  Do you decorate for Halloween using spooky or cute decor?  Let me know in the comments down below!

If you loved this idea and want to save it for later, be sure to pin it to your favorite Pinterest board.  I have a Pinterest board all set up just for Halloween ideas called Boo to You and I'm pinning something new every day. Won't you join me?

GREAT NEWS!  I now have an Amazon Storefront!  If you ever want to purchase anything I'm showing you here, you can pop over to my shop and see what I've picked out for you! Click right here to visit.

It doesn't have to be done all at once.  It is a slow process in the works! C-ya next time!


I'm Linking to:
These lovely and FUN parties!
Between Naps on the Porch
The Dedicated House  - (I was featured)
French Country Cottage
Skip to my Lou
The Self Sufficient Home Acre

Pin It!

Sunday, September 29, 2019

Tiered Tray Decor Ideas

I don't know about you, but I love a good tiered tray all decorated for a holiday, season or just a specific theme.  I recently started offering these cute tiered tray blocks in my Etsy shop and I wanted to show you how I use them in my tiered tray decor.

Use code OPHELIA10 at check out to save $$$ in my entire Etsy shop!  CLICK HERE TO SHOP.
Of course this one is Halloween theme.  Not too spooky, just mostly cute!  I used the Haunted Farmhouse block for this look.  I haven't decorated for Halloween yet, but I grabbed a few things out of my stash to create this cute look in less than 15 minutes. 
I have several blocks that feature the dictionary page background, but all have a different message on them.  Click here to see.  The key thing to keep in mind for decorating your tray is to grab small items that fit in your tray comfortably.  Sometimes I used small jars or bowls to prop things up higher.
There truly is no art to decorating a tiered tray, you just start adding the things you like here and there until you get the look you're going for.  For this one I used Fall florals and a few Fallish decor pieces and since my tray is sitting on my coffee bar, I added a Rae Dunn coffee mug.
This cute little block is two sided and has a vintage coffee pot on the other side, see it here.
You don't have a tiered tray? No problem, create your own by stacking items from Goodwill to create one.  The sky is the limit when creating your own tiered tray!
See this cute block here.  If you purchase three (3) or more, you can save more $$$!
 
Here I decorated a plain white cake stand perched on top of a wooden riser, which gives the tiered tray look as well.
Remember, save 10% off everything in my Etsy shop by using code OPHELIA10 at check out and also save even more $$$ by buying three or more blocks at a time.
Let me know if you love tiered trays as much as I do!  Also, please tag me on Instagram if you purchase one of my blocks and display it! I'm @texasbluebungalow on IG.

If you loved this idea and want to save it for later, be sure to pin it to your favorite Pinterest board.  I have a Pinterest board all set up just for Farmhouse Decor Ideas and I'm pinning something new every day. Won't you join me?

GREAT NEWS!  I now have an Amazon Storefront!  If you ever want to purchase anything I'm showing you here, you can pop over to my shop and see what I've picked out for you! Click right here to visit.


It doesn't have to be done all at once.  It is a slow process in the works! C-ya next time!

Pin It!

Sunday, September 1, 2019

Styling Farmhouse Signs - 3 Ways

I love signs and I'm going to show you one sign styled three ways in our home.  They are fun to decorate with because they add that little something extra you need to make an area look perfect!

I had the honor of being a brand rep for Em over at All of The Above by Em.  She makes the cutest signs to fit into any type of home decor.  If you visit her, please tell her DeeDee sent you!
This is my bedside table in our bedroom.  This is my favorite spot to keep my "Let's Stay Home" sign.  Our room is comfy and cozy and I just want to stay home and enjoy it!
In case you're wondering, I made over this cute little $5 yard sale table.  You can see how I did that right here.
Em makes custom orders too, so if you need a certain sign, just ask her about it and she can probably get you fixed up with it!
Such a fun addition to our bedroom.
Next up, I've styled it in our living room.  Another comfy place to hang out!
Its perfect on a stack of books and of course the coolest hanging out with our vintage fan!
I loved having it in here too.

One more space I used the sign was in our entry hall.  Its fun to decorate, just hard to photograph!  FYI, that beautiful light fixture was made by my honey!  See how right here.
I suppose this could be a "sign" for actually not going out of the front door, right? lol!  Nah, probably not!
Just in case you're wondering, I'm drying oregano from my garden.  Cooking weather is coming right up!
I love this sign!  Check out Em's Instagram here.  She's hilarious!

If you loved this idea and want to save it for later, be sure to pin it to your favorite Pinterest board.  I have a Pinterest board all set up just for Farmhouse Decor Ideas and I'm pinning something new every day. Won't you join me?

GREAT NEWS!  I now have an Amazon Storefront!  If you ever want to purchase anything I'm showing you here, you can pop over to my shop and see what I've picked out for you! Click right here to visit.


It doesn't have to be done all at once.  It is a slow process in the works! C-ya next time!


I'm Linking to:
These lovely and FUN parties!
Between Naps on the Porch
The Dedicated House  - (I was featured)
French Country Cottage
Skip to my Lou
The Self Sufficient Home Acre

Pin It!
01 09 10