Showing posts with label winter decorating. Show all posts

Sunday, December 9, 2018

Our 2018 Farmhouse Christmas Decor

Christmas is my most favorite time of the year!  I love to decorate and I tend to decorate every room in the house!  You'll see as you scroll that I love the color red.  I don't normally use red to decorate with (except my laundry room) but when Christmas times arrives, I bring out ALL the red!  Enjoy!
Here's our kitchen.  My honey did a grand job in here remodeling it from its original state and I love it so much.  Hands down, my favorite room in the house.  Another thing you'll notice is, I love snow people.....a lot!
I made these sweet little wreaths for under $1 each.  You can see the how to in my saved stories on my Instagram under the "crafts" tab.  I'm ddcamp170 on there if you'd like to follow me! :)
I love to use my vintage goodies that I've thrifted in my decor year round, so Christmas is no different.  You can see another way I used this tablecloth as a curtain by clicking right here.
This is our cocoa station which I love to have set up for those cold nights when I need to be warmed up from the inside out!  This is only the second year we've had a cocoa station set up, but you can read how I set it up last year by clicking right here.
Here's my old hutch all dolled up in her Christmas goodies!  She's orange and green which seems like she wouldn't do well with Christmas colors, but I decorate her anyway and I love it!

NOTE: I used a preset filter on this picture that I got at a cute Etsy shop.  What do you think?  Do you use presets to edit your photos?  Check out that Etsy shop here.
Here's the little scene on top of the hutch.  I think it turned out great!  You can find that free printable right hereThe little truck is from Big Lots this year and the camper is from Target this year.  The little trees are from Hobby Lobby.  So cute!  The HO HO HO banner I found on Etsy years ago.
This Pioneer Woman red cow creamer is sitting on the hutch.  Doesn't she look cute in her holiday wreath?  The little red gingham plate is from the Target dollar spot last year.
Vintage and red, my two favorites!  This cute little truck and tree salt and pepper shaker  came from Dollar General.  It was $2 and I couldn't pass it up!
When I got my vintage crock several months ago I told my honey, "at Christmas time I want a tree to put in it".  I found this one at a thrift shop for $3.  My honey made the stand for my crock.  See how to make your own here.
I even decorate the cat's area.  Isn't that cute little yurt shaped like a Santa bag the most adorable thing you've seen?  We got it at Home Goods this year.
Here's our tree in the living room.  I'm pretty sure its my most favorite tree that we've ever had.  I got it last year at Michaels.  That gorgeous sign up there was a prize I won on Instagram.  You can find it right here.  Those adorable pillow covers are from a company I found on Instragram as well.  You can find those right here.
A group of trees and vintage Santa mugs with a great smelling candle, you just can't go wrong!  Everything you see here except the candle was thrifted.  The candle is from White Barn last year.
This little farmhouse table is in our entry way.  I added another grouping of thrifted trees in a vintage Dr Pepper box and topped it off with lots of vintage red ornaments.  Again, all of these items are thrifted, except the ruler star, I found it on Etsy years ago.
This is our master bedroom and I'm pretty sure its my favorite room for the holidays.  This is the first year we've ever had a tree in our room but I found this like new 7' tree at the thrift store for $30.  I added red and clear lights along with some red ornaments I already had.  The stocking you see hanging there is my actual childhood stocking that was from my Mamaw and Papw's house.  I'm very lucky to have it.  My Mamaw decorated it for me about one hundred and fifty two years ago!  The hope chest at the end of our bed was built for me by my Daddy a really long time ago.  I love it too!
We already had most of the holiday bedding, but I got some red sheets and those snowflake pillow covers on a black Friday sale.  Perfect for the holidays.  I added some Christmas floral picks here and there and a little tree from Target for each bedside table too.
I got these giant canvas gift bags last year at Michaels.  I just fold them over our pillows to add a little extra holiday goodness in here.  The deer pillow is from Target a few years ago.  Its very soft.
I made this sign this year.  I've been protecting this chippy piece of wood for a couple of years waiting to make this sign.  I finally decided to make it this year so I found a really great Etsy shop that has the one time use vinyl stencils just like I wanted.  Making this sign was breeze.  Click right here to visit the Etsy shop.
I made this vintage ornament wreath several years ago.  I collected the ornaments for a couple of years before I had enough to make it.  It is truly a treasure.  It hangs on our barn door in our room.  You can read about how we did that right here.
Here's another free printable I used in our bathroom on the little shelf my honey built.  Read all about it right here.  Those little bottle brush trees in the Ball jars was one of my fastest creations this year.  I just added a little bit of faux snow to the bottom of the jar, popped in the tree, closed the lid and sat it on the shelf.  Easy!

This is my sweet honey bun and I.  He is everything to me and as you can tell he's always trying to make me laugh.  That's my favorite part about him!  Without him almost all of the projects done in our little home wouldn't happen.  He's the BEST! :)

I hope you've enjoyed my little Christmas decoration tour.  Let me know down below if you have any questions about anything!

If you loved any of these projects and want to save it for later, be sure to pin it to your favorite Pinterest board.

FREE HBO? Yes please! Click right here to get your free trial.


Want to see more Christmas Ideas?  Click on the links below.

Vintage Tablecloth Curtain - The Christmas Version

How to Make Stove Top Potpourri

Countdown to Christmas with Free Printables

Peppermint Pretzel Bark - A Sweet Little Gift 

Clothespin Snowflake Ornament

DIY Vintage Christmas Decor

Christmas Shutter Decor

Clothespin Christmas Tree

Our Front Porch Tree

How to Wrap a Gift

Our Burlap Forest

Twig Snowflake Ornament


It doesn't have to be done all at once.  It is a slow process in the works! C-ya next time!
I'm Linking to:
These lovely and FUN parties!
Between Naps on the Porch
The Dedicated House  - (I was featured

Pin It!

Sunday, December 10, 2017

Cocoa Station for Small Spaces

Yum!  Hot Cocoa in the Winter is the best!  It's especially good if you have a cute little cocoa station to make it even more fun!  It makes it very convenient for anyone who wants a hot cocoa to serve themselves anytime.  Everything you need all in one spot.
This is the very first time I've created a cocoa station in our home and we love it.  It's located on the left hand side of our sink in the kitchen.  It's a perfect spot for all the yumminess we need for hot cocoa to be for the winter.

Just use what you have, but I used lots of my Pioneer Woman collection dishes to house each ingredient and also just to decorate with.  Of course I added some of my vintage collection in there too.
The tiered tray holds most of the goodness.  On the top I have cinnamon and sugar, marshmallows and candy canes.  On the lower tier I have some Land O Lakes specialty cocoa mixes, Pirouline Cream Filled Wafers and extra mugs.  Those cute white mugs are from Dollar Tree and yall, they were only $1 each and they are nice heavy mugs.
We also have the soft peppermint sticks (they melt quickly in the hot cocoa), chocolate sprinkles, cinnamon sticks, and a few varieties of mint candies.  I got most of these edible goodies at Dollar Tree. 
Off to the side there is a large bowl with a variety of extra hot cocoa packets.  We keep the cream topping in the fridge of course, but its there if anyone "needs" it! *wink*
Do you keep a cocoa station out in the Winter months? If so, what ingredients to keep on hand?  I'd love to hear your ideas.
If you're hosting a holiday party this year, you may want to create a cocoa station of your own.  I think this would be cute for any Winter holiday party, baby shower or bridal shower.  Cocoa stations are just plain FUN to say the least!

Here's a homemade Cocoa Mix that's fun to give as a gift in mason jars:

Ingredients
Instructions
  1. Mix all ingredients together and store in an airtight container. Place all ingredients (except chips) in a blender or food processor, pulse a few times, this makes a fine powder so mixing all ingredients together is easier.
  2. Serve the hot chocolate with one cup of water or milk, its your choice. Stir in two or three tablespoons of the mix, top with whipped cream or marshmallows and enjoy!
  3. Drink up! :) 
P.S.  If you're giving as a gift, tie the chips in a cute bag to the jar with a tag that includes this recipe on it.

It doesn't have to be done all at once.  It is a slow process in the works! C-ya next time!

I'm Linking to:
These lovely and FUN parties!
Between Naps on the Porch
The Dedicated House  - (I was featured)

Pin It!

Sunday, December 3, 2017

How to Create a Gorgeous Holiday Mantel on the Cheap!

You don't have to spend a lot on decorations to make your home look beautiful this holiday!  Try shopping your own home to see what you have before spending loads of money on holiday stuff!
I spent a total of $6 on our mantel this year.  I bought the two candles at the Dollar General on Black Friday for $2.50 each and I found the "Merry Christmas" sign at the Dollar Tree for $1! Bargain!  All the other items you see here I have collected over the years.
I knew I wanted a lit garland on the mantel, so I went to our Christmas goodies to see what we had.  I grabbed some twinkle lights and faux garland.  The garland was really long so I folded it in half and twisted it a bit to hold it.  Next I wrapped the lights around it to hold it all together.  Our mantle is a little over 5 foot long, so this was just right.
Next I shopped my stash of holiday picks.  I've saved these from fresh wreaths we've had in the past and my Mama saves things for me too. *wink*  I also went to my craft supplies and grabbed a ribbon and some baker's twine.  You'll see why shortly.

I placed the garland with lights up on the mantel and made sure the lights still worked after I "man-handled" them to get them wrapped up on the garland. Next I added my sign. Looking cute so far!
Then I added my sweet little bargain candles that smell delicious!  I just sat them in a vintage plate for added charm and protection.
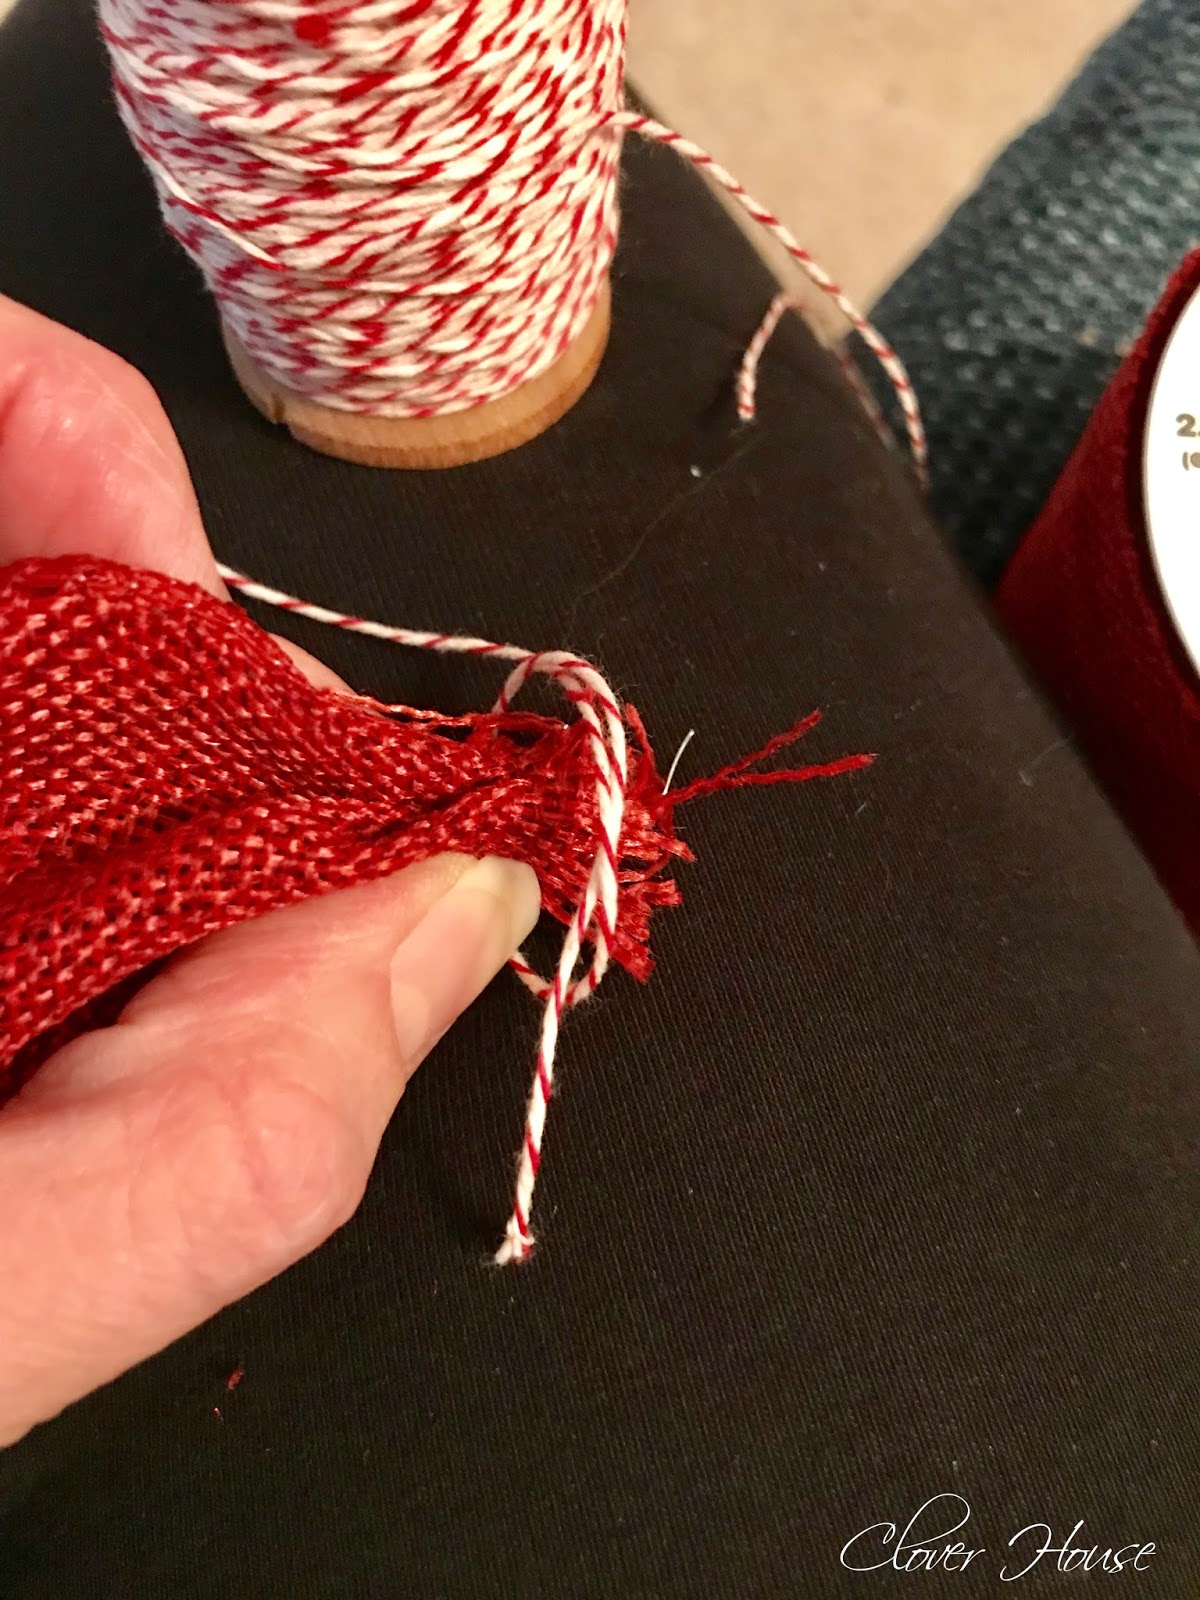
Now to decorate the garland.  I used this method of making little poofs so I didn't waste too much of my ribbon.  Cut your ribbon to size (depends on what look you want) and then tie the end with a small piece of twine to hold it all together.
Now you're ready to tuck them in here and there and everywhere.
I just placed them around the garland and then stepped back to see if it looked even to me. Anything YOU like is fine!
Next I just grabbed my floral holiday picks and started tucking them in here and there.  Again, no right or wrong here, just make it look the way you want it to.
I tied a regular bow for the center of the mantel and I added it right above the sign.  I made mine with long streamers so they could come down and tie the sign in to the whole set up.

Keep adding your picks and poofs until its just the way you like it.  I would just add a few things and then step back and see if it was all even looking and then go on from there.
Do you see the "cute" vent peeking through and disturbing my pretty mantel look?  Those are for when we use the fireplace, but that is rare because we live in Texas yall and its not normally cold enough for a fire, but anyways.  I thought of a way to "cover" them up.
I added a plastic plate charger that I got from Walmart a few years ago.  You can usually get these for $1 in most places.  Shop your stash yall!  Also, if we want to use the fireplace, I will just remove the chargers and we'll be good to go.
I snapped several pictures for this post and when I looked back at them all I could see is the little vent peeking through and looking at me!
And now you're just glowing in the back ground little vents! Um, no!  Let's fix that right now!
BAM!  No more vents peeking through!  Thanks for your service $1 chargers!  Of course all of this is temporary and when the holidays are over you can just take it all down and save it for another look some other year.

Want to see more Christmas Ideas?  Click on the links below.

Vintage Tablecloth Curtain - The Christmas Version

How to Make Stove Top Potpourri

Countdown to Christmas with Free Printables

Peppermint Pretzel Bark - A Sweet Little Gift 

Clothespin Snowflake Ornament

DIY Vintage Christmas Decor

Christmas Shutter Decor

Clothespin Christmas Tree

Our Front Porch Tree

How to Wrap a Gift

Our Burlap Forest

Twig Snowflake Ornament

It doesn't have to be done all at once.  It is a slow process in the works! C-ya next time!

I'm Linking to:
These lovely and FUN parties!
Between Naps on the Porch
The Dedicated House  - (I was featured)

Pin It!

Sunday, December 20, 2015

How to Wrap a Gift

I love wrapping gifts at Christmas! When I was young my Mamaw taught me how to wrap a gift and she showed me how to make it look really nice.  It's all about getting nice crisp lines to make your gift look like it was wrapped by a professional gift wrapper.....I would love that job!  Is there such a position?
I wanted to post this tutorial because I discovered that a lot of people have no idea how to wrap a gift.  This year I chose the papers with a Kraft colored background and papers that matched it.  Most of my papers were bought at Walmart and Dollar Tree.  The raffia I got at Walmart, but you can find it just about anywhere that has gift wrapping supplies.
STEP 1: Cut your paper so that you don't have much waste like you see above.  You'll want the ends to fit the height of your box and then have just enough with a slight amount more to go all the way around your box.  Bring one side over and place a piece of tape in the center hold it while you work on the other side.  I use clear tape, but that's just my preference.  My Mama uses double sided tape so you don't see the tape at all, that's lovely too!  Use what you have though!
STEP 2: Fold over the cut edge to make a smooth line.  If you leave a little extra for the "all the way around" part, you can fold the paper so that you get a crisp smooth line on the seam. This just tidies up your gift in the end.
It's kind of hard to tell, but this is the paper after I folded it for the crisp line and the wrapped it up over the cut piece.  No jagged edges are showing from where you cut it from the roll.
STEP 3: Folding the ends to create a smooth look.  With your seam facing the ceiling, fold down the top edge and secure with a small piece of tape.
STEP 4: Make a straight line on the outer corner for folding inwards.  Place your thumb on the top edge you folded down to hold it and then make your fold coming down from top to bottom.
STEP 5: Folding in the corner to make a crisp edge.  Just fold in and hold with your thumb, then create a crisp line on the paper on the table. You may need a small piece of tape here to hold it so you can move on the next step.  Repeat this step on the other side.
STEP 6: Folding up the end with a smooth edge.  Like your center seam, fold in a slight amount to create a smooth line like you see above. Repeat on the opposite end.
STEP 7: Fold up the end for a finish.  Fold up your smooth edge and secure with two small pieces of tape on each end, if your package is really wide you may need a small piece of tape in the center.  Repeat on the opposite end.  Flip your gift over and decorate as you please!
After you have your wrapped gift why not add a special touch with a hand made tag?  I used my new stamp set from The Cutting Cafe' Stamps to add a little special touch to my gift tag.  Using Kraft card stock,  I just punched a starred edge circle with my Nesties, and a snowflake with my Martha Stewart punch, added a little jute bow and it dolled up my store bought tag to make it extra special.  You can make your gifts look very pretty without spending a lot on the wrapping!

It doesn't have to be done all at once.  It is a slow process in the works! C-ya next time!

I'm Linking to THESE lovely and FUN parties!

And here are a few more too!
Between Naps on the Porch
DIY Home Sweet Home
We Call It Junkin

Pin It!
01 09 10