Showing posts with label Tutorial. Show all posts

Sunday, July 28, 2019

How to Install a Stock Tank Pool with a Waterfall

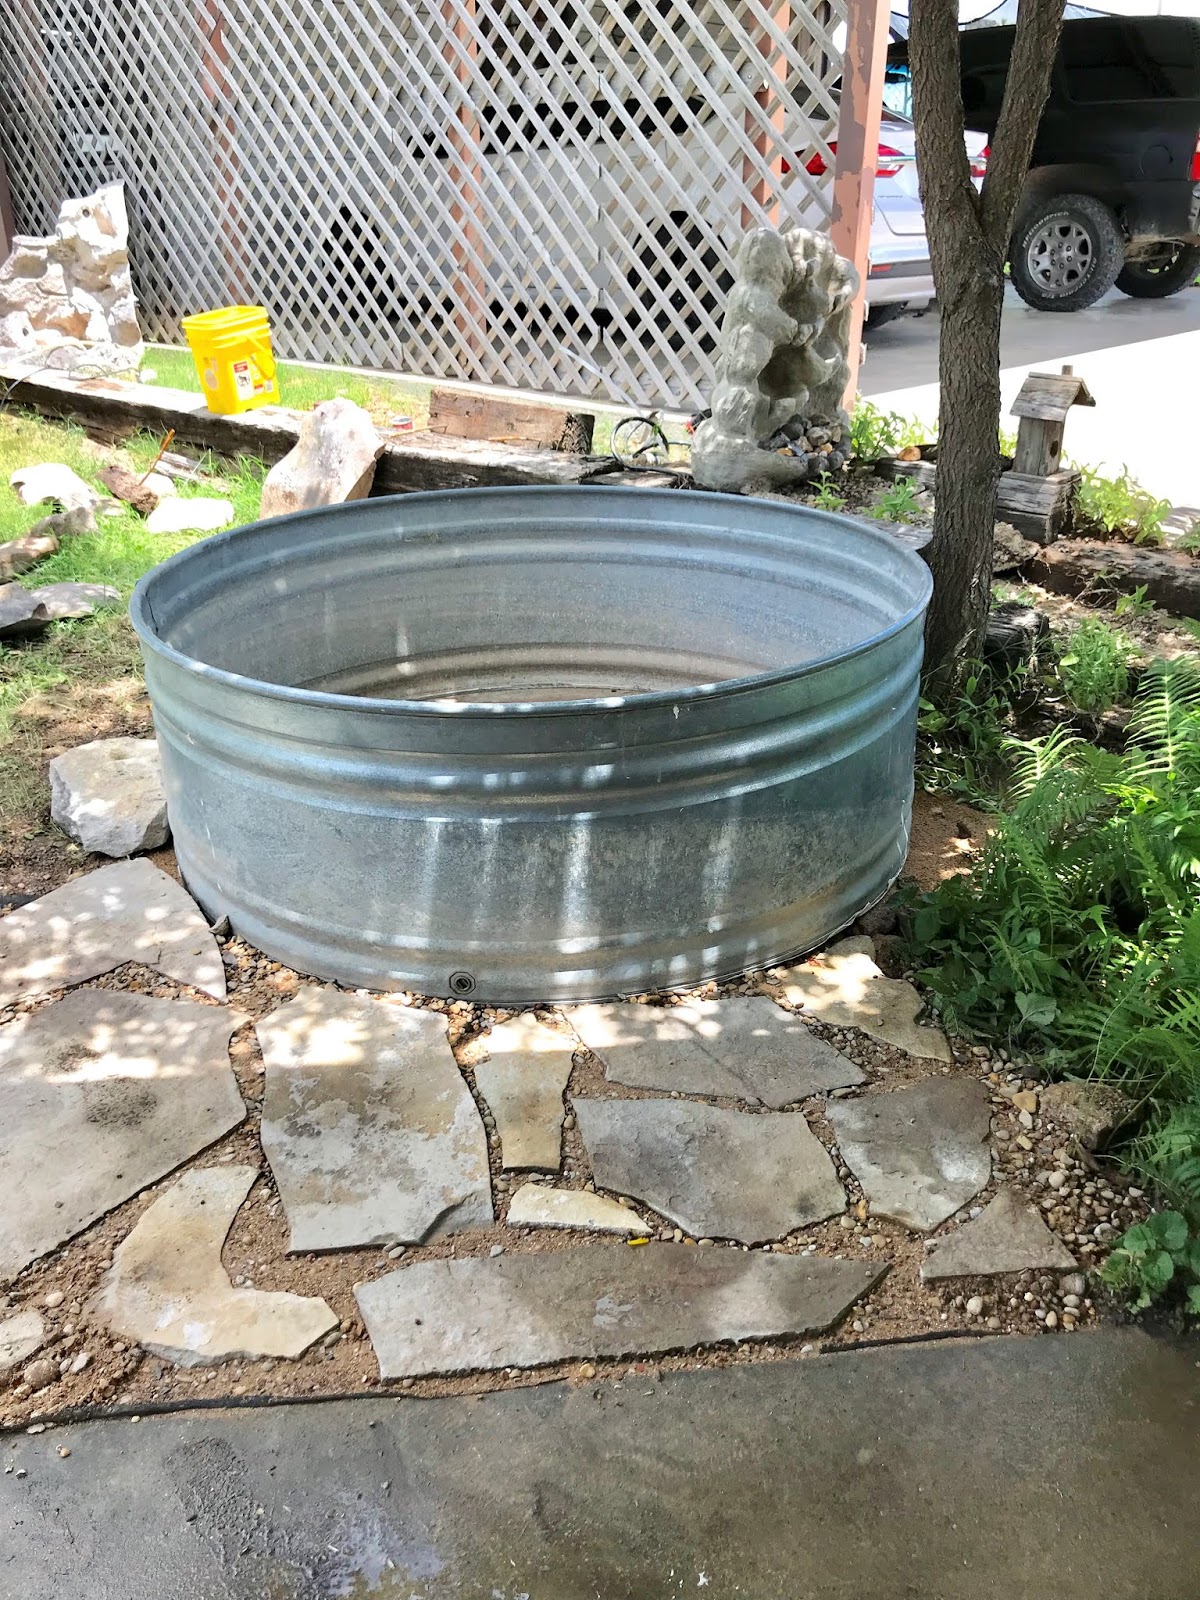
I've been wanting a stock tank pool, or as we call them, a redneck swimming pool for at least 3 years now.  I'm not going to lie, the stock tanks are expensive!  We happened across a bargain and got both of the tanks and all the flag stone for $75 total! Bargain of a lifetime right there!

There are lots of tutorials on how to install these pools and I've linked what I thought was the best one down below.  I'm basically going to show you how to add the waterfall tank since I haven't seen that feature much at all.
Both tanks are 6' x 2', one round and one oblong with a spout.  I couldn't find one with a spout to link for you online, so I found this really cool idea to use on a regular tank.

Both of our tanks are used, so we had a bit of restoration to do before we could attempt to fill them with water.  Our patch job won't last forever and we will probably have to fork over lots of money to replace one or both tanks some day.  But today, we have a spot to cool off in the Texas heat! My advice is buy new if you can.
Step 1: Choose your tank size and location to set it
This spot is right off our patio and it used to be a fish pond waterfall feature.  The plastic in ground tub went by the wayside a couple of years ago so we pulled that out of the ground, tossed it in the dumpster and filled in the hole.  Now we have a perfect spot for our pool.  Lots of cleaning and prepping to do though.
Of course, my honey does all the manual labor, I'm just his assistant.  First we placed the round tank where we wanted it and he used the shovel to mark its spot.  He pushed the shovel into the ground all the way around the pool.  When we took the pool away, we knew where to clean and level the ground.
Next he watered it all down to get it to settle real well.
We used contractors sand from Lowe's to act as a leveling agent.  This is 3 bags worth.
He used a piece of 2 x 4 and his level to make sure it was all level so that when the pool was filled it wouldn't be leaning more on one side than another.  This is a very important step.
And again, watering it down to get it all to settle in level.
Next we laid down some landscaping cloth, covered it with more sand to ready it for all the rocks.
He strategically placed each flag stone the way he wanted it.  We then spread river rock over the entire area to settle into the sandy spaces. It took about 4 bags of river rock.  We also got that from Lowe's as well.

NOTE:  In hindsight, we would have skipped the sand step here.  We didn't think about all the sand that would possibly get into the pool. On another day, he actual took all the rock and as much sand up as he could and then put all the rock back.  It was a long tedious process so JUST SKIP THE SAND if its not UNDER the pool!
Step 2: Installing the Filter Pump - Please view this tutorial and video here, its very helpful!

Supplies We Used:
Intex Filter Pump - This includes an outlet, but no inlet strainer or valve.
Pump Inlet Strainer + Outlet w/ Two Valves: Note: It includes an outlet jet as well, which is already included with the Intex Filter Pump, we used this for our waterfall tank. You will not need the extra outlet jet if you just have one tank.
Intex Valves (2 pack) - This is not needed if you purchase the pump strainer above, but it is needed if you are NOT going to have a waterfall.
100% Silicone Caulk  
Extra Intex Filters
 
 
For our 6' x 2' stock tank (the round one) he carefully drilled two holes.  We chose to have our holes on one level instead of one high and one low like a lot of people do.  This way served our type of tank.  If you keep reading you'll see why, but in the end, we actually don't use one of these fittings and we just turned the valve to off now.

NOTE: Make sure you drill your hole on a flat area.  DO NOT drill on an indention or bump.  Your parts and pieces will not seal properly if you do.
Next we set up the pump as instructed from the box.
At this point if you have one tank only you can fill it with water and enjoy your pool.  We should have waited but we didn't, because were impatient.  We were still waiting on Amazon to deliver the final parts we needed for the oblong tank to become one with the round tank.
In the mean while we used a pond pump to circulate the water, which you can totally do, but I hated seeing the ugly black hose and wire draped over the side of the tanks, so my honey figured out a way to remedy that for me.
This is the water jet I ordered for the waterfall tank.  See I told you the tanks were used and in sad condition.  The waterfall tank is the worse. The round one was in pretty nice condition, thankfully, since its the one we get into.
This is what it looks like on the outside.  Since our tank is old and textured, we used silicone on the inside seal to make sure we had no leaks.

See that box between the tank and the white hose, that's our electric plug in box which was already here from the fish pond before.  This is another reason we chose this spot for our pool.
Now, we have the outlet (shooting water in) on the waterfall tank and the inlet (sucking water out) on the round tank and both hoses lead to the pump which we have sitting on a rock on the back side of the entire set up.  The hoses run under the pallet that I'm about to tell you about.
I'm backing up just a bit to show you how we raised the oblong tank up above the round one.  Like before, we put down landscaping cloth and sand and then sat the revised pallet (my honey is handy like that) on top and then put the tank on top of the pallet. We covered the pallet up with big rocks so it all blends in.
No more ugly black hoses in the way and we still have our waterfall feature which by the way, sounds delightful when you're just sitting pool side relaxing.
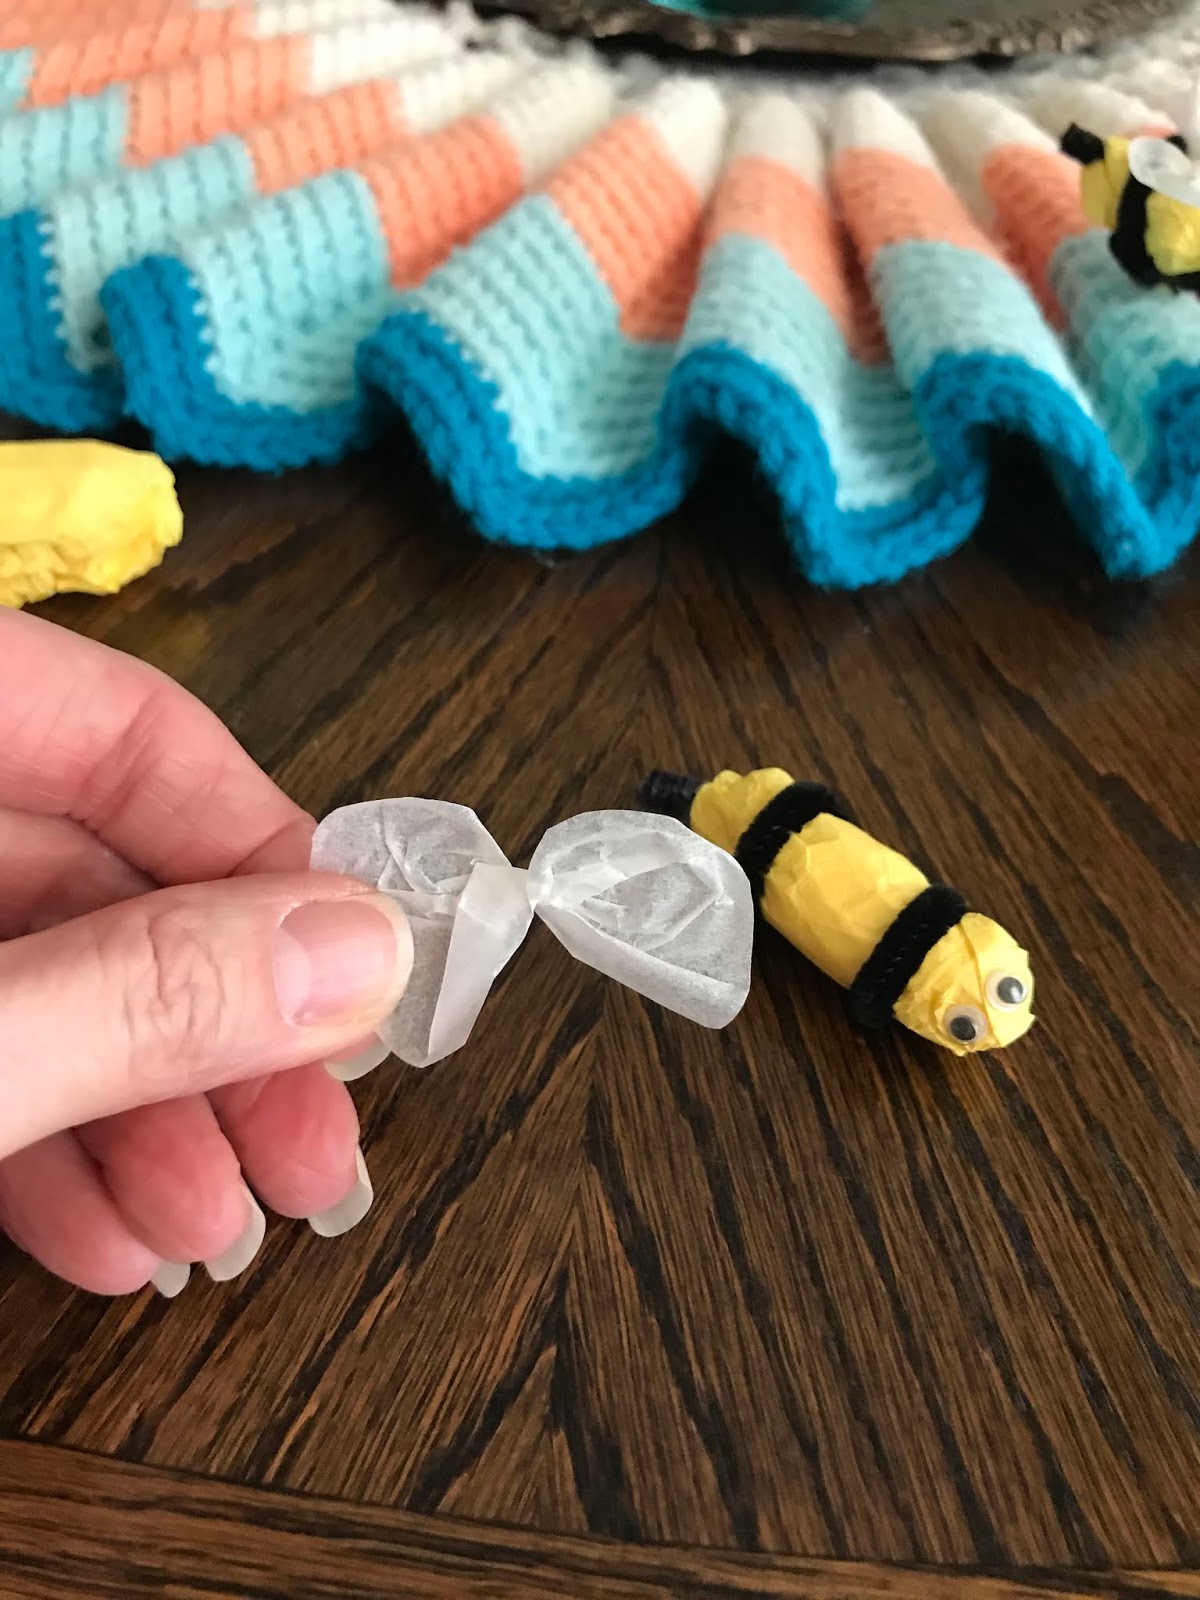
That little flamingo is our chlorination for the pools.  We found him at Walmart along with the chlorine tablets to put inside of him.
We also got a set of color changing lights to go in the pool for a fun look at night.
And lastly, we added pool noodles around the edge of the round pool for comfort.  When you're relaxing in the pool it cushions your head or neck and if you want to sit on the side of the pool, it cushions your bottom.  I found them on clearance at the Dollar General for 50 cents each!  It took 4 full noodles and a piece of another one to go all the way around it.  I love it!  Oh yes, and we got this pool net to keep our pool clean!

I hope this wasn't too confusing, but if you have questions, please ask! :)

It doesn't have to be done all at once.  It is a slow process in the works! C-ya next time!

GREAT NEWS!  I now have an Amazon Storefront!  If you ever want to purchase anything I'm showing you here, you can pop over to my shop and see what I've picked out for you! Click right here to visit.

If you loved this idea and want to save it for later, be sure to pin it to your favorite Pinterest board.  I have a Pinterest board all set up just for Pool Ideas That I Love and I'm pinning something new every day. Won't you join me?


I'm Linking to:
These lovely and FUN parties!
Between Naps on the Porch
The Dedicated House  - (I was featured)
French Country Cottage
Skip to my Lou
The Self Sufficient Home Acre

Pin It!

Sunday, May 5, 2019

How to Make a Bumble Bee Garland

It seems that lemons and bumble bees are all the rage in decorating right now, so of course I jumped on the band wagon and made a bee garland to go with the bees on my chalkboard.  My friend Sheri @piratelife4she over on Instagram came up with the idea and of course, I had to make some too!
Also, see that cute little metal bee hanging on my coffee cup?  I got that cutie for one whole $1 at Dollar General! Adorable!
You will need the following to make your own bee garland:

Yellow tissue paper (like for gifts)
Black chenille stems (I call them pipe cleaners)
Black ric-rac (optional, if you don't have chenille stems)
Tiny google eyes
White parchment paper
Straight pins
Small jute twine
Scissors
Hot Glue Gun and glue
Wire Cutters (optional)

Since I didn't have step by step instructions to go by, it was trial and error until I got it down.  I was a pro when I made the last one! Ha!

Step one:  Cut one piece of gift tissue in half and then half again until your piece resembles the photo above. Approximately 10" x 10".
Step 2:  Wad up your tissue (like you're going to throw it away) into a longer shape to resemble a bee.  PRO TIP: start crunching the outside edges of the paper inward toward the middle shaping it as you go.
Step 3: Cut two (2) pieces of chenille stem, about 3 inches long.  Wrap one piece around the front section and one piece around the back section.  Use a twist tie motion to connect them on the bottom of the bee. Bend ends toward the center of the body.
Step 4: Wings.  Cut a piece of parchment paper into a approximate 3 inch square.
Step 5: Using your scissors, round off the edges.
Step 6: Gather the wings in the middle and to the center and twist two times.  It should look like a little bow.
Step 7: You will attach the wings with a straight pin, but before you do that, your length of jute twine will go between the bee and the wings.  This is how the bees go on the garland.
If you just want to use them on things other than a garland, use the pin to attach them.  If you use them on the garland, you will have to use wire cutters and snip off the excess pin and then bend it back to avoid the sharp edge.
Step 8: Add tiny google eyes and a small piece of chenille stem for her stinger.  I added both of these with tiny dots of hot glue.
This is what they look like finished and without the jute twine.
Aren't they adorable in their own little crunched up way!?
I wanted mine to fly, so I used the jute twine for a garland look.  PRO TIP: Use uneven numbers when creating your garland.  I made five (5) bees for mine, but you can add more if you have a larger space to cover.
They are happily buzzing around my coffee bar hanging out with all the pretty flowers on my Pioneer Woman Collection.
These little bees would be adorable on a flower arrangement too!  I hope you can try them out for yourself.

Are you decorating with bees or lemons this year? Let me know!

I'm having a giveaway over on my Instagram, go sign up and WIN! @ddcamp170

It doesn't have to be done all at once.  It is a slow process in the works! C-ya next time!


GREAT NEWS!  I now have an Amazon Storefront!  If you ever want to purchase anything I'm showing you here, you can pop over to my shop and see what I've picked out for you! Click right here to visit.

If you loved this idea and want to save it for later, be sure to pin it to your favorite Pinterest board.  I have a Pinterest board all set up just for Kitchen Goodness and I'm pinning something new every day. 


I'm Linking to:
These lovely and FUN parties!
Between Naps on the Porch
The Dedicated House  - (I was featured)
French Country Cottage

Pin It!

Sunday, January 20, 2019

Valentine Branch Garland

Let me just start out by saying, my brain works in the weirdest ways when it comes to being creative.  That being said, I was trimming down a big bush (dead for the winter) in front of the kitchen window when this idea popped into my head.  So, I saved the perfect branch and trimmed it down to size.
And because it seemed fitting, my creation ended up in the kitchen window!  The same kitchen window that is so very hard to photograph too!  I apologize for these blown out pictures, but it was my best attempt to show you my project. :)
You will need a branch, some thread or string and some sweet handmade (or store bought) Valentines.
I used my Cuttlebug and my Spellbinder Nestabilitie Heart Shaped Dies as well as a Lawn Fawn "love" die to create my Valentines.  I cut them all out of scrapbook papers, Kraft card stock and old book pages.
Zip Dry Glue is my favorite paper crafting glue of all times, in my opinion, its the best!
And for small items like this "love" word, I like using my Xyron Create A Sticker.
You just feed the word in.....
And it comes out the other side a sticker!
I used my embossing tool to go around all the edges.  This helps the sticky part only stick to the word.
Or, if you run out of sticker tape like I did, you grab the next best thing, the ZIG 2 way Glue Pen.  It has a fine tip and you can put glue exactly where you want it.
I made two of each size heart so I could glue them back to back with the hanging string in the middle.  That way, if they spin while hanging, they look good all the way around.
I used red and white Baker's Twine for hanging my Valentines on the branch.
This was an experiment.  I used double sided tape on the largest heart and after hanging up for a few hours, it released and fell off the string.  So, don't use the double sided tape method.  I used my ZipDry glue on all the other hearts and they are still hanging strong yall!
I cut my Baker's Twine at 12" each and made sure they were attached from the tip of the heart to the center top.
Then I decided to add some tiny hearts for in between the big hearts so I stacked book page strips with some pink paper and cut out a million tiny hearts using my dies and the Cuttlebug again.
I spaced the tiny hearts out a bit and glued them to light pink sewing thread.  You can barely see the thread.  I used this same technique once before when I made my Valentine Heart Banner, click here to see it.
I alternated my big Valentines with the tiny heart strings and just tied them to the branch.  At first I tied them loosely until I liked the placement of each one and then when I was happy with where they were, I tied them for the permanent placement.  You can add a small dot of hot glue to each string on the branch if you'd like to.  I did not do that step though.

Since I have my kitchen window done up in pinks and reds, I decided to make this garland match it, that's why I added the pink accents to it.
I strategically wedged the branch in the window frame, but you could also add string to each end and hang it as well.  As I'm writing this blog post it has been hanging up for almost 24 hours and so far the cats have not bothered it.  However, I'm thinking this may change when we go off to work and they are home alone to do as they please.  Fingers crossed!

I'm having a sale in my Etsy shop! Check it out right HERE! :)

If you loved this project and want to save it for later, be sure to pin it to your favorite Pinterest board.

Click right here for 12 more easy Valentine projects to try. 

It doesn't have to be done all at once.  It is a slow process in the works! C-ya next time!
I'm Linking to:
These lovely and FUN parties!
Between Naps on the Porch
The Dedicated House  - (I was featured

Pin It!
01 09 10