When the youngest child moved out, we decided to turn this room into a man cave/media room. Not gonna lie, we both hang out in there.....a lot! :) As usual with most of our projects, we are on a tight spending budget, so we wanted something that would not only look good, but also be affordable!
The pallet wall I'm about to tell you about was totally FREE! That's right within our budget, heck, that's right within anyone's budget!
NOTE: You can find pallets on Craigslist, Marketplace, OfferUp, lots of places, you just have to look.
Reminder: We believe this room used to be a garage, but we're not certain.
This is what we started with. The white speckles on everything are from the ceiling redo. We knew all this was coming down, so we didn't protect against the splatter. This is the same dark paneling that used to be in our living room. Se that
right here.
My honey got to work pulling all of the paneling off the walls. It took him about 20 minutes to remove it all from the entire room.
Now we've got bare ugly walls to do something with. This wall is at the very front of the house looking out into the front yard. This is the wall we'll be covering with pallet wood.
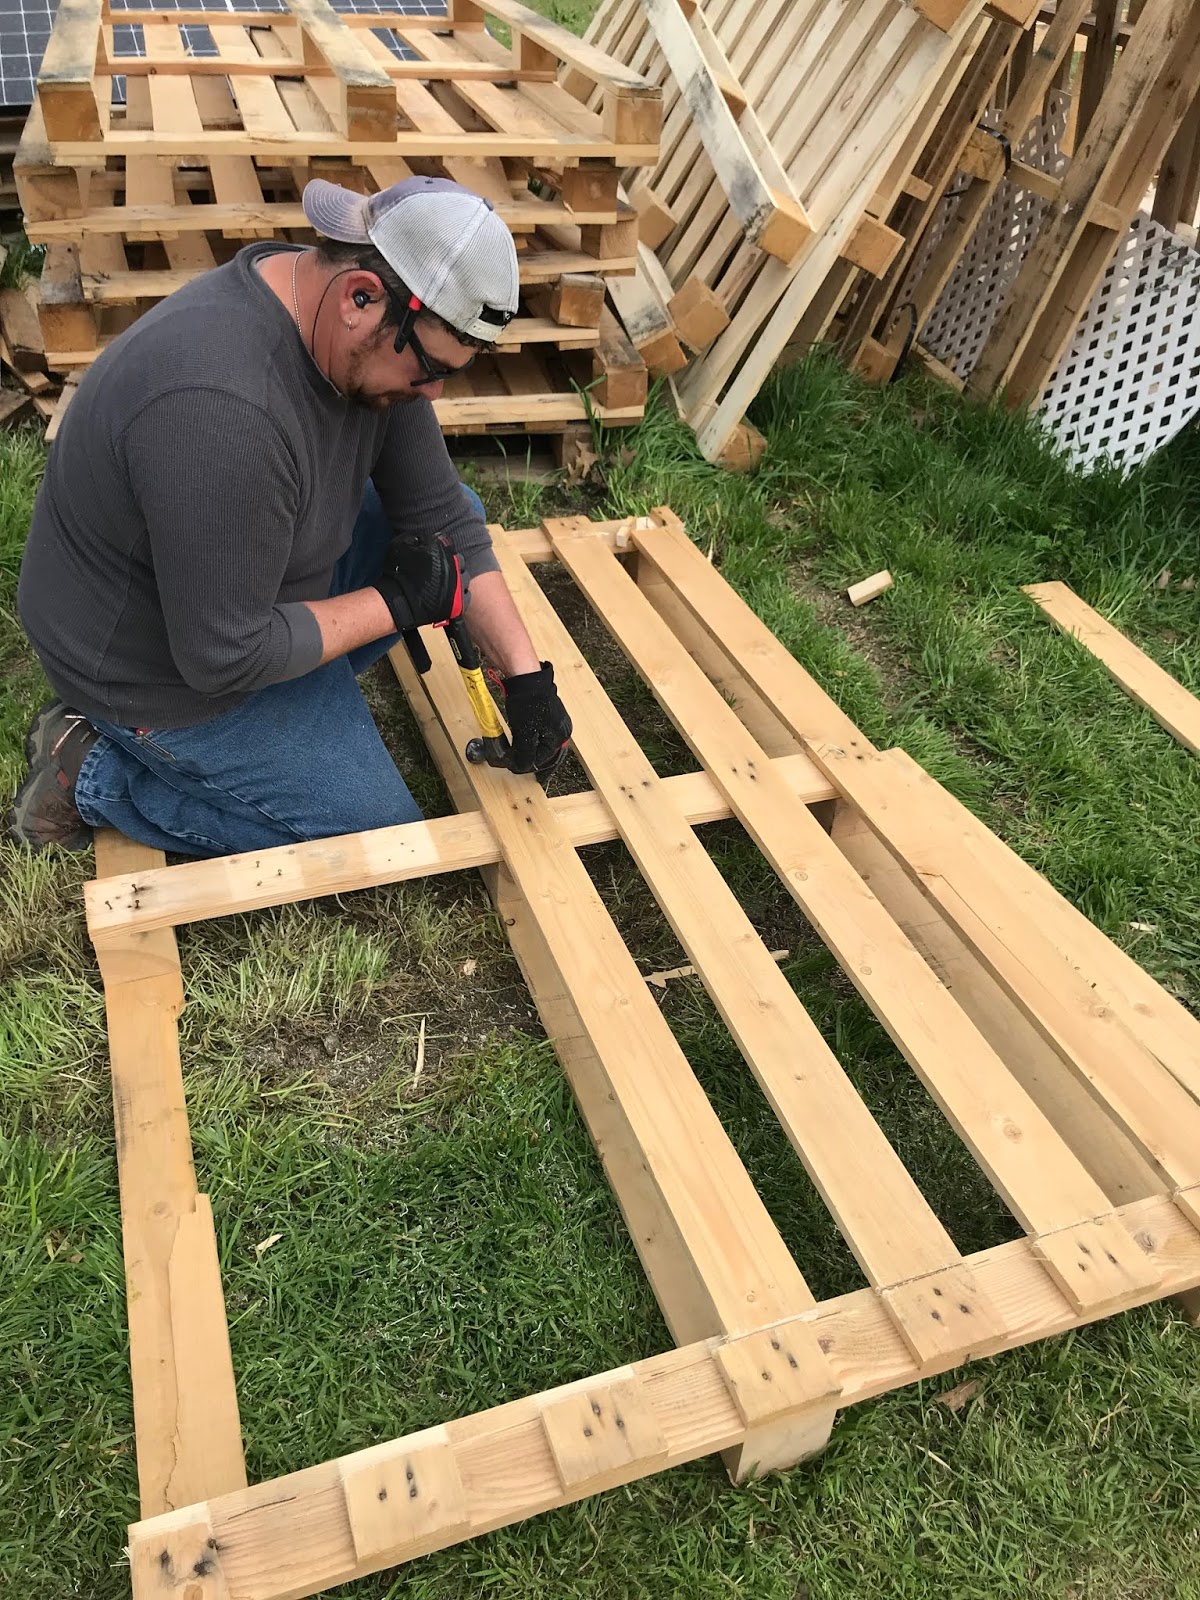
Here are the pallets that we've collected. I think there were about 10 of them. They sat in the yard getting weathered for about two months.
My honey took them apart board by board using a
roofing hammer and a
pry bar. There were 1 million nails to remove. Not going to lie, he used a
circular saw at times to make the process go faster. By that, I mean he would cut down both outer sides and then pry the nails out of the center to make the process go faster. He only did this a few times because it causes you to loose your nail holes, which is a great look for a pallet wall.
NOTE: See
this tool right here. I'm told its the best for getting nails out of pallets!
This pry bar was the most helpful for getting the spiraled nails out of the wood. This is not a job for the weak people, its hard work!
As we cleaned the boards of their staples and nails, we piled them "neatly" on the front porch so we could grab them quickly for the install.
We used gloves, a hammer
, a chalk line, a
pneumatic nail gun with 2" 18 gauge brads.
NOTE: We tried using 1-1/2" brads to start off with, but it did not hold the boards as secure as we liked so we moved up to the 2" brads. Just make sure the brad length your using is long enough to hold your boards to the wall securely.
We also used our
portable air compressor for the nail gun and our
chop saw to cut the pieces of wood to length. Not pictured is the
jig saw that we needed to cut grooves for around the windows and outlets.
We used a
chalk line to mark each stud in the wall for easy nail placement when nailing the boards to the wall.
Make sure you are wearing leather gloves, these boards are rough and you will get splinters in your hands if not.
We made sure to use the most "colorful" pieces in the middle most seen area of the room. We would get a piece of wood and hold it up to see if it looked good before measuring for the cut and nailing it to the wall.
When we came to the window and the outlets, my honey used the jigsaw to cut out the area needed to make it fit perfectly. In this picture he hasn't started yet because right after I snapped the photo, he said, where did I lay my
safety glasses? SAFETY FIRST!
Its kind of hard to see, but he cut out the section to go around the window and now it fits perfectly.
If we happened to have a large gap in the boards, I would run a bit of dark paint in that section so that the ugly wall wouldn't glow through in the future. The boards will shrink and relax slightly over time of being indoors.
We would go from one side to the other and back again, staggering the lengths of wood for an interesting look. Every now and again we came across a piece of warped wood that would require a 2" wood screw to hold it into place properly. We DID NOT use any adhesive to hold these boards to the wall, just brads and an occasional screw.
We just kept moving along one board after the other. We took our time fitting the right board in each space. This is actually harder than it seems.
It took us from 11am to 5pm (only breaking once to eat a bite) to create this entire wall. Don't forget the occasional dance parties that would break out when that one song would come on the radio! :) Since you're working with wood pieces that are not perfect, it does take some time to fit each one in the correct space. Kind of like a giant puzzle.
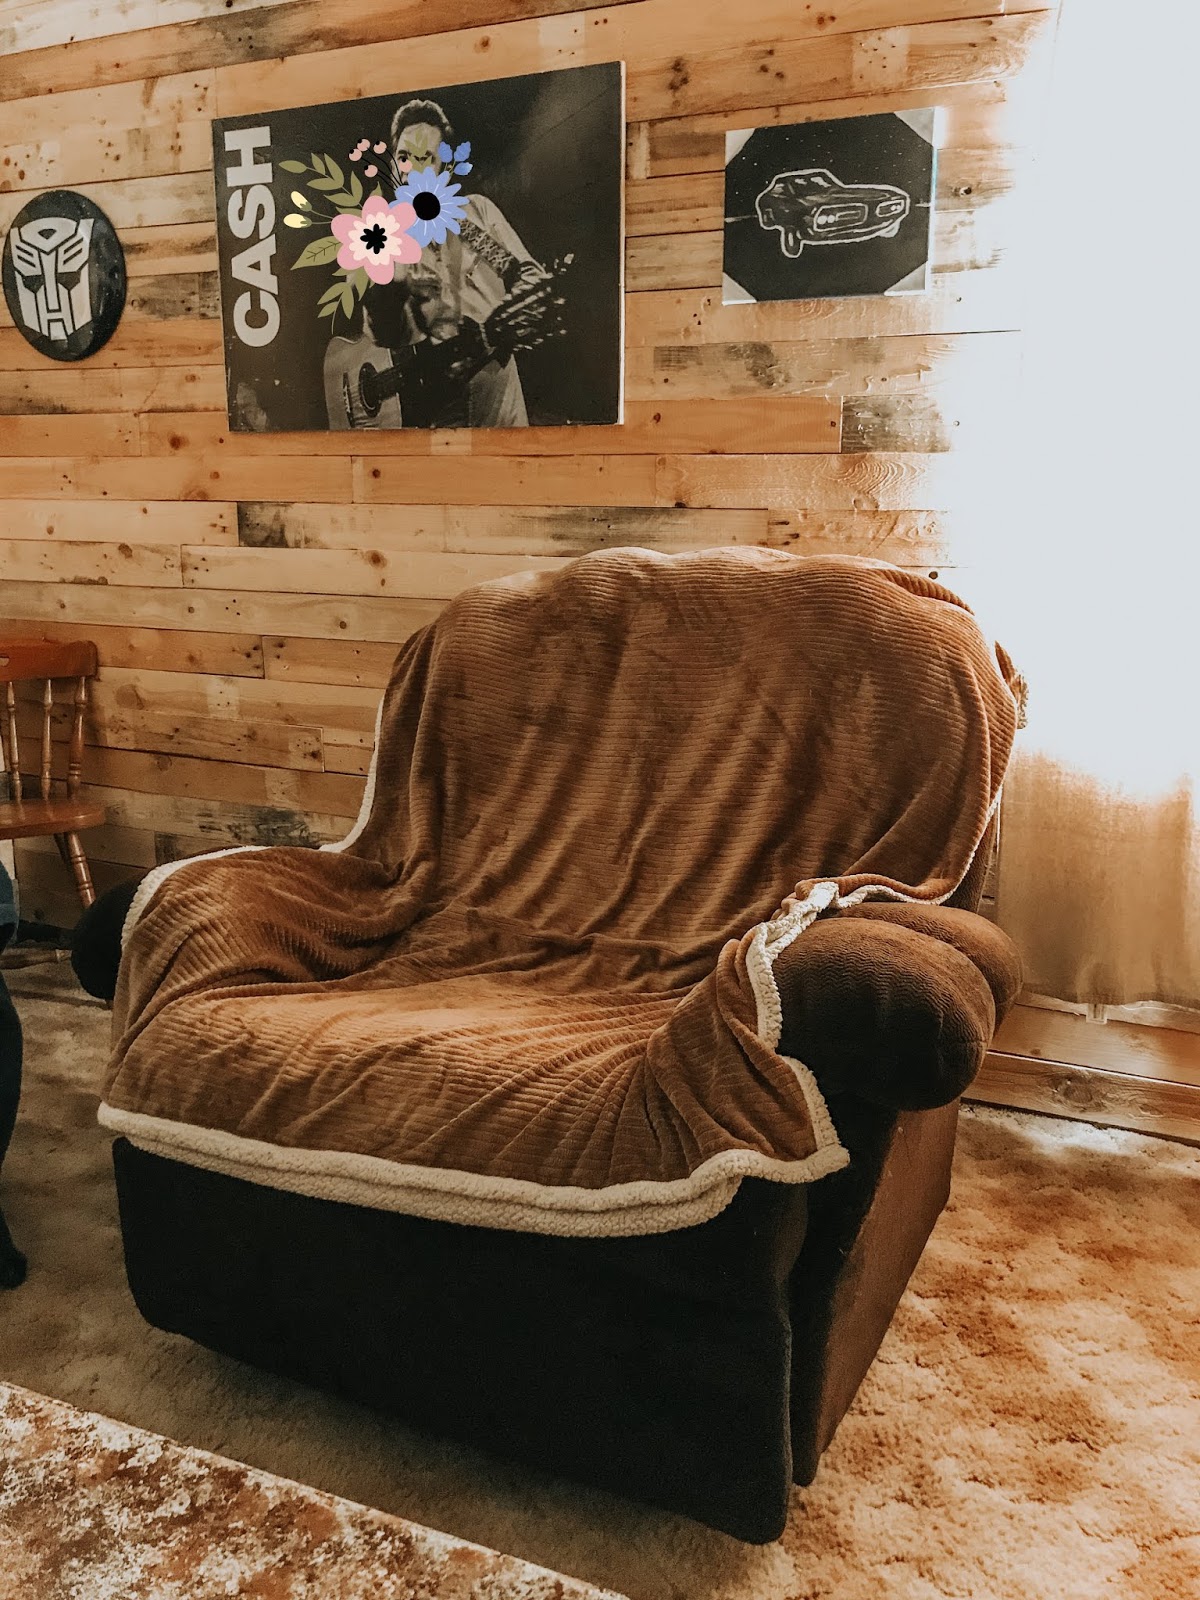
We love how it turned out and we're very anxious to finish out the rest of the walls. Stay tuned for that!
Its all coming along, its just a slow process when we only get to work on it on the weekends, but we will get there!
If you loved this idea and want to save it for later, be sure to pin it to your favorite Pinterest board. I have a Pinterest board all set up just for Man Cave ideas and I'm pinning something new every day.
It doesn't have to be done all at once. It is a slow process in the works! C-ya next time!
I'm Linking to:
These lovely and FUN parties!
Between Naps on the Porch
The Dedicated House - (I was featured)
French Country Cottage