Showing posts with label Easter. Show all posts

Sunday, March 10, 2024

Sprucing Up Your Easter Decor: Transforming Dollar Store Fabric Carrots

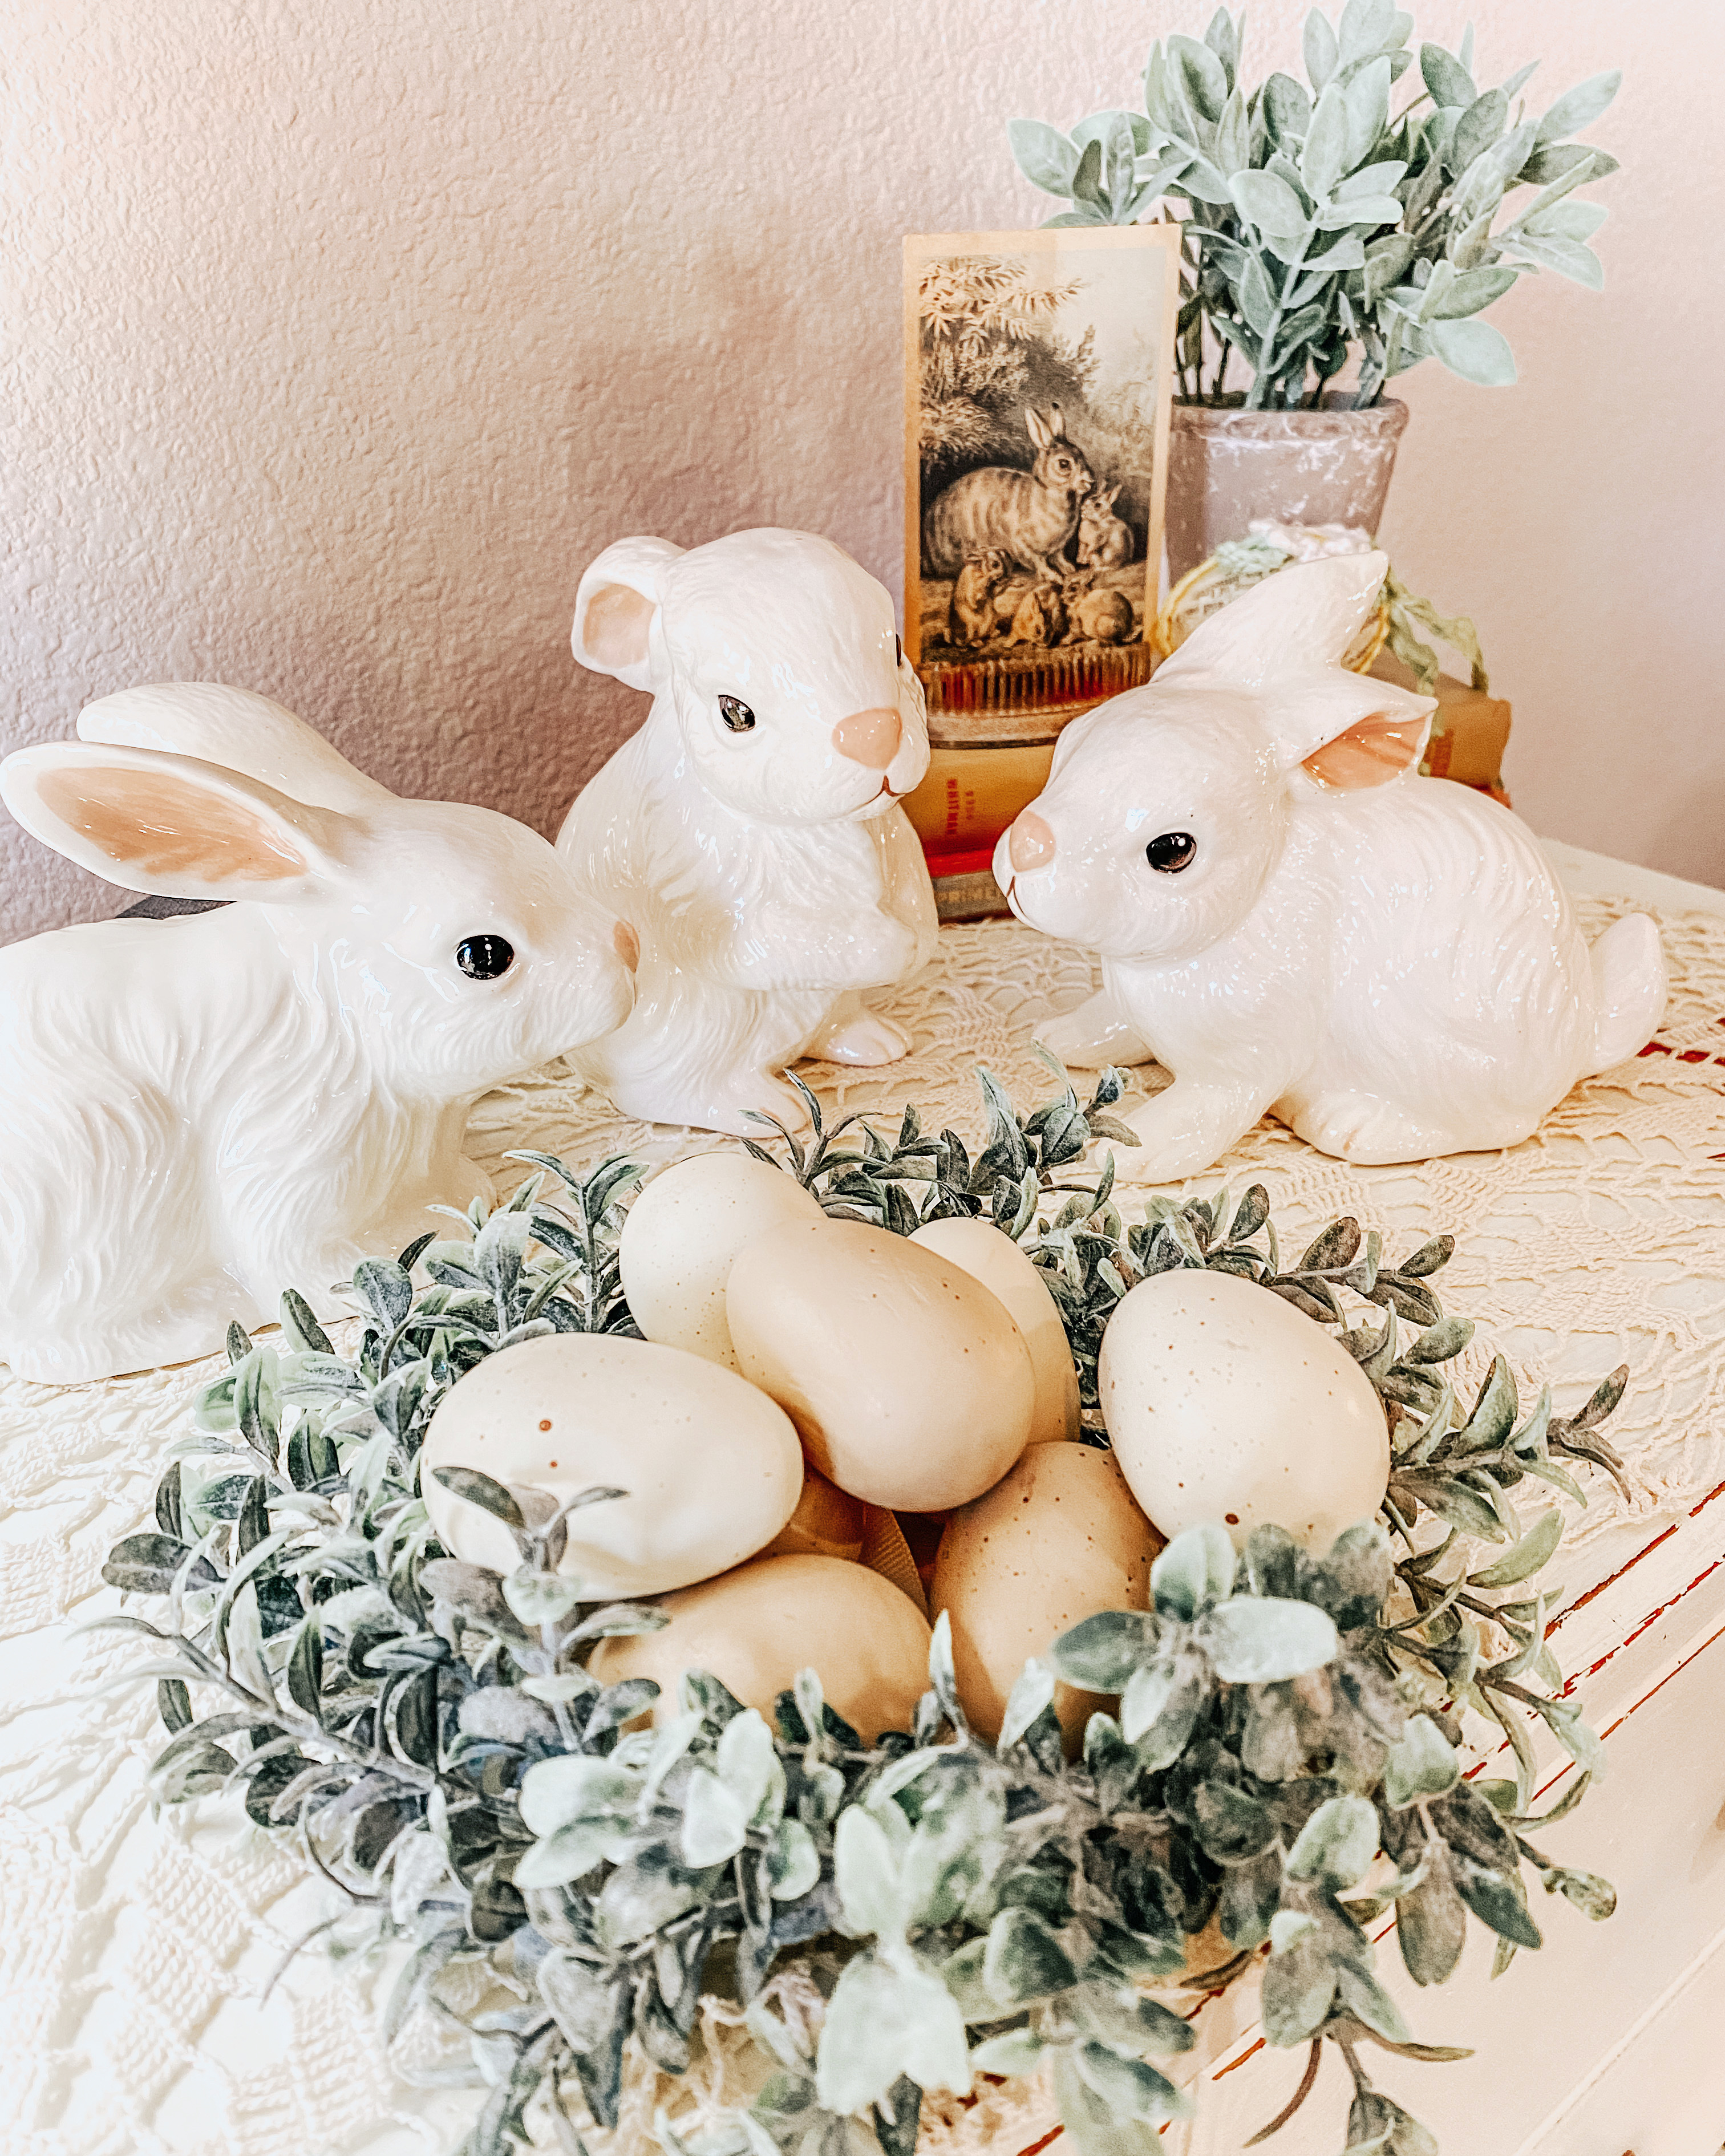
Hey there, how's it been going?  Me, I'm good but I am so over this cold weather!  Don't get me wrong, I don't want 100 degree days, but some 80s would be nice!  I've already decorated for Easter. Have you?

I spotted these little carrots at the Dollar Tree and thought they were so cute!  I felt like I could kick them up a notch by changing out the tops, so I did!

Easter is approaching in just a few weeks, so it's time to infuse your home with the vibrant colors and whimsical touches that define this joyous holiday. While there's a plethora of Easter decorations available, it's always fun to add a personal touch to your decor. One budget-friendly option that's gaining popularity is upgrading dollar store fabric carrots. My reel that I did on Instagram is still climbing on the views! These charming decorations can be transformed into eye-catching pieces that will impress your guests and elevate your Easter aesthetic. Today I will show you a way to upgrade the tops of dollar store fabric carrots, turning them into stunning accents for your home.


Choose Higher-Quality Materials: Before diving into the transformation process, it's essential to gather the necessary materials. While dollar store fabric carrots typically come with basic green tops, consider replacing them with higher-quality materials for a more polished look. Head to your local craft store or online retailers to find realistic faux foliage, such as silk or plastic greenery, that will add a touch of authenticity to your carrots.

 You will need the following items:

Fabric carrots from the dollar store (Dollar Tree)

1 stem of faux boxwood branches (Walmart)

Hot Glue gun and glue


Step 1.
Remove the jute bow but save it.

Step 2. Remove the felt carrot top, save it or not, it's up to you!

Step 3.  Hot glue 4-5 boxwood stems inside the opening where you removed the previous top.


Step 4.  Add the jute bow that you saved, back on with hot glue.

Optional Ideas:

Add Texture with Ribbons and Bows: To give your fabric carrots a charming finishing touch, adorn them with ribbons and bows. Choose ribbons in coordinating colors or patterns that complement your existing Easter decor. Wrap the ribbon around the top of each carrot, tying it into a bow for a delightful flourish. Alternatively, create a cascading effect by allowing the ribbons to drape gracefully down the sides of the carrots.

Personalize with Embellishments: Get creative and personalize your upgraded fabric carrots with unique embellishments. Consider adding decorative elements such as glitter, sequins, or small beads to the green tops for a touch of sparkle. You can also attach small Easter-themed charms or trinkets to infuse your carrots with personality. Let your imagination run wild as you experiment with different embellishments to achieve the desired look.

Step 5. Decorate with your "hopped up" carrots!

  1. Display Them Creatively: Once you've completed your upgrades, it's time to showcase your transformed fabric carrots in your Easter decor. Arrange them in a decorative basket or display them alongside other Easter decorations on a mantle or tabletop. Get creative with your placement, mixing and matching different sizes and styles of carrots for visual interest. Don't be afraid to experiment until you find the perfect arrangement that brings your Easter vision to life.


  2. Upgrading dollar store fabric carrots is a fun and budget-friendly way to add a personalized touch to your Easter decor. By incorporating high-quality materials, floral arrangements, ribbons, bows, and embellishments, you can transform these humble decorations into stunning accents that will impress your family, friends or maybe your Instagram peeps!.

Let's get to crafting!

  1. For more fun DIY ideas, go visit my Instagram. I post every single day. Find me @TexasBlueBunglaow on Instagram.

    • If you loved any of these ideas and want to save them for later, be sure to pin it to your favorite Pinterest board.  I have a Pinterest board set up for all kinds of wonderful Easter ideas and it's called Here Comes Peter Cottontail.  I'm pinning something new on Pinterest every day. Won't you join me?

    • ***I am a participant in the Amazon Services LLC Associates Program, an affiliate advertising program designed to provide a means for me to earn fees by linking to Amazon.com and affiliated sites.**


Pin It!

Sunday, February 25, 2024

Crafting Whimsical Delights: Transforming Wooden Clothespins into Carrots

Hey there!  I went missing for a while, but now I'm back.  I had the flu and it was awful.  I was down for the count and then I did not feel creative whatsoever.  Anyway, let's get on to the fun carrot craft.

In the world of crafting, sometimes the most delightful projects stem from the simplest of materials. Today, we're embarking on a charming journey that involves turning ordinary wooden clothespins into adorable carrot decorations. Yes, you heard that right—we're going to make wooden clothespins look like carrots!


Isn't this the cutest idea?! I saw these "carrots" on Pinterest and had to make some of my own! They are the best little Farmhouse Decor pieces you need to add to your Easter vignettes or tiered tray displays or maybe all together in a cute Easter basket like I have here!

So, gather your supplies and let's dive into this fun and whimsical DIY project.

You will need the following items to recreate my clothespin carrots:


Wooden clothespins (remove the spring)

Green yarn for the tops

Orange Paint - spray paint or acrylic can be used

Hot Glue Gun and Glue set on low (Tacky Glue can be used as well)

Scissors for cutting the yarn and paint brushes if you use acrylic paint.

  1. Step one: Remove the springs from the clothespins.

  2. Prepare Your Workspace: Lay down some newspaper or a crafting mat to protect your surface from paint spills if you are inside or use a piece of cardboard or wood if you're outside.


  3. Step two: Painting the Clothespins. Start by painting your wooden clothespins orange. You may need two coats for full coverage, depending on the type of paint you're using. Let each coat dry completely before applying the next. I did not paint the flat sides of my pins because I knew they wouldn't show.


  4. Step three: Creating carrot tops.  I cut my yarn slightly longer than the pins. I used 8 strands for each of my carrots but use as many as you like for the fullness you want.


  5. Step four: Assembly. Once everything is dry, carefully hot glue the green yarn to the top of each clothespin.

  6. NOTE: DO NOT make the mistake (like me) of gluing the yarn inside the pin, it doesn't end well and makes the pin not want to stay together and look nice.


  7. I found by experimenting that if you glue your pins together first, then add the yarn to the top, it looks much nicer!


  8. Step five: Glue 8 pieces of yarn directly on top, 4 pieces on the right side and 4 pieces on the left side. Be sure to press down gently to secure the attachment.


    1. Step six: Wrap one single strand of yarn from the first notch up to the top like you see here. Glue in place as you wrap.


  9. Step seven: Optional. Unravel the yarn for a fuller look. My yarn had 4 strands to each piece and gave this look at the end.

  10. Display Your Creations: Now that your wooden clothespins have been transformed into delightful carrots, it's time to showcase them! Arrange them in a basket as a charming centerpiece, use them as placeholders for a spring-themed table setting, or hang them on a string to create a whimsical garland.
With just a few simple materials and a dash of creativity, you've successfully turned ordinary wooden clothespins into adorable carrot decorations. This DIY project is not only fun and easy to do but also adds a touch of whimsy to any space. Whether you're crafting these carrots for Easter, springtime decor, or just for the joy of crafting, they're sure to bring smiles to faces and brighten up any room they adorn. So, why wait? Grab your supplies and start crafting your own charming carrot creations today!
  1. For more fun DIY ideas, go visit my Instagram. I post every single day. Find me @TexasBlueBunglaow on Instagram.

    • If you loved any of these ideas and want to save them for later, be sure to pin it to your favorite Pinterest board.  I have a Pinterest board set up for all kinds of wonderful Easter ideas and it's called Here Comes Peter Cottontail.  I'm pinning something new on Pinterest every day. Won't you join me?

    • ***I am a participant in the Amazon Services LLC Associates Program, an affiliate advertising program designed to provide a means for me to earn fees by linking to Amazon.com and affiliated sites.**


Pin It!

Sunday, February 19, 2023

Simple Spring Vignettes

Hey there! I hope you're doing well. Have you seen what I've been sharing over on my Instagram page?  No? Well get on over there and see!

Do you love vintage collecting?

Do you love thrifting for vintage treasures?

Do you also love decorating with your vintage items?

Me too!  Let me show you how I use my vintage bunny collection as well as a few more of my collections to create simple vignettes for Spring.

Bunnies are always a good choice for Spring and you can always find them while out thrifting. If they happen to be the wrong color when you find them, be sure to grab your spray paint!

You can always find tons of doilies, all shapes and sizes.  Doilies are a must for my decorating style.  I mean, it's just not complete if I don't have a doily or two.....or ten.

One easy way to create vignettes is to set everything on a tray.  Green glass and silver pieces are perfect for Spring as well.  These are two more things I always find while out thrift shopping, colored glass and lots of old silver pieces.

Easter Baskets, or any kind of basket is fun for Spring and creating a fun vignette.  Fill your basket with handmade eggs and carrots to celebrate Spring's arrival.

Books, old ephemera and floral frogs are always good, so collect those when you find them too.  Stacks of books are the perfect base for any small vignette.

As you can see, I just create little Vignettes by using my collections of vintage treasures. It's just a tiny display of my favorite things.

If you loved any of these ideas and want to save them for later, be sure to pin it to your favorite Pinterest board.  I have a Pinterest board set up for all kinds of Spring decor ideas and it's called Here Comes Peter CottontailI'm pinning something new on Pinterest every day. Won't you join me?

***I am a participant in the Amazon Services LLC Associates Program, an affiliate advertising program designed to provide a means for me to earn fees by linking to Amazon.com and affiliated sites.**

Pin It!

Sunday, March 20, 2022

FREE Bunny Ear Napkin Rings in Just 3 Steps

Hey there! Happy first day of Spring!

What's better than FREE decor? Not much I reckon! Let me show you how I made these adorably cute bunny ears napkin rings for FREE though!

I got the idea from my sweet friend Sher @daisylife4sher  Check out her Instagram, she's an amazing DIYer!

You will need empty paper rolls, scissors and glue.  I used a paper towel roll and a toilet tissue roll, but I'm pretty sure you could make all four from a paper towel roll.

First Step:  Cut the ring part.  I did not measure, but you can if you want.  Mine are about 1 1/4" tall.  

Second Step:  The ears are just a thinner slice, about 3/4 of an inch.

Third Step: Using paper glue, glue the ears together to the ring.

I glued my ears toward the back of the ring, but there is no definite way to do it.

Aren't they so cute?

The zip dry glue dries very quickly so I was stuffing the new rings with napkins and making my table look pretty in no time!

I left my napkin rings natural, but you could also paint them all white, or maybe a different pastel color each? It's up to you!

I gotta get back to my laundry now, yall have a wonderful day!

See more pretty pictures over on my Instagram page.

If you loved any of these ideas and want to save them for later, be sure to pin it to your favorite Pinterest board.  I have a Pinterest board set up for all things Spring and Easter and its called Here Comes Peter Cottontail! I'm pinning something new on Pinterest every day. Won't you join me?

***I am a participant in the Amazon Services LLC Associates Program, an affiliate advertising program designed to provide a means for me to earn fees by linking to Amazon.com and affiliated sites.***

Pin It!

Sunday, March 13, 2022

I'm Hopping into Easter with Vintage Bunnies, Eggs and Carrots

Hello there! How are you?

I'll just be honest and tell you that all this cold and nasty weather makes me feel bad and my mood hasn't been the greatest lately.....so, come on Spring and sunshine!

To help myself feel better, I pulled out the Easter decorations the other day and started to decorate.  I have bunnies, eggs and carrots everywhere now!

Looks like these little sweeties found a nest of eggs!

These ceramic bunnies were a gift from my step-mom a long time ago when my boys were little.  They come out each year because they're just too adorable not to.

This bunny post card on an old flower frog is perfect for my vintage Easter decor.  I used a couple of old books as the base and then added my handmade egg and a little greenery in a pot to finish the look.  Find details on how to make the egg HERE

I brought out all of my carrots too!  I've collected several different types over the years!

That adorable bunny picture is one I found on Google.  I just printed him on card stock and framed him.  So cute!  See how I did the frame HERE.

I added a pop of orange with my old Jello mold and topped it with a candle stick and a green candle.  All of this (except greenery) was found at Goodwill!

On the opposite end of the mantle is a sweet vintage Easter basket holding a carrot I made several years ago, see how I did that HERE.  There's also a bunny I bought at Walmart lots of years ago.  The gorgeous greenery is HERE and I love using it year round.

Carrot garland is from Hobby Lobby.  I couldn't find one just like mine, but here's a cute one

More Goodwill bunnies...actually, everything here was thrifted, except the carrots, eggs and florals!

These two cuties started out brightly colored and not quite my style, but I just spray painted them white and now they fit in anywhere I place them! Adorable!

Well, I'm off to fluff and straighten up now.  I hope yall have an amazing day!

If you loved any of these ideas and want to save them for later, be sure to pin it to your favorite Pinterest board.  I have a Pinterest board set up for all things Spring and Easter and its called Here Comes Peter Cottontail! I'm pinning something new on Pinterest every day. Won't you join me?

***I am a participant in the Amazon Services LLC Associates Program, an affiliate advertising program designed to provide a means for me to earn fees by linking to Amazon.com and affiliated sites.***

Pin It!
01 09 10