Showing posts with label Camper. Show all posts

Sunday, July 5, 2015

DIY Camper Waste Tank Cleaner

We love our camper and we love camping, but sometimes it can become a bit spendy with the upkeep of it all.  We ran out of the chemicals you need to freshen the waste tank, so I went looking on Pinterest for a more household friendly solution. Thanks Love Your RV!
Borax Detergent and Calgon Water Softener was the best solution I found. This combination is way cheaper and last way longer than those little bottles of blue chemicals. Win!

For our recipe you will need:

1 bag of ice

After cleaning out your waste tank the best you can, you will add the recipe above directly into the toilet in the same order listed. The Borax helps control the odors and cleans the tank, the Calgon makes the water softer and more slippery which helps waste from sticking to the bottom of the tank. The bag of ice trick  is a process my Daddy taught us and it acts as a "scrubber" to loosen waste from the tank.   We normally add this mixture to the toilet on our way home from a camping trip so the ice can do its job as the camper jiggles and jumps down the highway.
The combination of these three items will save your nose and your camper's atmosphere from the stinkies!  

Want to know more about camper tips?  Click below.

It doesn't have to be done all at once.  It is a slow process in the works! C-ya next time!

I'm Linking to:
These lovely and FUN parties!
Between Naps on the Porch
DIY Home Sweet Home
We Call It Junkin


Pin It!

Sunday, January 4, 2015

Clover House's Top 10 Posts of 2014 - A Year in Review

Whoa! What a collection of top posts we have for the year 2014! It's quite the diverse collection of subjects, that's for sure!  One thing though, we couldn't have done it without all of our visitors this past year.  THANK YOU!

Here's our top 10 project posts of 2014.  Just click on the link below each picture to be taken to the original post, there you can read all the good information that a lot of people found interesting too!  Enjoy! :)


People love a good how-to, that's for sure!  I hope you've enjoyed browsing our top 10 posts of 2014!  Did you get some good ideas?  I hope you pinned them to try later! Thank you to all who visit our blog and especially to the readers who take time to leave a sweet comment, we love comments!   Keep watching in 2015 for more great ideas, recipes, tips and tricks!  :)

Would you like to see our 2013 in Review?  Even more awesomeness HERE.

It doesn't have to be done all at once.  It is a slow process in the works! C-ya next time!

I'm Linking to:
These lovely and FUN parties!
Between Naps on the Porch
DIY Home Sweet Home
We Call It Junkin

Pin It!

Sunday, March 23, 2014

RV Fridge Makeover with Chalk Paint

Our camper had a bit of damage to the fridge door.  It bugged me!  I fixed it...with chalk paint!  Everything is better with chalk paint, right?
I'm going to have so much fun keeping the camper themed chalk art on here!  There are so many cute ones out there too!
See the "T" shaped damage there? I think the previous owners must have taped something there and when removed, the tape took off the "wood grained" paper covering on the doors.  I fixed it in a flash using my chalk paint.
First, I taped off the parts I didn't want painted with some blue painter's tape.  Make sure you get a tight seal with your tape or you may have leaks where you don't want them.
Here's a trick I found on Pinterest.  Cover your paint tray with foil for faster clean up!  Love it!  I wish you could cover your brush and roller too! LOL!  I put down a drop cloth and wore gloves because I'm messy when I paint!
I applied the first coat of paint with the brush.  It didn't cover very well as you can see above.  I can still see the damage at this point too. Not good.
I applied the second coat of paint with the roller.  Much better this time but I can still see the damage!  Maybe one more coat?
All together I applied 3 coats of chalk paint, actually more over the damaged area, but if you look really hard, you can still see the damage a little bit. Darn it!  Well, its not glowing like it was before I started the process.
As directed, I waited 48 hours for the paint to cure and then I primed it by using a piece of white chalk.  Using the side of the chalk, rub the entire surface like you see above.  Remove the chalk with a dry cloth and you're on your way to creating your chalk art designs!
You can find lots of designs for chalk art on Pinterest.  I even have a board all about Chalky Love.  I also previously made a camping themed chalk board art HERE.
Since I created this art, we've gone camping with the kiddos.  Being that the fridge is right near the door, the art didn't fair too well.  Must be time for another design!

It doesn't have to be done all at once.  It is a slow process in the works! C-ya next time!

I'm Linking to:
These lovely and FUN parties!
Between Naps on the Porch
DIY Home Sweet Home

Pin It!

Saturday, March 1, 2014

Our "New-To-Us" Camper Repairs

Remember HERE and HERE when we remodeled our little popup camper?  Well, we upgraded to a 2005 Fleetwood Terry 27 foot camper and lets just say that it needed a little TLC after sitting unused for about 2 1/2 years.
There she is on the left, our new toy.  Our little popup camper, on the right, has already found a new home, a first time popup owner!  I snapped this picture on the day we transferred all our camping gear from old to new.  There are lots of little things to do to the new one, so it will be a while before she's just the way we want her.  We've already started fixing things here and there.
First off, one of the back end jacks had been damaged and needed to be replaced.
Quick work for my handy man honey!  He went ahead installed two new jacks on the back end simply because they came in a pair when we bought them. Very nice work honey!
Inside the camper I got to work cleaning and spiffing things up.  The previous owner left some type of frozen something in the freezer (from over 2 years ago) and oh em gee it smelled disgusting!  I cleaned it really good with windex with vinegar, but it still smelled really bad in there.  I placed a box of soda inside with the door shut to see if that helped....NO.....it did not!  Now I have it propped open to try and see if that will work. So gross, that smell!  Any ideas?
This is the freezer, where the stinky crime happened.  The finish on the bottom did not fair too well.  My Daddy gave me some appliance repair paint to help stop the breakdown.  I'm hoping it works.
The ceiling near the air conditioning vent was a bit dirty with a really fine black dust, so I sprayed it down with windex and made it all sparkly white again.  I also wiped down the vent itself and cleaned the filter while I was at it.  I simply vacuumed it clean with our little shop vac.
This was happening in a few places throughout the camper.  This is over the stove, so maybe the steam from cooking helped it along, but I'm not sure what the other spots excuses where.
This area in the kitchen had all turned a green color.  They used to be brown to match the rest, but now, not so much!
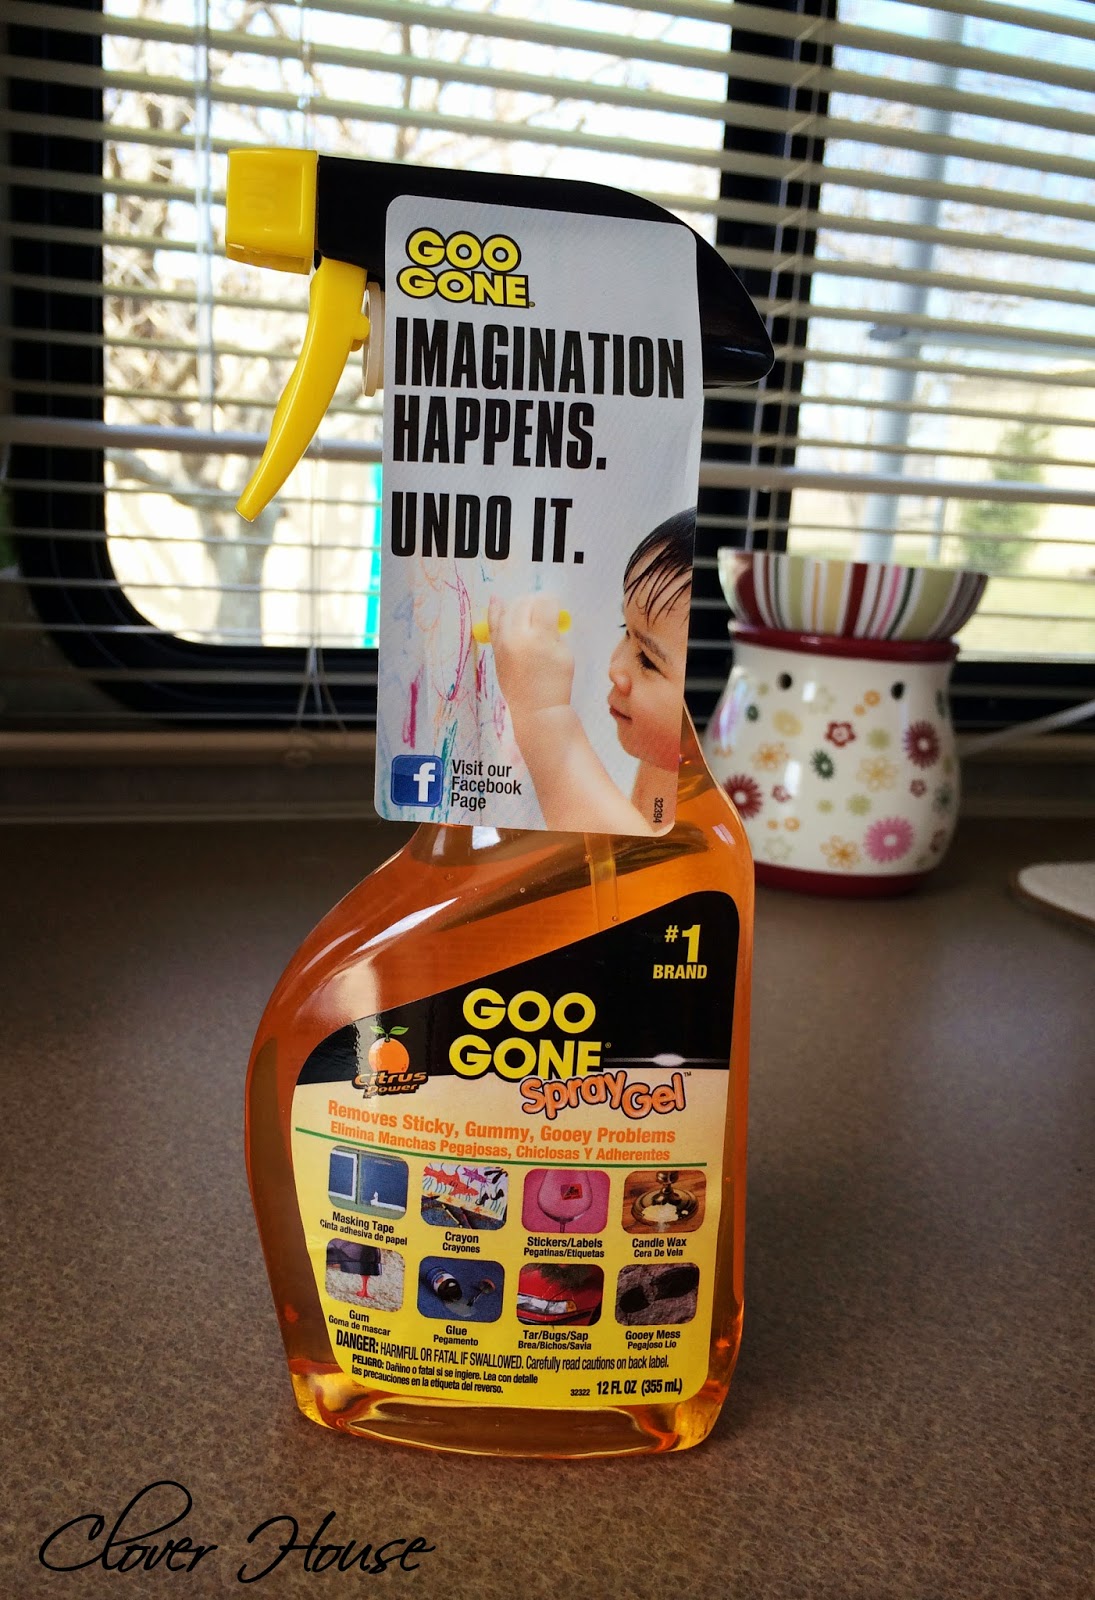
Long story short, I pulled all of the border paper off and used goo gone to clean off the adhesive left behind...very sticky adhesive.  I'm still working on that project, but boy does this stuff work well on it!
On the outside again my honey got to work with the pressure washer cleaning the whole camper so it would be pretty for our maiden voyage coming up in oh about 2 weeks! Woohoo!
This man is detailed I'm telling you!  Who would ever see the top of the camper?  Oh but it needed it so he could seal all the seams and around everything on the roof to prevent leaks.  He used Dicor Rubber Roof Lap Sealant in white It's specially made for RVs.
Um eeeew!  That's a lot of grime on there huh?  Not anymore!  He made it look like new again!  He used marine and RV concentrate soap from Lowe's along with the pressure washer to make it look new again.
Back inside, but time for my honey's skills.  The kitchen faucet leaked really bad when turned on, so he replaced it with a nice new one we picked up at Lowe's.  He had to drill a hole for the sprayer because this faucet was a bit different installation than the original one.  He used a small hole saw to drill the hole and then I used the shop vac to clean up the mess.  Easy!
So very nice now and guess what? No more leaks!  You know, its almost like home in there now!  Thank you honey!  Well, that's all I have for you this time, but stay tuned for more camper updates coming soon!  We are trying our best to bring our new toy into the year 2014. Lots to do!

It doesn't have to be done all at once.  It is a slow process in the works! C-ya next time!

I'm Linking to:
These lovely and FUN parties!
Between Naps on the Porch
DIY Home Sweet Home

Pin It!

Sunday, December 29, 2013

Clover House's Top 15 Posts of 2013 - A Year in Review

WOW! What a year 2013 has been! We've done so much but still have so much to do! It took a bit of gathering of information, but here's our top 15 project posts of 2013.  Just click on the link below each picture to be taken to the original post and all the good information!  Enjoy! :)

I hope you've enjoyed browsing our past year of the top 15 posts!  Did you get some good ideas?  I hope you pinned them! Thanks to all of our readers for making it such an awesome year!  Keep watching in 2014 for more great ideas, recipes, tips and tricks!  :)

It doesn't have to be done all at once.  It is a slow process in the works! C-ya next time!

I'm Linking to:
Sunday
Under the Table and Dreaming by Stephanie Lynn

The Self Sufficient Home Acre 
The Chicken Chick,  Sew Can Do
Monday
Craft-O-Maniac, 

Between Naps on the Porch
DIY Home Sweet Home
Keeping it  Simple 
The Dedicated House
Skip to my Lou
Home Coming
Tuesday
Not Just a Housewife

My Uncommon Slice of Suburbia
Sugar Bee Crafts 
New Nostalgia 
It's your Life
BeBetsy
Fluster Buster   
Confessions of a Plate Addict
A Stroll Thru Life
Wednesday
Clean and Scentsible

Lady Behind the Curtain
Family Home and Life
Ducks n a Row
VMG206
Herrban Momma 
Family Home & Life
Oh My! Creative
Thursday  
Bloom
The Taylor House
52 Mantels
Domesblissity
4 You With Love
Sweet Haute
Artsy Fartsy Mama
From My Front Porch To Yours
Friday 
Lil’ Luna
Tatertots and Jello
Five Simple Things
Craftionary
Diana Rambles
I Heart Nap Time
Crafts a la mode
Saturday 
Angels Homestead
Positively Splendid,
Or So She Says
Your Homebased Mom
What's Cooking with Ruthie
Made From Pinterest

Pin It!
01 09 10