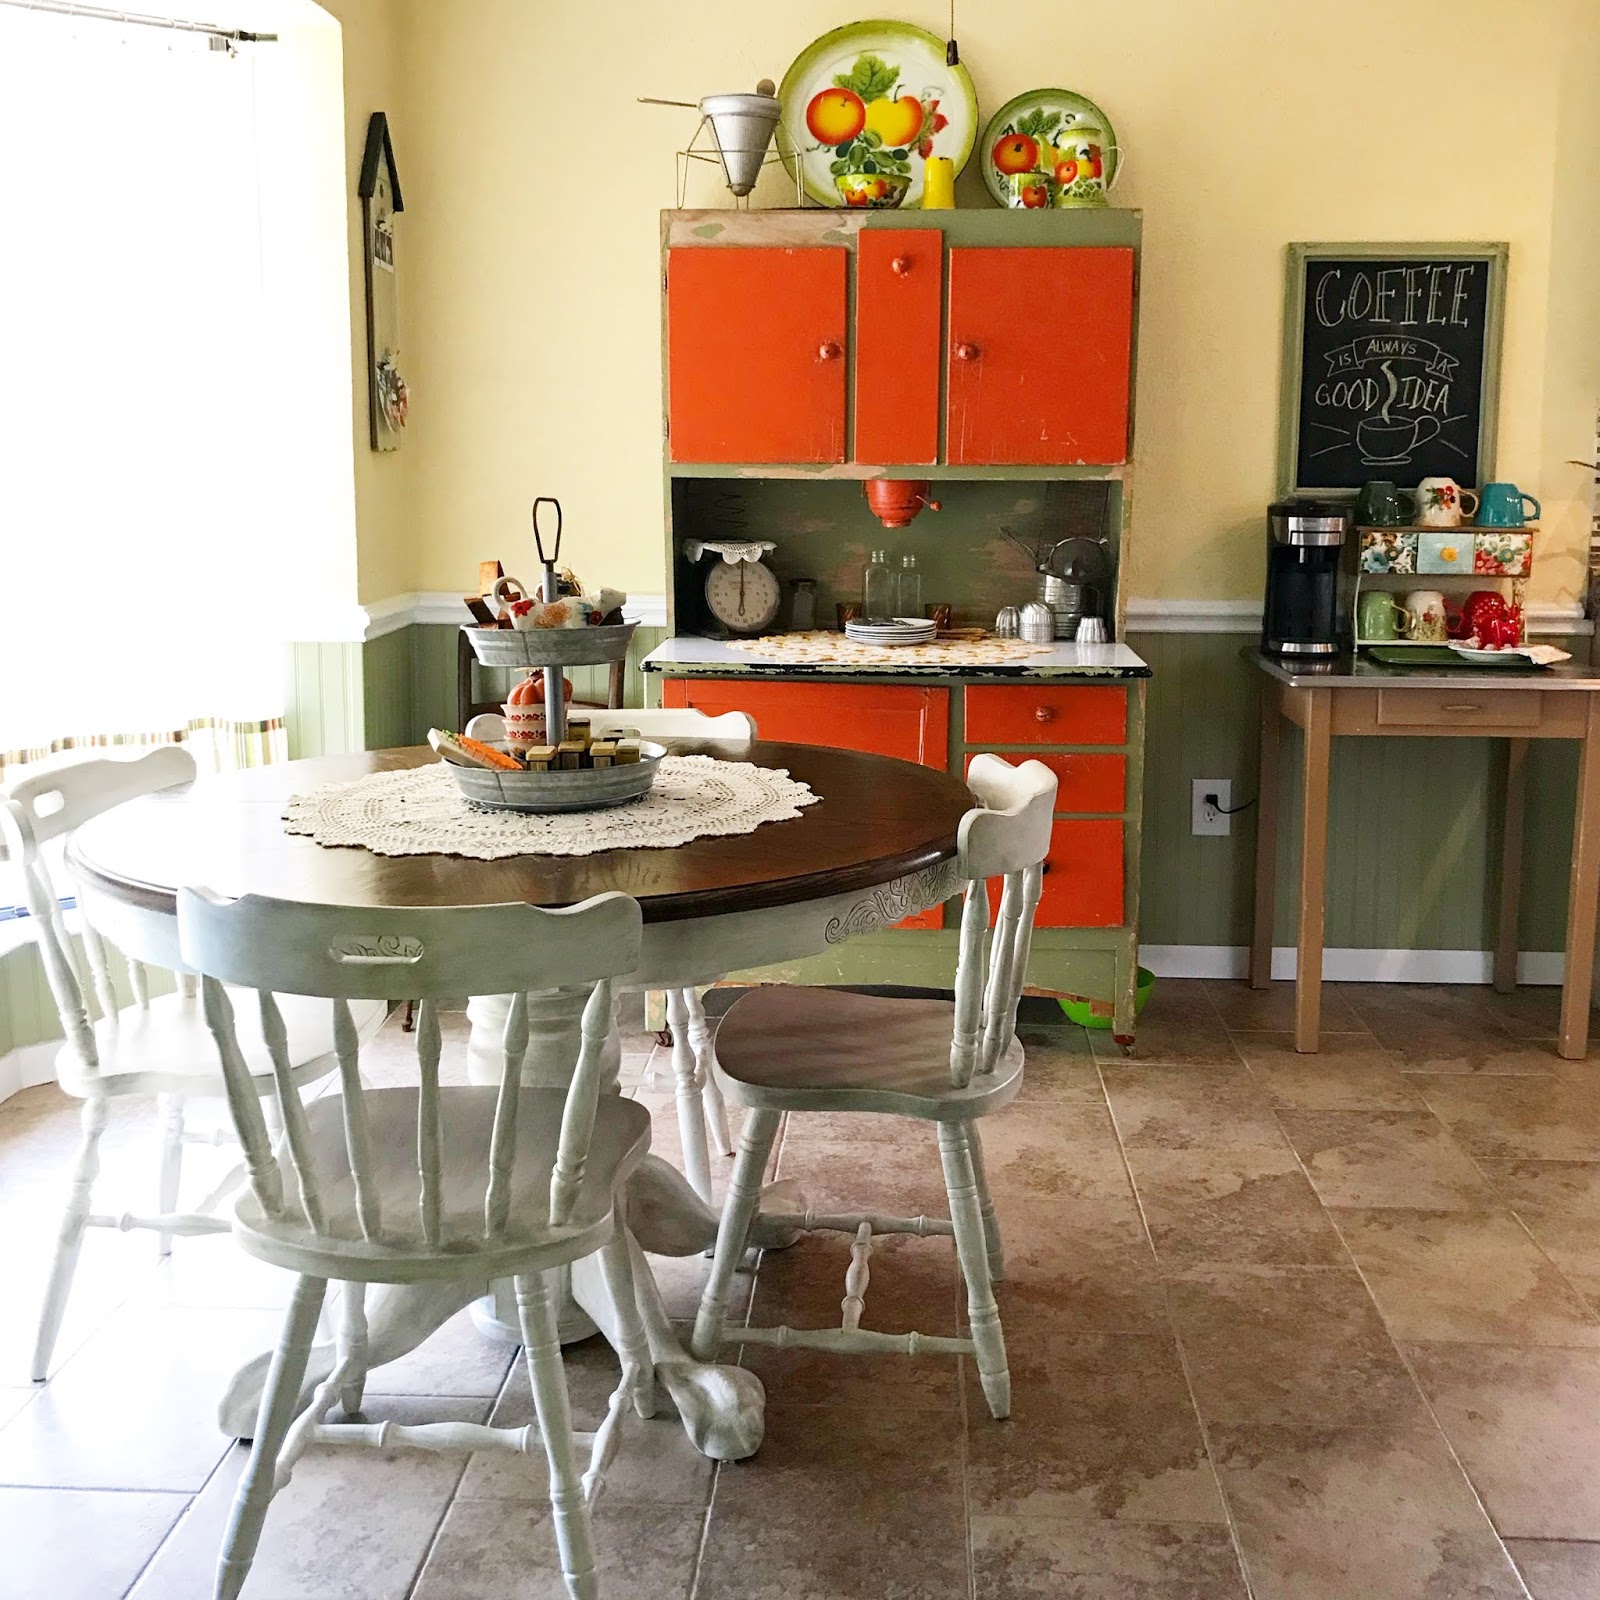
Showing posts with label Dining Room. Show all posts

Sunday, August 25, 2019

Farmhouse End of Summer Centerpiece

Summer is almost over now, well, unless you live in Texas like we do, then you have about two more months of hot weather to go.  Nonetheless, in the decorating world, Summer is coming to an end and I've created an end of Summer centerpiece for our dining room table.
I normally just shop my stash and use what I have and this time was no exception.  I just used a few vintage items along with a few new items and this is what I came up with.
This old fruit sieve was my Mamaw's and I treasure it for sure so anytime I can use it in my decor, I do!
I used our everyday Pioneer Woman dishes to style my centerpiece and I may or may not have had a piece of cheesecake after the photo shoot! ;)
That cute little bee block was made by yours truly for another little vignette I set up to honor National Honey Bee day a while back.  It's two sided and I used the other side for that set up.  You can see that right here on my Instagram feed.

The sweet little Ball jar is my favorite in my collection.  It so perfect I can't stand it! :)  Those blue jars with the zinc lids are fun to look for too!
I won these beautiful napkins in an Instagram giveaway, the sweet little vintage doily gets used a lot in my decor and that little bunch of freshly dried Dill was from my garden this year.  It's tied up with a piece of twine.  The old vintage fork is part of my collection. I'm always looking for beautiful old silverware, but rarely find it at affordable prices.
I created this cute two sided block in about 15 minutes flat and now I want to make more of all kinds.  I grabbed the "S" block for Summer and the books just happened to match my color scheme I had going on here.  I love decorating with books!  These are a few more of my fork collection and of course I'm slowly but sure gathering old silver trays for a project I have in mind.
I get all my flowers from Walmart and the Dollar Tree. They are affordable and they look nice too.  I have a giant stash of all kinds of flowers and greenery that I can pull from when creating these centerpieces or any arrangement for that matter.

If you loved this idea and want to save it for later, be sure to pin it to your favorite Pinterest board.  I have a Pinterest board all set up just for Farmhouse Decor Ideas and I'm pinning something new every day. Won't you join me?

GREAT NEWS!  I now have an Amazon Storefront!  If you ever want to purchase anything I'm showing you here, you can pop over to my shop and see what I've picked out for you! Click right here to visit.


It doesn't have to be done all at once.  It is a slow process in the works! C-ya next time!


I'm Linking to:
These lovely and FUN parties!
Between Naps on the Porch
The Dedicated House  - (I was featured)
French Country Cottage
Skip to my Lou
The Self Sufficient Home Acre

Pin It!

Sunday, April 14, 2019

Farmhouse Easter Table Setting

Hello sweet friends!  Do you set a beautiful tablescape for each holiday or season? No? Me either! Haha!  I do however love to shop my stash and pull out enough stuff to make two place settings and photograph them to put on my Instragram feed!  Is that weird? Oh well, I'm weird then!
Its a little like playing dress up when you were a kid.  Its just fun to me!  If you happen to visit my Instagram and scroll through the photos, you will see that I have made many place settings! You can find me over there @ddcamp170 if you want to look for place sittings! :)

Just so you know, I'm not a pro at setting tables.  I'm doing this just for fun, so don't send the table setting police after me if I'm doing it wrong!  Some people take this very seriously, but Martha don't live here girl!
Let's break down the layers of how I assembled this Easter setting.

1. Straw charger that I found at Dollar General for $3.
2. One of my Pioneer Woman dinner plates (I always use these).
3. A sweet vintage hankie
4. A very beautiful white vintage dessert plate.
5. Top it off with a chenille carrot, a vintage bunny cookie cutter and lastly a couple of gold chocolate eggs.
6. Add silverware and a glass.

NOTE: You do not have to use vintage elements to accent with, you can use things you have on hand like paper napkins, candy from the candy bowl and little knick knacks you have sitting around.  You can even go outside and pick some flowers or clip a little green leafy branch too.  Just use your imagination, its supposed to be fun!
We also have a beautiful centerpiece sitting on one of my vintage doilies which I talked about last week in a post right here.
Another fun fact that I shared on IG is that I only ever make two place settings because, one, I'm doing it just for fun and two, I normally only have enough old junk to make two at a time! lol! :)
If you'd like to see how I did a makeover on my table and chairs, you can click right here.  I think my dark table top makes everything even more beautiful!
That's my fun way to create a Easter Table Setting. I hope you enjoyed it and try it yourself.  Maybe you will actually use yours and not just snap pictures of it and then put it all away! Ha! :)

If you loved this idea and want to save it for later, be sure to pin it to your favorite Pinterest board.  I have a Pinterest board all set up just for Farmhouse Ideas ideas and I'm pinning something new every day.


It doesn't have to be done all at once.  It is a slow process in the works! C-ya next time!


I'm Linking to:
These lovely and FUN parties!
Between Naps on the Porch
The Dedicated House  - (I was featured)
French Country Cottage

Pin It!

Sunday, September 2, 2018

Installing Beadboard Wainscoting

When we first found this house we knew we could make it pretty again. It was hugely out of date and needed a lot of tender loving care!  My honey never cares how I decorate he just makes all my wild ideas come to be.  In case I don't say it enough, he's the best! :)
This is how our dining room looks currently.  Well, not exactly, now there are Fall decorations up, but mostly it looks like this.
This is what it looked like when we toured it for a possible purchase.  Whoa, talk about flash back to the 80's!  So much lovely green wallpaper and oh just look at the popcorn ceiling!  We told ourselves that it was all cosmetic and could be made to look good again, and so we did, slowly but surely.

All the ugly green paper came down and the walls got textured and painted with a coat of primer.  Bobby's Dad helped us out so much!  He's texturing the walls with a WalMart sack, who knew!  He just blots the texture on a pretty good sized section of the wall, then goes back over it with a large trowel and knocks down the peaks and makes it smoother. I love it!  You can see a faint blue line about his knee level.  That is where the wainscoting and chair rail will be so he didn't texture that area.After it was painted with a coat of primer, the rest of the wall was ready for the farmhouse look of bead board wainscoting.We brought in the wainscoting and chair rail and got it all measured, cut and ready to be installed.  We placed the bead board against the wall (back side out) and and snapped another chalk line on it so it could be cut to size.Wainscoting is typically installed in chair height at 32" to 36" off the floor.  We chose the 36" height.  We ran our wainscotting from the edge of the kitchen counter all the way around under the bay window to the very small wall in the entry way.  It was a fairly small space we had to cover, so we used two full sheets of bead board paneling that we picked up at Lowe's.  We used liquid nails and the nail gun (using brads) to adhere the bead board to the wall.

TIP: Use your level to make sure you're keeping a straight line while adhering the bead board to the wall.

NOTE: If you're not into the whole "using power tools" thing, maybe try this bead board wall paper, its pre-pasted!
After all the wainscotting and chair rail was installed, we used white paintable caulk to fill in all the uneven spaces and nail holes.  I then taped off the areas I didn't want paint on and got to painting.
First we painted on the yellow to the walls.  The yellow paint is called Jekyl Clubhouse yellow (Butter).

The green color is Jekyl Crane Cottage (Sage).  We used Valspar Ultra Paint and Primer from Lowe's. This is awesome paint. Two coats and its perfect.  Lastly we painted the chair rail with a high gloss bright white trim paint.

TIP: Just in case you are rookies like we are go ahead and splurge for the really good painter's tape because when I painted the chair rail, the white leaked up on to the yellow. I'm thinking because the wall is textured, but also partly because the tape didn't really get a good hold on the wall either.
Of course we installed base boards after we tiled the floor and then the look was all complete.  I really love how our kitchen and dining room looks today.  I can't believe how much its changed since we moved in back in 2011.

What remodel job did you do first when you moved into your "new" fixer upper?

You can see how we tiled the floor by clicking right here.

More about the kitchen remodel below:
Kitchen Cabinet Makeover Part 1
Kitchen Cabinet Makeover Part 2
Kitchen Cabinet Makeover Part 3
Building a Corner Cabinet
Building a Drop in Kitchen Cabinet
Installing a Farmhouse Sink
Pantry Remodel
Old Screen Doors Get New Life
DIY Mosaic Tile Backsplash
Painting Our Cabinets

It doesn't have to be done all at once.  It is a slow process in the works! C-ya next time!
 

I'm Linking to:
These lovely and FUN parties!
Between Naps on the Porch
The Dedicated House  - (I was featured)

Pin It!

Sunday, August 5, 2018

How to Paint Chairs the Easiest Way

Remember here when I painted my dining room table and I told you we were missing a chair?  I searched and searched with no luck.  Well, my Mama reminded me that our chairs from my childhood were pretty much just like mine? "Oh yeah", I said!  Luckily My sweet Mama keeps everything and she still had two chairs that were usable.  Score!
Here is our lovely farmhouse fresh table and chairs and I love how they turned out so much!  I seriously don't know why I didn't do this sooner!  You can see how I did the table right here.
So here's the finished table with our mis-matched chairs.  After the table makeover I wanted to get the chairs done ASAP!  For one, I didn't like that all the chairs didn't match and two, the chairs and table top were way off in color now and it seriously bugged me!
Here's one of our chairs and one of Mama's chairs.  Can you see the slight differences?  They are pretty close so I chose to use two of ours and two of Mama's so that there was somewhat of a uniform situation going on around the table.

I really like these chairs right here, but the expense of new chairs just wasn't in the budget right now! So cute though!
Mama's chairs and our chairs all needed a bit of sturdying up, so I got out my Gorilla Wood Glue and got to work!  You can see how I did that right here.
The first thing I did was to clean each chair really well with Murphy's soap and warm water.  After I made sure they were dry, I got to work with first applying the primer.
Zinsser Primer is the best in my opinion, I've used it on so many of my painting projects and it never fails me.
After brushing the primer on the first chair, I was seriously wondering what I had gotten myself into.  There were so many nooks and crannies on these chairs and it took me what seemed like forever to do one chair.
But I pushed on and did the other three.  At this rate this project was going to take me days!  I'm about the most impatient person you'll ever meet and I wanted them done now! :)

About a week prior, I had asked my honey bun if I could used the paint sprayer to paint these chairs and he said it would be no problem, but I had never used the sprayer before and he was busy doing other things, so.........
We got out our sprayer and assembled it.  We (he) has already used this little guy so much to do so many things inside our home!  It was inexpensive and it works great!  Its the Graco Spraystation 3900 that we purchased at Lowe's several years ago.  Here's one I found online that is pretty close to this one we have.  Now for the paint.
Of course I used the same paint I used on the table base.  I chose, Olympic ONE.  It's a paint and primer all in one.  I got it from Lowe's and the color is Atrium White.  It's an interior flat paint.  I chose flat because I knew I was going to distress it and make it look old and worn and also the sealer I use has a slight satin finish to it.
My honey was sweet enough to stop what he was doing and create a spray station for me in our little tool shed and then demonstrate for me.
Next, I gave it a whirl!  It's way easier than I expected and now I'm hooked and want to paint all the things!  Just follow the directions that come with your machine as to how to operate the sprayer and get the best results for your project.  I did thin my paint ever so slightly with water to make it easier to spray on.  I set a timer for 15 minutes to let it dry, then I was able to move them back over to the patio for the next step.
The sprayer was so much faster than brushing on the paint and the end result was flawless!  I'm going to be using this prayer from now on!
Spray painted on the left and primer only on the right.  Huge difference!

Now for the distressing which will also match the table base.To see my method of applying the glaze. click right here.
Here's my choice for distressing.  It's another product I've used a lot in my past projects.  Valspar Antiquing glaze in Asphaltium.  It's a blackish gray color.
On the left is just plain old paint, which is lovely, but I preferred to distress mine to match the table base.  The distressed chair is obviously on the right.
All distressed and ready for a sealer.  You do not want to skip the sealer step because normally chairs are used on the daily and will get lots of handling and torture, especially if you have kids!
Here's the sealer I used.  I like this Valspar Clear Protector for faux finishes.  It seriously looks like glue and dries quickly and it last!
Like my "new" pantry screen door, I can't stop admiring my "new" table and chairs either!  I love them!  What color would you paint your dining room table and chairs?

If you want to see some video of the process of making over our table and chairs, go visit my Instagram ddcamp170 and find the tab in my profile that says "Farmhouse".  Please give me a follow while you're there! :)

Do you like my Pillow covers? Get yourself one by clicking right here! Use my special discount code DD20 for 20% off your order.  The Bundle Box is excluded from this offer and you're limited to a one time use of my code per customer.  HURRY on over because they just released their Spring line and its going fast!  Please tell them DeeDee sent you!


Here are a few more of my painting make overs:

Entry Hall Table Makeover
$5 Bedside Table Makeover
Chalk Painted Picture Frame with Free Lavender Print
Painting Our Cabinets
Makeover on a Worn Oak Table

It doesn't have to be done all at once.  It is a slow process in the works! C-ya next time!


I'm Linking to:
These lovely and FUN parties!
Between Naps on the Porch
The Dedicated House  - (I was featured)

Pin It!

Sunday, March 11, 2018

Removing White Heat Marks From Your Table Top

Our solid wood table is old and has been very well used, it was like that when we bought it on Craigslist about 7 years ago.  When we bought it, we had the intention of refinishing it.  It's seven years later and I still have not done that.  I'm going to try and get it done soon because this trick I use to remove these white heat marks is starting not to work as well as they have been in the past.

Here's another table I refinished and I'm thinking this one will get just about the same treatment.
The table actually had white marks when we got it.  The lady we bought it from said that was why she was selling it.  I didn't mind because I was already planning on refinishing it anyway.  We got the table and chairs for $125. Bargain!
The white marks you see here have arrived over a long period of time.  I get to the point where I hate looking at them and then I do the magic trick!  I found this idea way back when on Pinterest and it has worked each time.
That big circle mark there is what pushed me to making the spots disappear this time and I thought I'd document it and share it with you in case you needed to know how to magically remove white heat spots from your table.  To repair these white marks, all you will need is an iron that has a steam setting and a smooth kitchen towel.
These spots are created by sitting hot items on the table.  Yes, I do use pot holders, but sometimes if the item is hot enough and sits there long enough, it makes the mark due to the steamy condensation that builds up in the top layer of finish that is old and breaking down on our table.  The finish on our table is wearing very thin from all the use and the heat marks happen more often now.  Ironically enough, you also use hot, moist heat to fix them!
You want to use a towel that is pretty much smooth so you don't give the top layer of your finish any texture while trying to repair your white marks.  The towel I'm using has been washed to death and is going on thread bare and I now use it for things like this.  I've read that you can also use an old t-shirt or wax paper but this old towel is what works best for me each time.

Step 1 - Fill your iron with distilled water and set to a medium setting.
Step 2 - Lay the towel over the white mark and "iron" using slow continuous motions, don't just hold the iron still over the spot, keep moving.  It will take just a few minutes to work, so keep checking often to see if the spot has disappeared.
Totally gone now!  The very first time I tried this, I was amazed it actually worked.  It's magical!
Here's a few more spots to remove, as you saw in the first picture, they were all over the table.
Magic one more time!  I can't tell you how many times I've done this over the years, but its still very gratifying to see the magic of steam work to remove these spots from my table top.
You can still see some very light spots on there but like I said, the finish on the table is wearing thin and it really needs to be refinished.  For now, this method works for me one more time until it warms up enough to be out in the shop!
I've recently read that you can also use a hair dryer to remove the marks too, I might try that next time to see if it will work.

Have you ever removed white heat marks from your table before?  What is your method?  Let me know! :)

UPDATE! Click right here to see what our table looks like now!

Do you like my Pillow covers? Get yourself one by clicking right here! Use my special discount code DD20 for 20% off your order.  The Bundle Box is excluded from this offer and you're limited to a one time use of my code per customer.  HURRY on over because they just released their Spring line and its going fast!  Please tell them DeeDee sent you!

Are you Spring cleaning yet? Me too!  Click on the links below for some of my best cleaning tips.


Cleaning an HE Washer with Household Products

Remove Hard Water Buildup Naturally 

DIY Carpet Cleaning 

Cleaning Your Hairbrush the Easy Way 

Cleaning Your Oven

Cleaning Your Sink's Spray Nozzle

My Easy Way to Clean an Area Rug

Make Your Own Steam Mop Pads


It doesn't have to be done all at once.  It is a slow process in the works! C-ya next time!
I'm Linking to:
These lovely and FUN parties!
Between Naps on the Porch
The Dedicated House  - (I was featured)

Pin It!
01 09 10