

 This is what it looked like when we toured it for a possible purchase. Whoa, talk about flash back to the 80's! So much lovely green wallpaper and oh just look at the popcorn ceiling! We told ourselves that it was all cosmetic and could be made to look good again, and so we did, slowly but surely.
All the ugly green paper came down and the walls got textured and painted with a coat of primer. Bobby's Dad helped us out so much! He's texturing the walls with a WalMart sack, who knew! He just blots the texture on a pretty good sized section of the wall,
then goes back over it with a large trowel and knocks down the peaks and
makes it smoother. I love it! You can see a faint blue line about his knee level. That is where the wainscoting and chair rail will be so he didn't texture that area. After it was painted with a coat of primer, the rest of the wall was ready for the farmhouse look of bead board wainscoting.
 We brought in the wainscoting and chair rail and got it all measured, cut and ready to be installed. We placed the bead board against the wall (back side out) and and snapped another chalk line on it so it could be cut to size.
 Wainscoting is typically installed in chair height at 32" to 36" off the floor. We chose the 36" height. We ran our wainscotting from the edge of the kitchen counter all the way around under the bay window to the very small wall in the entry way. It was a fairly small space we had to cover, so we used two full sheets of bead board paneling that we picked up at Lowe's. We used liquid nails and the nail gun (using brads) to adhere the bead board to the wall.
TIP: Use your level to make sure you're keeping a straight line while adhering the bead board to the wall.


NOTE: If you're not into the whole "using power tools" thing, maybe try this bead board wall paper, its pre-pasted!


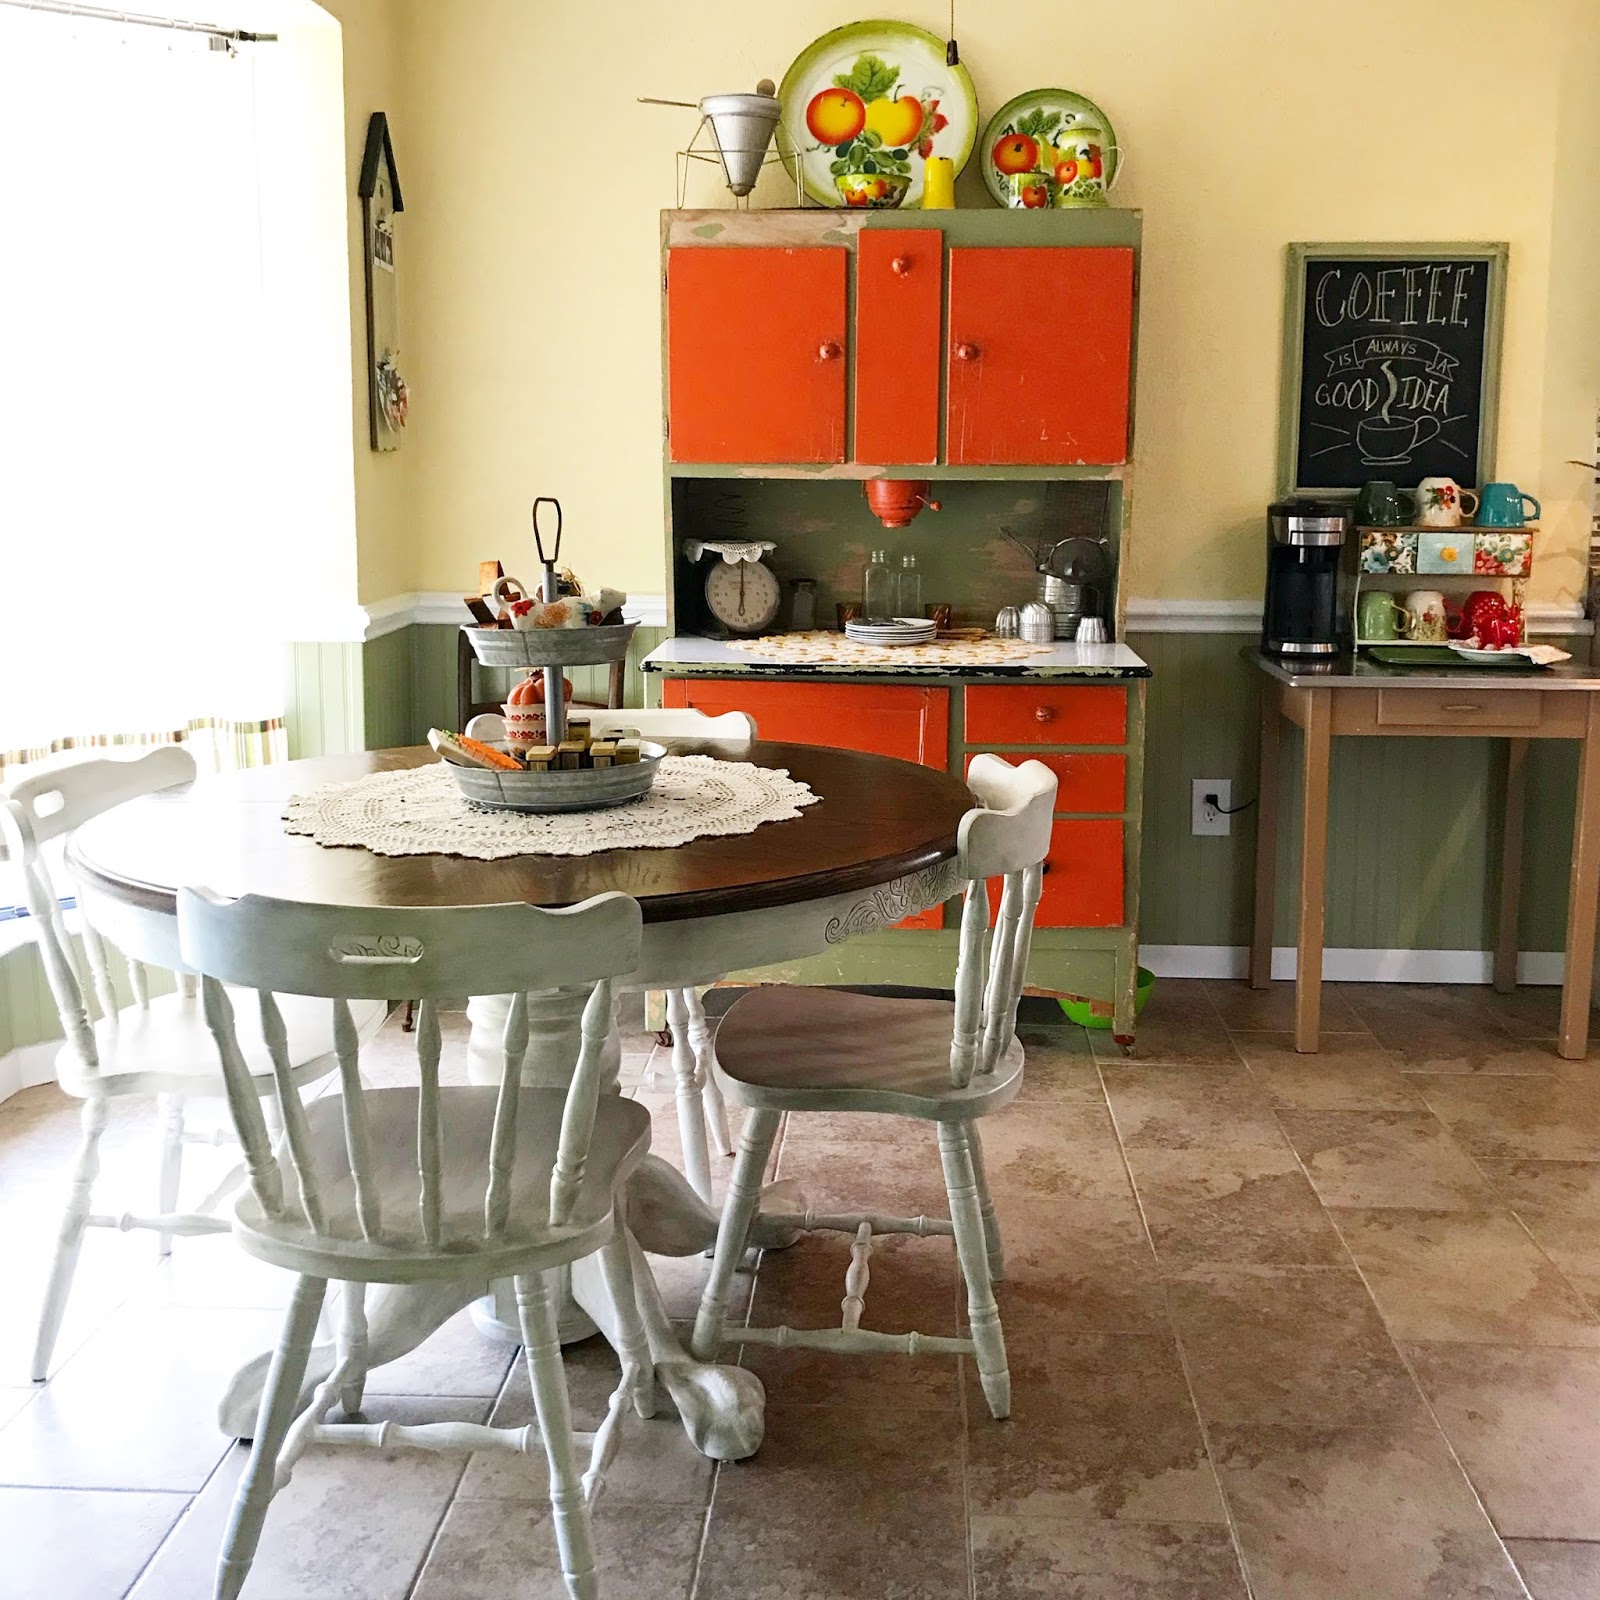
The green color is Jekyl Crane Cottage (Sage). We used Valspar Ultra Paint and Primer from Lowe's. This is awesome paint. Two coats and its perfect. Lastly we painted the chair rail with a high gloss bright white trim paint.
TIP: Just in case you are rookies like we are go ahead and splurge for the really good painter's tape because when I painted the chair rail, the white leaked up on to the yellow. I'm thinking because the wall is textured, but also partly because the tape didn't really get a good hold on the wall either.
What remodel job did you do first when you moved into your "new" fixer upper?
You can see how we tiled the floor by clicking right here.
More about the kitchen remodel below:
Kitchen Cabinet Makeover Part 1Kitchen Cabinet Makeover Part 2
Kitchen Cabinet Makeover Part 3
Building a Corner Cabinet
Building a Drop in Kitchen Cabinet
Installing a Farmhouse Sink
Pantry Remodel
Old Screen Doors Get New Life
DIY Mosaic Tile Backsplash
Painting Our Cabinets
It doesn't have to be done all at once. It is a slow process in the works! C-ya next time!
I'm Linking to:
These lovely and FUN parties!Between Naps on the Porch
The Dedicated House - (I was featured)

Beautiful! Your honey does a very good job.
ReplyDeleteThank you so much and he sure does! :)
DeleteYou and your husband make a great team! The room looks so pretty, and I know what you mean about the tape. I used the cheaper stuff once and learned my lesson! Thanks so much for sharing at Celebrate It!
ReplyDeleteI guess we live and we learn, lol! Thanks so much Teri! :)
ReplyDeleteWonderful job! How did you get rid of the popcorn ceiling?
ReplyDeleteHi there! Thank you so much! We used the warm water method. We sprayed warm water on a section, let it sit for a few minutes and then scraped it off into a bucket with a large puddy knife. :)
DeleteLooks great!
ReplyDeleteThank you so much! :)
DeleteIt looks great! Thanks so much for sharing, such inspiring ideas!
ReplyDeleteThank you so much Eve! :)
DeleteIt looks so much better, I love the colors of your furniture as well.
ReplyDeleteThank you so much Val! :)
Delete