Showing posts with label Spring. Show all posts

Sunday, February 25, 2024

Crafting Whimsical Delights: Transforming Wooden Clothespins into Carrots

Hey there!  I went missing for a while, but now I'm back.  I had the flu and it was awful.  I was down for the count and then I did not feel creative whatsoever.  Anyway, let's get on to the fun carrot craft.

In the world of crafting, sometimes the most delightful projects stem from the simplest of materials. Today, we're embarking on a charming journey that involves turning ordinary wooden clothespins into adorable carrot decorations. Yes, you heard that right—we're going to make wooden clothespins look like carrots!


Isn't this the cutest idea?! I saw these "carrots" on Pinterest and had to make some of my own! They are the best little Farmhouse Decor pieces you need to add to your Easter vignettes or tiered tray displays or maybe all together in a cute Easter basket like I have here!

So, gather your supplies and let's dive into this fun and whimsical DIY project.

You will need the following items to recreate my clothespin carrots:


Wooden clothespins (remove the spring)

Green yarn for the tops

Orange Paint - spray paint or acrylic can be used

Hot Glue Gun and Glue set on low (Tacky Glue can be used as well)

Scissors for cutting the yarn and paint brushes if you use acrylic paint.

  1. Step one: Remove the springs from the clothespins.

  2. Prepare Your Workspace: Lay down some newspaper or a crafting mat to protect your surface from paint spills if you are inside or use a piece of cardboard or wood if you're outside.


  3. Step two: Painting the Clothespins. Start by painting your wooden clothespins orange. You may need two coats for full coverage, depending on the type of paint you're using. Let each coat dry completely before applying the next. I did not paint the flat sides of my pins because I knew they wouldn't show.


  4. Step three: Creating carrot tops.  I cut my yarn slightly longer than the pins. I used 8 strands for each of my carrots but use as many as you like for the fullness you want.


  5. Step four: Assembly. Once everything is dry, carefully hot glue the green yarn to the top of each clothespin.

  6. NOTE: DO NOT make the mistake (like me) of gluing the yarn inside the pin, it doesn't end well and makes the pin not want to stay together and look nice.


  7. I found by experimenting that if you glue your pins together first, then add the yarn to the top, it looks much nicer!


  8. Step five: Glue 8 pieces of yarn directly on top, 4 pieces on the right side and 4 pieces on the left side. Be sure to press down gently to secure the attachment.


    1. Step six: Wrap one single strand of yarn from the first notch up to the top like you see here. Glue in place as you wrap.


  9. Step seven: Optional. Unravel the yarn for a fuller look. My yarn had 4 strands to each piece and gave this look at the end.

  10. Display Your Creations: Now that your wooden clothespins have been transformed into delightful carrots, it's time to showcase them! Arrange them in a basket as a charming centerpiece, use them as placeholders for a spring-themed table setting, or hang them on a string to create a whimsical garland.
With just a few simple materials and a dash of creativity, you've successfully turned ordinary wooden clothespins into adorable carrot decorations. This DIY project is not only fun and easy to do but also adds a touch of whimsy to any space. Whether you're crafting these carrots for Easter, springtime decor, or just for the joy of crafting, they're sure to bring smiles to faces and brighten up any room they adorn. So, why wait? Grab your supplies and start crafting your own charming carrot creations today!
  1. For more fun DIY ideas, go visit my Instagram. I post every single day. Find me @TexasBlueBunglaow on Instagram.

    • If you loved any of these ideas and want to save them for later, be sure to pin it to your favorite Pinterest board.  I have a Pinterest board set up for all kinds of wonderful Easter ideas and it's called Here Comes Peter Cottontail.  I'm pinning something new on Pinterest every day. Won't you join me?

    • ***I am a participant in the Amazon Services LLC Associates Program, an affiliate advertising program designed to provide a means for me to earn fees by linking to Amazon.com and affiliated sites.**


Pin It!

Sunday, March 12, 2023

Vintage Springtime Decor on the Patio

Hey there!  Spring is coming soon!

Seriously yall, I can't wait!  I'm a warm weather girl.  I despise the cold weather.  I know we need cold weather too control insects, but I can't stand being cold!

I've got some Spring patio inspiration for you.  I've already mowed my lawn for the first time this year, so now I've got the bug to get my backyard all pretty to look at as I sit on the patio this year.

Skates and rusty minnow buckets make good decor for a Spring patio.


Plants in pots are a must. I like to have different flowers and plants here, there and everywhere.


Gas cans, paint buckets and rake heads are also great decor for outdoor spaces.  I like to add a lighted garland with a timer too so it comes on when it gets dark outside. Makes it more cozy!

Stack up some old picnic baskets and add plants.  Anything metal and old that can be outside is perfect for your patio decor.

Old chairs make great plant stands.....as well as old plant stands too.lol!  This gas can is special because it was my Papaw's gas can that he always used when I was a kid. I love it!

McCoy pottery is of course very fun to cheer up a patio space, even better when its pink!

Its almost time to sit on the patio and sip something cold while enjoying the warm weather.  Who's with me?

If you loved any of these ideas and want to save them for later, be sure to pin it to your favorite Pinterest board.  I have a Pinterest board set up for all kinds of Farmhouse Inspired ideas and it's called Farmhouse Decor IdeasI'm pinning something new on Pinterest every day. Won't you join me?

***I am a participant in the Amazon Services LLC Associates Program, an affiliate advertising program designed to provide a means for me to earn fees by linking to Amazon.com and affiliated sites.**

Pin It!

Sunday, February 19, 2023

Simple Spring Vignettes

Hey there! I hope you're doing well. Have you seen what I've been sharing over on my Instagram page?  No? Well get on over there and see!

Do you love vintage collecting?

Do you love thrifting for vintage treasures?

Do you also love decorating with your vintage items?

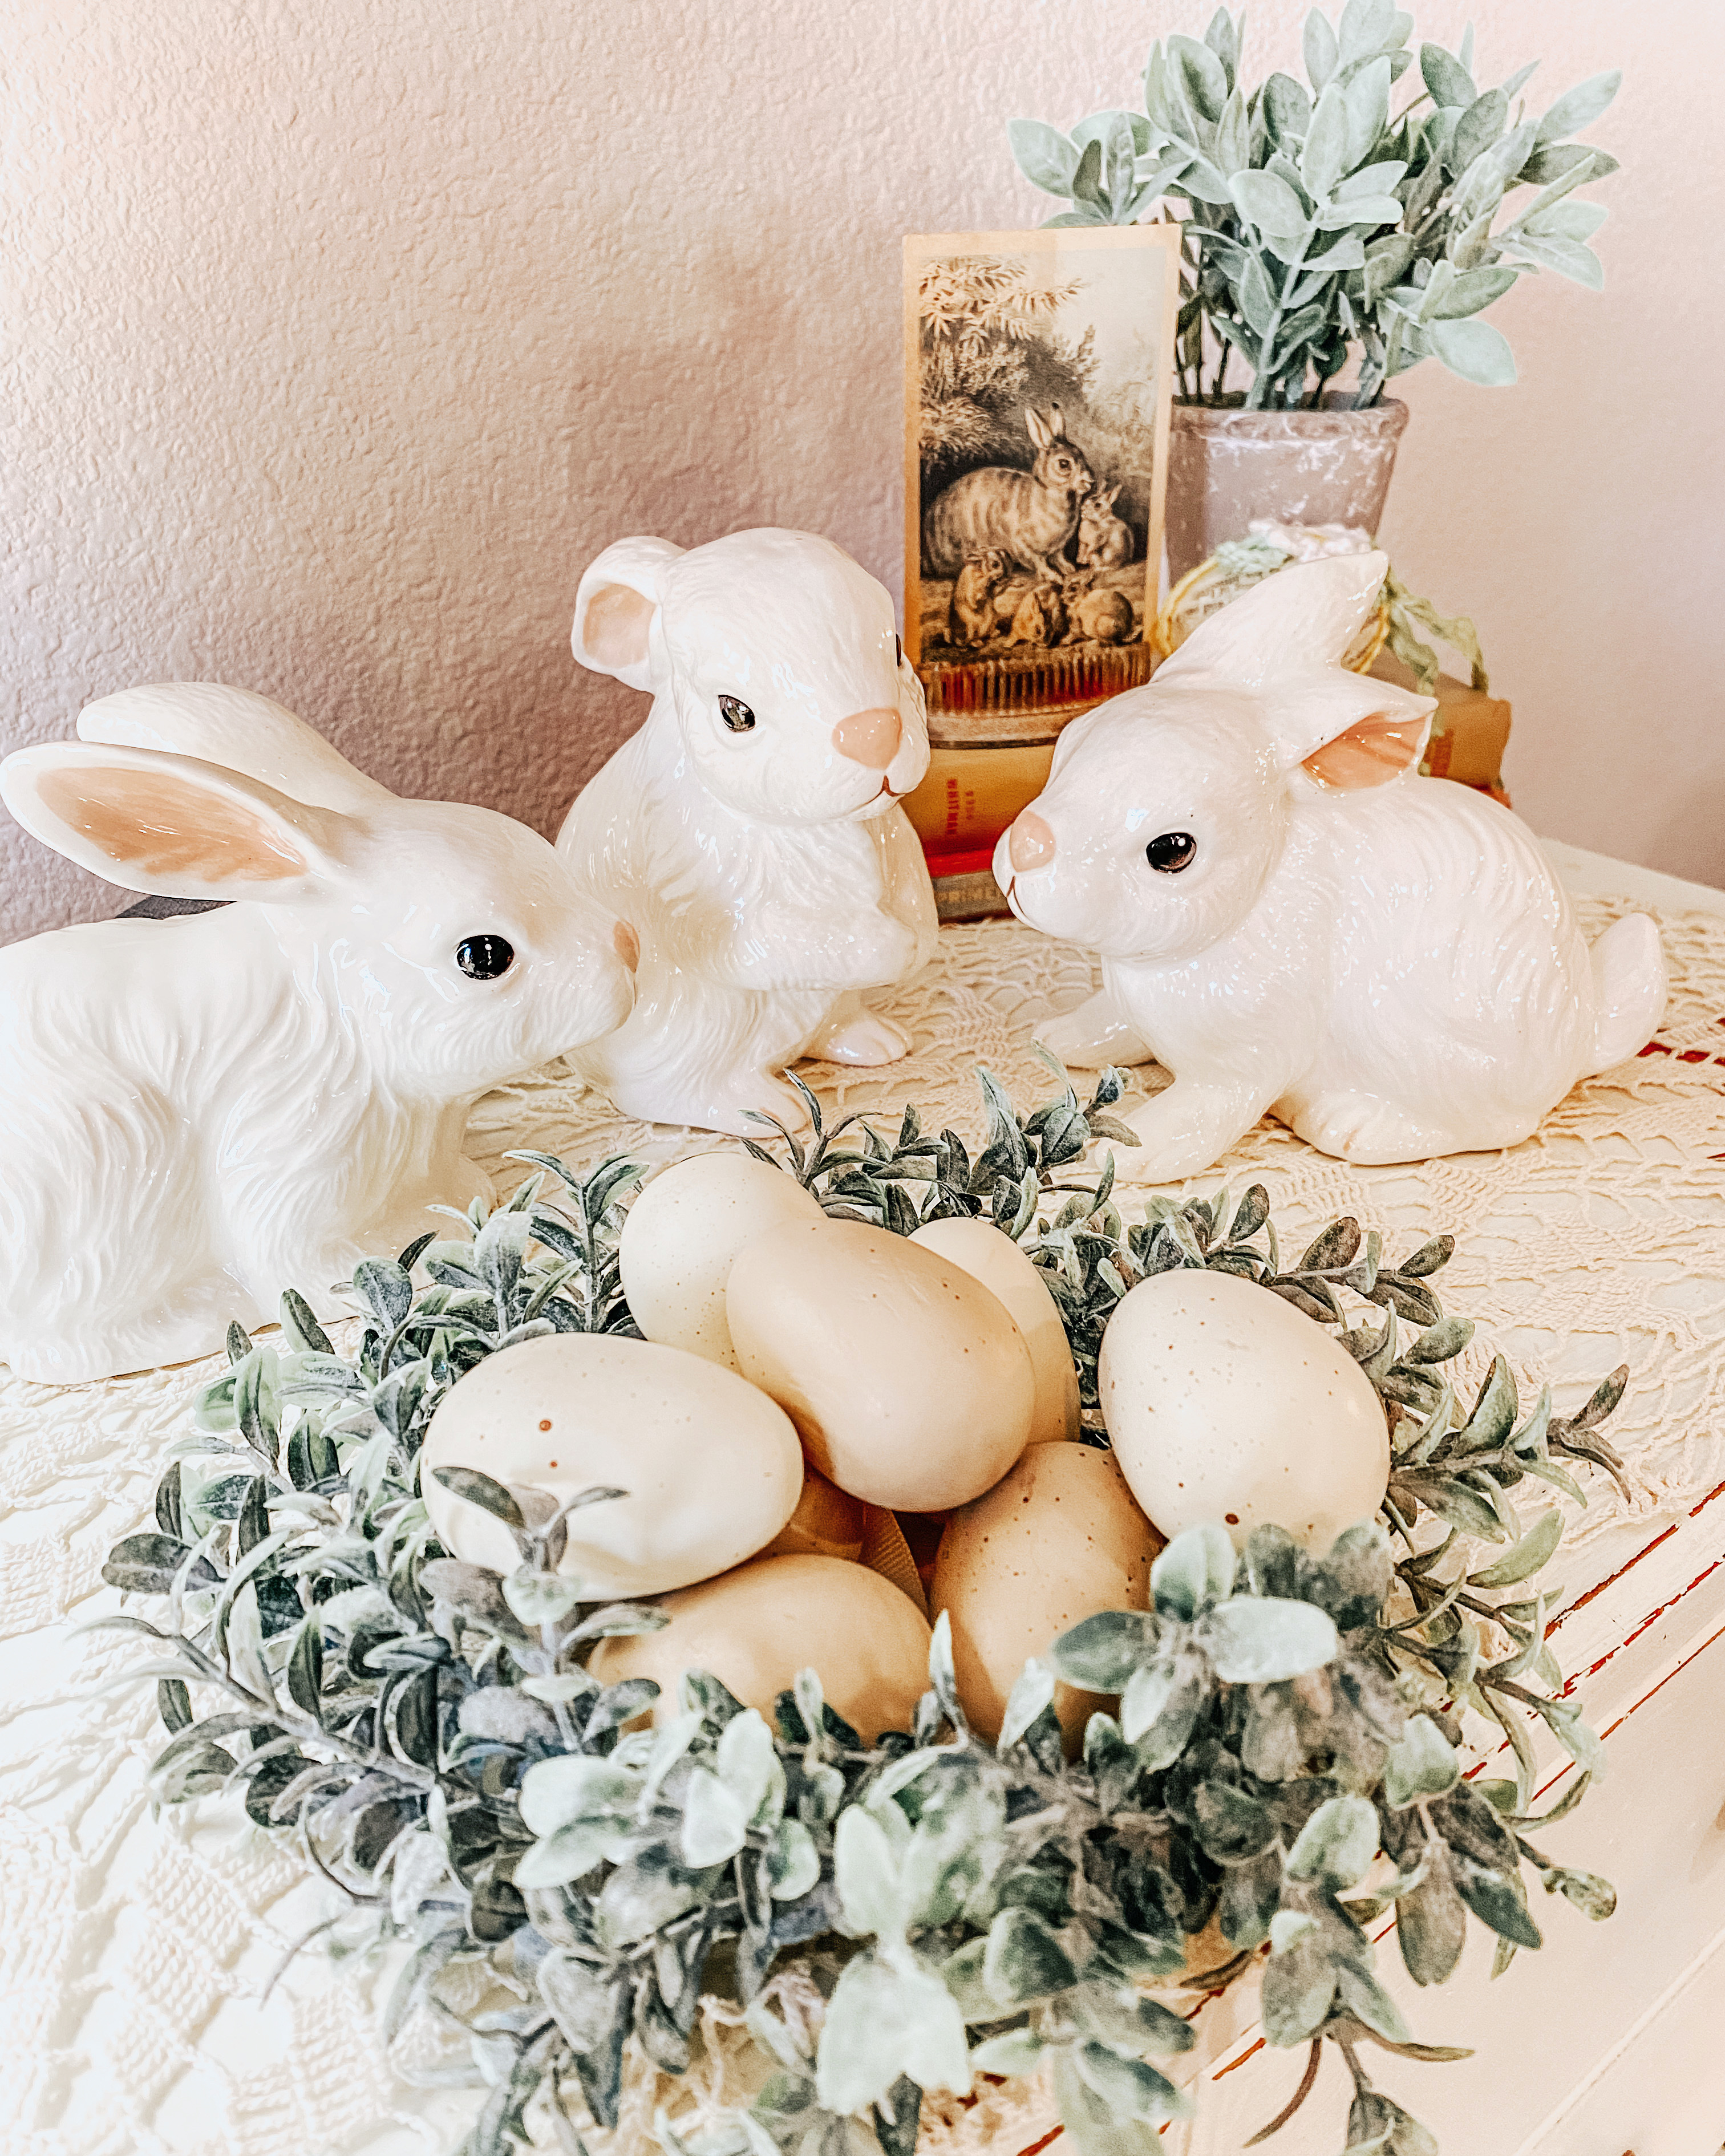
Me too!  Let me show you how I use my vintage bunny collection as well as a few more of my collections to create simple vignettes for Spring.

Bunnies are always a good choice for Spring and you can always find them while out thrifting. If they happen to be the wrong color when you find them, be sure to grab your spray paint!

You can always find tons of doilies, all shapes and sizes.  Doilies are a must for my decorating style.  I mean, it's just not complete if I don't have a doily or two.....or ten.

One easy way to create vignettes is to set everything on a tray.  Green glass and silver pieces are perfect for Spring as well.  These are two more things I always find while out thrift shopping, colored glass and lots of old silver pieces.

Easter Baskets, or any kind of basket is fun for Spring and creating a fun vignette.  Fill your basket with handmade eggs and carrots to celebrate Spring's arrival.

Books, old ephemera and floral frogs are always good, so collect those when you find them too.  Stacks of books are the perfect base for any small vignette.

As you can see, I just create little Vignettes by using my collections of vintage treasures. It's just a tiny display of my favorite things.

If you loved any of these ideas and want to save them for later, be sure to pin it to your favorite Pinterest board.  I have a Pinterest board set up for all kinds of Spring decor ideas and it's called Here Comes Peter CottontailI'm pinning something new on Pinterest every day. Won't you join me?

***I am a participant in the Amazon Services LLC Associates Program, an affiliate advertising program designed to provide a means for me to earn fees by linking to Amazon.com and affiliated sites.**

Pin It!

Sunday, February 27, 2022

Stylish and Affordable Spring Decor Ideas

Hey there! How are you?

I'm good, but seriously wanting Spring to get here.....FAST!  I'm trying to make it Spring inside my house to help me get by until warmer weather gets here.  I am just SO tired of the cold weather already!

I decided that this rose garland for my mantle was a great start to make it more Spring like in my living room.  Find the garland here.  It is very affordable and there are three different versions of it.

This beautiful rose garland is perfect for Spring time decorating!  It's so life like and very well made!

I mean seriously! Look at these gorgeous blooms, don't they look real? They are soft to the touch too, like real roses.

Of course I added lots of my old vintage goodies in Spring colors just to make it a little more happy!

LED Flickering Candles

And as you know by now if you've been following along, I gotta have some doilies too!  It's just not complete with a vintage doily or 10! Haha!


If you're not already following me on Instagram, what are you waiting for?  I post daily on there with lots of inspiration for every day and holidays!  Find me @texasbluebungalow

Ugg Koolaburra Slippers
P.S. These slippers were a Valentine gift to myself and they are AMAZING!

I hope yall have a lovely day!

If you loved any of these ideas and want to save them for later, be sure to pin it to your favorite Pinterest board.  I have a Pinterest board set up for all things Spring and its called Here Comes Peter Cottontail! I'm pinning something new on Pinterest every day. Won't you join me?

***I am a participant in the Amazon Services LLC Associates Program, an affiliate advertising program designed to provide a means for me to earn fees by linking to Amazon.com and affiliated sites.***

Pin It!

Sunday, March 28, 2021

Our Farmhouse Spring Living Room

Hello there, how are you?  We are doing great!

I recently got a new slip cover for our couch in the living room and I thought I'd share it with you along with a few other Spring decorations I have in here. Oh, and the cats too....can't forget them, they go where Mama goes! Ha!

Here's Zel helping me with the photos of the new slip cover.  Isn't the cover so cute? I love that it's Farmhouse style to go with my vibes in here!

I have the cover linked in my Amazon shop if you need one too! :)  My couch slip cover is a size large in light yellow.  This is the second Surbtex slip cover we've purchased.  They are so easy to put on and wash up very well!


With three fur people in our home, we need a slip cover!  This is Hazel.  I'm not kidding when I say that when I start snapping photos, the two fuzzy people show up to pose for me.  They are naturals.

Piper on the other hand, does not like to have her picture taken.  Her Daddy was distracting her from the kitchen when I snapped this cute photo!  I have these pillow covers in my shop too, right here.

Did you know you can find FREE printables on Pinterest?  That's where I found this sweet bunny.  I made that big carrot on the right.  See how you can make one too, right here.  The old book page eggs I made are here.

My collection of vintage tarnished silver grows quite often, even my hubs buys it for me!  I love creating beautiful centerpieces with it! Find the beautiful life like tulips here.  They really feel and look real and you get lots for your dollar!

Did you see how we made our DIY curtain rod and curtains?  Check it out here.

I hope you've enjoyed the little tour of our living room Spring decor!  We are going to be working in the yard today to try and get ready for warmer weather!  Enjoy your day! :)

Visit me over on Instagram @texasbluebingalow for pretty views of my vintage decor!

If you loved this idea and want to save it for later, be sure to pin it to your favorite Pinterest board.  I have a Pinterest board set up for all things related to decor and its called Farmhouse Decor Ideas and I'm pinning something new every day. Won't you join me?

GREAT NEWS!  I now have an Amazon Storefront!  If you ever want to purchase anything I'm showing you here, you can pop over to my shop and see what I've picked out for you! Click right here to visit.
 

It doesn't have to be done all at once.  It is a slow process in the works! C-ya next time!

Pin It!

Sunday, March 14, 2021

Thrifty Tips for Creating a Farmhouse Spring Table

Hello there! I hope you're doing well!

Spring is near so I thought I'd share some thrifty ideas for your Spring table. Creating a beautiful table for any occasion does not have to be expensive. Use what you have or gather up things on the cheap, a little at a time.

Now, when I say thrifty, I mean that I'm using actual items that I've thrifted, things that I've created or gathered from my stash of decor that I've had for years.

I created this little vignette by stacking a charger, a vintage plate and then topping it with a ceramic bunny, some faux eggs and a couple of clothespin carrots that I made.  You can see a better view of how it looks on the table in the photo up above this one.
Another idea for a Springy scene is the same charger and plate stacked with a vintage blue Ball jar filled with the faux eggs and then placing the ceramic bunny crew around it.  I topped the jar with a half sphere piece of greenery.

Look how sweet this is!  I love my little bunny crew that my sweet step Mom made for me years ago.  They come out each and every Easter!

In the photo above this one I used a handmade chenille carrot (I found mine on Etsy) as an accent on the table setting of all thrifted dishes. (dishes are mostly from Goodwill)  Here I've swapped out the carrot for one of the bunnies.  So many variations using what you have on hand!

Of course, fresh flowers from the grocery store is always a good idea, but if you don't have fresh flowers, you can always use faux flowers too. Dollar Tree has them for $1 per stem!

My straw chargers are from Dollar General and this stack of vintage plates are from Goodwill.  This whole stack cost me about $4 total.  I'll be honest with you, I'm a cheapo and I do not like paying lots of money for anything, especially decor! Haha!  Use your imagination when you're out thrifting, wondering through flea markets or yard sales.

You can create beautiful decor for your home in a thrifty way! :)

Visit me over on Instagram @texasbluebingalow for pretty views of my vintage decor!

If you loved this idea and want to save it for later, be sure to pin it to your favorite Pinterest board.  I have a Pinterest board set up for all things related to Easter and Spring and its called Here Comes Peter Cottontail and I'm pinning something new every day. Won't you join me?

GREAT NEWS!  I now have an Amazon Storefront!  If you ever want to purchase anything I'm showing you here, you can pop over to my shop and see what I've picked out for you! Click right here to visit.
 

It doesn't have to be done all at once.  It is a slow process in the works! C-ya next time!

Pin It!
01 09 10