
Hello there! I hope you are doing well! We are doing great!
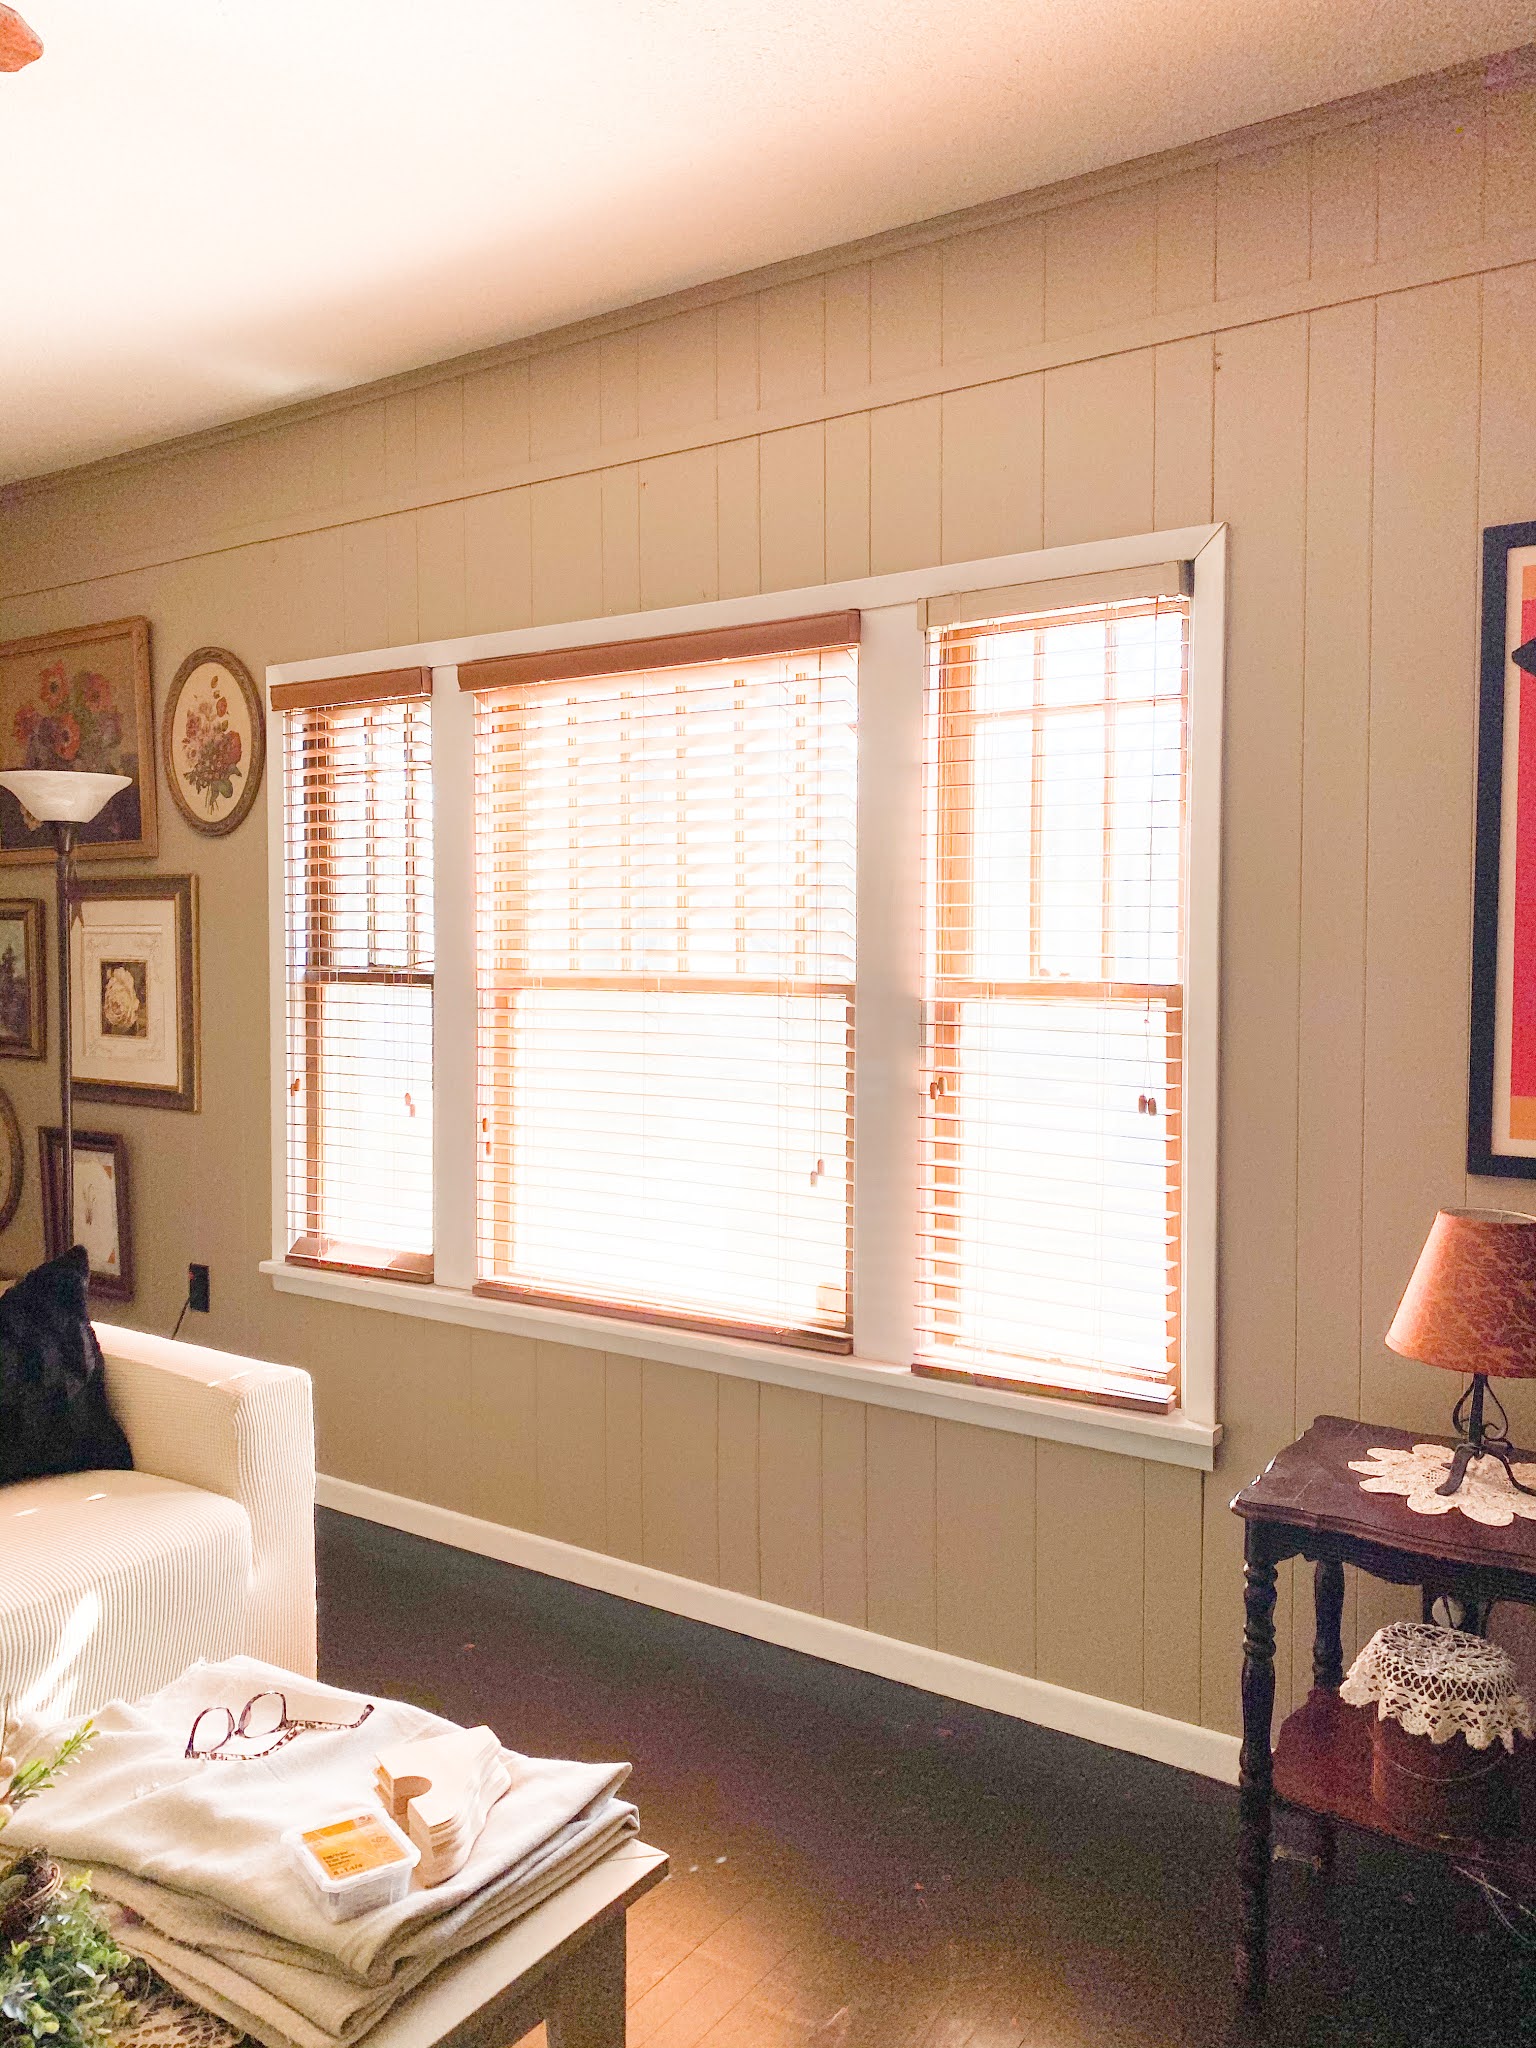
During the deep freeze about two weeks ago, we practically lived in our living room, huddled around the gas fireplace! We realized that our beautiful 100 year old windows with wavy glass do not seal well anymore. We put up some curtains from our old house temporarily to keep the cold at bay and it helped a lot, so we decided that curtains would be a great idea in here!
This is my newest TikTok (ddcamp170) for how we made the DIY Curtain Rod and Curtains. See my Instagram Reels for more how tos.

When we decided to do this thing in our living room, we got right to it, Hazel, not so much! Haha! She makes the photo look beautiful though! :)
Here's our list of supplies:
(3) small 6" x 8" wooden corbels - $1.62 each at Home Depot
(1) 1-1/4” x 10’ Dowel Rod - $17.70 at Home Depot
(10) Clip Rings to hang the curtains
1-1/4" hole saw with drill
fine sand paper (220)
Weathered Oak Stain and Snow White Paint to achieve the look of the wood.

My honey took 3 cheap corbels from Home Depot (I don't see them online to link them for you) and clamped them all together. He used his 1-1/4" hole saw to cut a half circle in the corbels. This is where the rod will sit. I used some fine sandpaper and smoothed out the rough edges after he was done.

Next he positioned the corbels about 12 inches above the window. We have 10 foot ceilings and I wanted the curtains to mostly fill up the wall.

He found the center of the window and placed the first corbel there. He then measured the same distance on either end from the edge of the window to get the end corbel placements. Me, I eyeball stuff, he measures, he's more of a perfectionist than I am. Haha! :) Next he laid the dowel rod up on the installed corbels and said. "there ya go"!

He marked the dowel rod for me so I'd know where to put it back after I added the clip rings and curtains. At this point I was planning on leaving all the wood natural, but then it just looked too yellow against the wall color, so I decided to tone it down a bit.

I went out to the shed to see what we had in our stash. I normally like using dark stains, but that was not going to work in this case, so I chose this weathered oak stain by Minwax.

The wood was still looking a bit too yellow even with the stain on there, so I white washed it a bit with some snow white acrylic paint. I did not seal these pieces because we are not going to be touching them that much.
NOTE: My version of white washing the wood in this case was me swiping on some white paint, spreading it around a bit and then using a damp paper towel to smooth it out and tone it down.

Next, I tried on the drop cloth to see how it looked. It looked really wrinkled, so I washed and dried the drop cloths and then folded one end down about 34”
and clipped it in place. I used these clips.

I am loving the final look and so does my honey! I don't know why we didn't this sooner!

Who's ready for Spring? I sure am because I'm over all this cold weather and dreariness!
Visit me over on Instagram @texasbluebingalow for more pretty views of my vintage decor!
If you loved this idea and want to save it for later, be sure to pin it to your favorite Pinterest board. I have a Pinterest board set up just for all things related to Farmhouse Decor and its called Farmhouse Decor Ideas and I'm pinning something new every day. Won't you join me?
GREAT
NEWS! I now have an Amazon Storefront! If you ever want to purchase
anything I'm showing you here, you can pop over to my shop and see what
I've picked out for you! Click right here to visit.

Looks good. Ya'll make a good team.
ReplyDeleteHi there! Aww, thank yo so much, I think so too! :)
DeleteNice job! I have to ask about the drop cloths. You didn't mention any seams in the drop cloths so I assume you were lucky enough to get some without the seams. In years past before they became popular for curtains, upholstery and other DIY projects they came without seams. Now i believe to higher demand many if not most have one or more seams. Doesn't matter when intended for original purpose but our DIY it does make a difference. Which brand did you buy? I found those at HD were the worst and those drop cloths were the lightest weight. What is your experience? Thanks.
ReplyDeleteHi Dee! Thank you so much! Yes, both of our drop cloths have vertical seams. Every time I purchase the cloths this big, they have seams. In this case the seams happen to be in a pleat/fold of the curtain so they do not show unless you pull the curtains all the way open and they are flat out. I purchased these two from WalMart, but also Amazon in the past. I always get the 8-10 oz version and they are a very nice quality of cloth. They wash up great! :)
DeleteYour curtains look so good! I love the look of drop cloth curtains!
ReplyDeleteHi Candice! Thank you so much sweet lady, I do too! :)
DeleteHello Marilyn! Thanks so much for all you do! Have a great week! :)
ReplyDeleteThese looks really good. I might try a version for my new sunroom when it finally gets finished. Thanks for sharing with us this week #HomeMattersParty. I hope Spring is coming soon too.
ReplyDeleteHi Donna! Thank you so much! A new sunroom sounds fun! Good luck with your curtain project! :)
Delete