Showing posts with label recycle. Show all posts

Sunday, May 26, 2019

How to Build a Pallet Planter Box

Here I am again with another pallet project for you. We're on a roll!  When you have lots of pallets, you use them!  Recently my honey had a morning off and he built this planter box for me while I was at work.  It was a fun surprise to come home to!
See it over there to the left?  I ended up planting a tomato and a jalapeno plant in there so we can have fresh salsa this summer.
I think it turned out awesome and again like the patio pallet table he built, he took all the pictures for this one. Thank you baby! :)
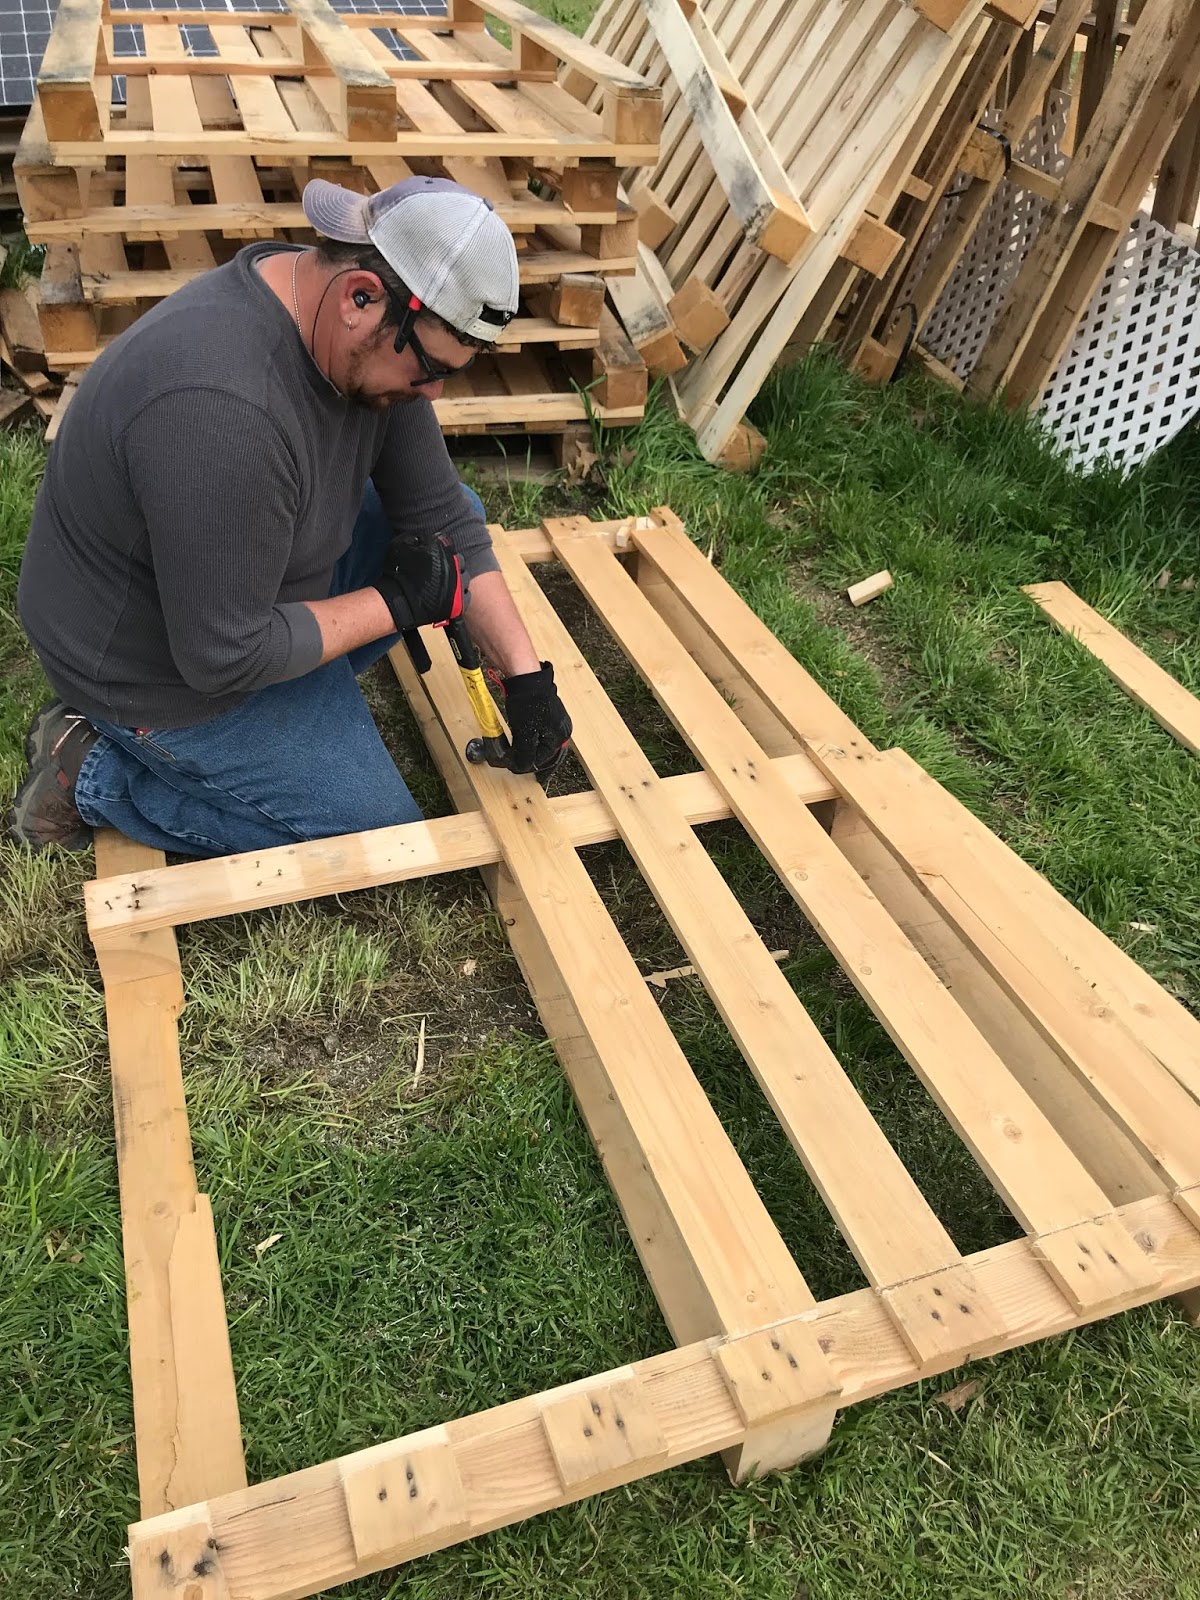
He started out with some left over pallet boards from our DIY Pallet Wood Wall

You will need nine (9) pieces of pallet wood cut at 34 -1/4" long each.
Using a builder's pencil, mark all your boards first, then cut.  Measure twice, cut once!
He used our chop saw to make quick work of the cutting.
Now you have the bottom and sides and you're almost ready to assemble.
He used two pieces cut at 13" to hold all the pieces of the bottom together.

NOTE:  Your measurements may be different if your pallet wood is another size than what we used here.

He placed them 5" in from each end.
Secure each bracing piece with 1-1/2" wood screw and a power drill.
You will need two side braces cut at 11-1/2" long for each side, so in total you need four (4) pieces cut at 11-1/2" long.  Again, they are 5 inches in from the ends and you will drop down from the top, 1 inch so that you have an amount hanging off the bottom edge to attach to the bottom section.  He used his nail gun and brads to hold it all in place until he was ready to screw it together.

 
Now you are ready to assemble the sides to the bottom of the planter.  Again he used 1-1/2" wood screws to hold it all together.

Now for the ends.  You will need to cut two (2) each of the following sizes.  These are cut at an angle so that the planter graduates in size from bottom to top.

2 - 18"
2 - 16"
2 - 15"

This is how he explained it to me when I asked how he got the angles.  "Because its pallet wood and its imperfect, there was lots of guessing involved".  He got the size of the largest (top - 18") board and held it up to the planter and marked with a pencil the part that needed to be cut off.  Using the chop saw, he cut along his line he made.  Then, using the nail gun, he tacked it to the planter and followed doing the same with the next two pieces.  I hope that is understandable.


He literately made this up just out of his head, he did not have any directions to go by.  This is what he does.  IDK, but I can't do that so I don't understand it! lol!  It looks perfect to me!

Since its a planter, we need drain holes to let the water get out.  He used a hole drill bit to make several holes all over the bottom of the planter.
We lined the inside of the planter with landscaping fabric.  We used the staple gun to hold it all in place.
Next, we filled it up with garden soil and we were ready to plant!
I just planted one tomato and one pepper.  We'll see how they do.  I'm ready for fresh salsa, so I hope it works!  It'll be nice just to step out on the patio and grab a fresh tomato.

It doesn't have to be done all at once.  It is a slow process in the works! C-ya next time!


GREAT NEWS!  I now have an Amazon Storefront!  If you ever want to purchase anything I'm showing you here, you can pop over to my shop and see what I've picked out for you! Click right here to visit.

If you loved this idea and want to save it for later, be sure to pin it to your favorite Pinterest board.  I have a Pinterest board all set up just for Gardening Tips and Patio Ideas and I'm pinning something new every day. Won't you join me?


I'm Linking to:
These lovely and FUN parties!
Between Naps on the Porch
The Dedicated House  - (I was featured)
French Country Cottage

Pin It!

Sunday, March 31, 2019

DIY Pallet Wall in the Man Cave

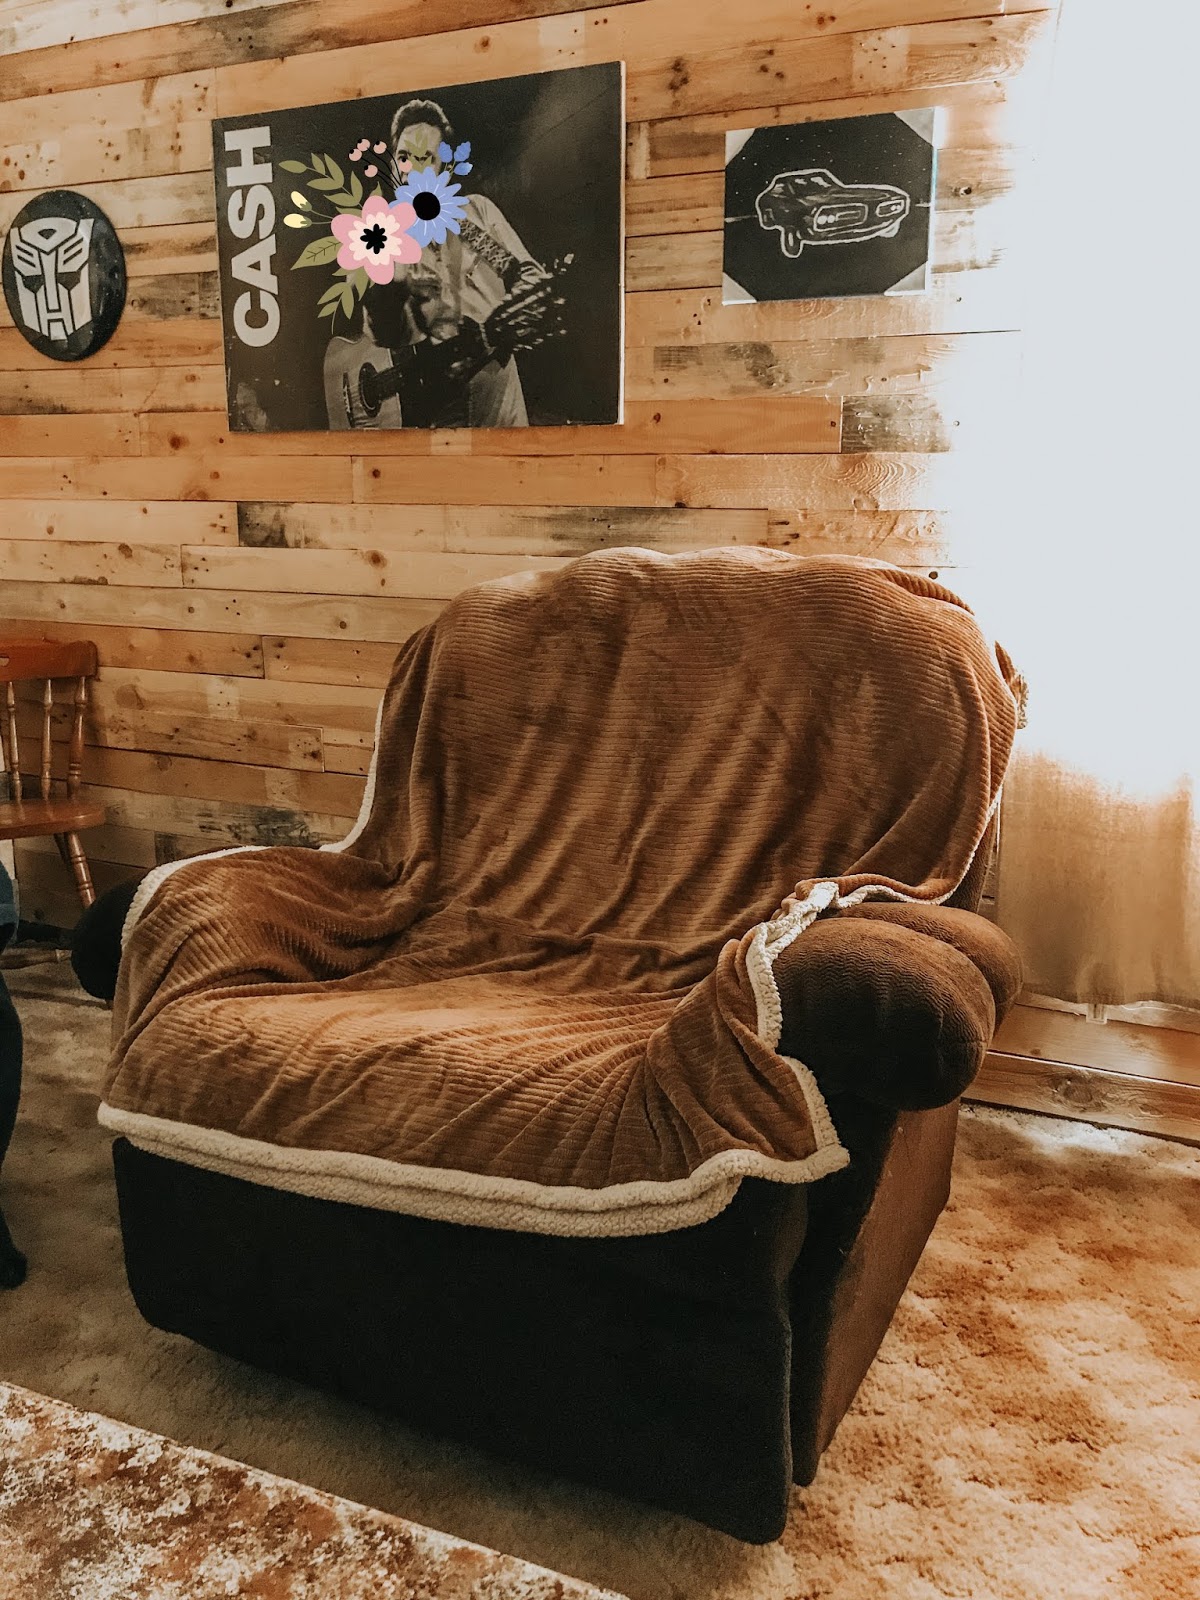
When the youngest child moved out, we decided to turn this room into a man cave/media room. Not gonna lie, we both hang out in there.....a lot! :)  As usual with most of our projects, we are on a tight spending budget, so we wanted something that would not only look good, but also be affordable!
The pallet wall I'm about to tell you about was totally FREE!  That's right within our budget, heck, that's right within anyone's budget!

NOTE:  You can find pallets on Craigslist, Marketplace, OfferUp, lots of places, you just have to look.
Reminder: We believe this room used to be a garage, but we're not certain.

This is what we started with.  The white speckles on everything are from the ceiling redo.  We knew all this was coming down, so we didn't protect against the splatter.  This is the same dark paneling that used to be in our living room.  Se that right here.
My honey got to work pulling all of the paneling off the walls.  It took him about 20 minutes to remove it all from the entire room.
Now we've got bare ugly walls to do something with.  This wall is at the very front of the house looking out into the front yard.  This is the wall we'll be covering with pallet wood.
Here are the pallets that we've collected.  I think there were about 10 of them. They sat in the yard getting weathered for about two months.
My honey took them apart board by board using a roofing hammer and a pry bar.  There were 1 million nails to remove.  Not going to lie, he used a circular saw at times to make the process go faster.  By that, I mean he would cut down both outer sides and then pry the nails out of the center to make the process go faster.  He only did this a few times because it causes you to loose your nail holes, which is a great look for a pallet wall.

NOTE: See this tool right here.  I'm told its the best for getting nails out of pallets!
This pry bar was the most helpful for getting the spiraled nails out of the wood.  This is not a job for the weak people, its hard work!
As we cleaned the boards of their staples and nails, we piled them "neatly" on the front porch so we could grab them quickly for the install.
We used gloves, a hammer, a chalk line, a pneumatic nail gun with 2" 18 gauge brads.

NOTE: We tried using 1-1/2" brads to start off with, but it did not hold the boards as secure as we liked so we moved up to the 2" brads.  Just make sure the brad length your using is long enough to hold your boards to the wall securely.
We also used our portable air compressor for the nail gun and our chop saw to cut the pieces of wood to length.  Not pictured is the jig saw that we needed to cut grooves for around the windows and outlets.
We used a chalk line to mark each stud in the wall for easy nail placement when nailing the boards to the wall.
Make sure you are wearing leather gloves, these boards are rough and you will get splinters in your hands if not.
We made sure to use the most "colorful" pieces in the middle most seen area of the room.  We would get a piece of wood and hold it up to see if it looked good before measuring for the cut and nailing it to the wall.
When we came to the window and the outlets, my honey used the jigsaw to cut out the area needed to make it fit perfectly.  In this picture he hasn't started yet because right after I snapped the photo, he said, where did I lay my safety glasses?  SAFETY FIRST!
Its kind of hard to see, but he cut out the section to go around the window and now it fits perfectly.
If we happened to have a large gap in the boards, I would run a bit of dark paint in that section so that the ugly wall wouldn't glow through in the future.  The boards will shrink and relax slightly over time of being indoors.
We would go from one side to the other and back again, staggering the lengths of wood for an interesting look.  Every now and again we came across a piece of warped wood that would require a 2" wood screw to hold it into place properly.  We DID NOT use any adhesive to hold these boards to the wall, just brads and an occasional screw.
We just kept moving along one board after the other.  We took our time fitting the right board in each space.  This is actually harder than it seems. 
It took us from 11am to 5pm (only breaking once to eat a bite) to create this entire wall.  Don't forget the occasional dance parties that would break out when that one song would come on the radio! :)  Since you're working with wood pieces that are not perfect, it does take some time to fit each one in the correct space.  Kind of like a giant puzzle.
We love how it turned out and we're very anxious to finish out the rest of the walls.  Stay tuned for that!
Its all coming along, its just a slow process when we only get to work on it on the weekends, but we will get there!

If you loved this idea and want to save it for later, be sure to pin it to your favorite Pinterest board.  I have a Pinterest board all set up just for Man Cave ideas and I'm pinning something new every day.


It doesn't have to be done all at once.  It is a slow process in the works! C-ya next time!


I'm Linking to:
These lovely and FUN parties!
Between Naps on the Porch
The Dedicated House  - (I was featured)
French Country Cottage

Pin It!

Sunday, October 28, 2018

$5 Bathroom Vanity Light Makeover

On a budget?  We are too!  Sometimes you want a new look but its not in the budget to buy all new items.  How about a little makeover on something you already have?  Yes please!  This lighting makeover was easy and just what our master bathroom needed!

Disclaimer:  All of my pictures didn't turn out properly. Grrrrr!  I apologize for that, but I think I'll be able to explain so that you can try this makeover too!
The lighting in our master bathroom was stuck in the 80's.  It was that shiny brassy look.  Yuck! I didn't care for it at all!  This little makeover is going to bring it into the here and now.  It cost me the price of a can of spray paint which was about $5.  Some day I'd like to have new fixtures in here, but I'll take the $5 expense over the prices of new lighting fixtures for now.
This is a photo I found on Google.  This is what our fixtures used to look like before the makeover.
Ok, grabbing your supplies, you will be using spray paints, this is the easiest technique for this application.  You'll need a metal primer (any color is fine as long as its for metal) then you will need a paint color of your choosing.  I already had the primer on hand but I went to Lowe's and I chose an Oil Rubbed Bronze color in the textured version as my color.
To get the paint to adhere to the metal fixture, you will need to rough up the surface a bit.  I used my mouse sander with some 120 grit sand paper.  If you don't have a hand sander you can just grab a small piece of 120 grit paper and hand sand the surface area.
Again, I apologize for the blurry pictures!  Some of them were so bad I couldn't use them.  Gosh, what kind of blogger am I anyway! :)

Of course, first you will take the fixture down from the wall or ceiling and disassemble it into all the individual pieces.  Using your sand paper, lightly sand the shiny finish from your fixture.  You only want to remove the shine, no need to remove all the color. 
After you have lightly sanded all your pieces, wipe the dust off best you can.  I use a damp cloth to get all the dust off and then let them stand for a few minutes to make sure they are completely dry before painting.
Next, lay all the pieces out on cardboard or plastic spaced out so you will be able to get the spray paint on all sides. Spray all the pieces with metal primer first. Let dry completely.
Careful moving each piece before its completely dry because you could drop it and end up with this mess! Gosh!

Some pieces are harder to paint than others, so take your time and be sure to cover all the areas.

Repeat the steps above with the paint color of your choice.  Let all the pieces dry the directed time before you reassemble your "new" light fixture.
My honey hung them back over each vanity then we added some cost saving LED light bulbs and we had new light fixtures!  No more ugly shiny brass!

We've done so much more in our master bathroom since then and if you'd like to, you can read about those projects by clicking right here.

P.S. Let me know if you're interested in doTerra holiday items because I can help you out! Click right here to see the Holiday Gifts doTerra offers.  I personally want one of everything! :)

It doesn't have to be done all at once.  It is a slow process in the works! C-ya next time!

I'm Linking to:
These lovely and FUN parties!
Between Naps on the Porch
The Dedicated House  - (I was featured)

Pin It!
01 09 10