
I wanted to share with you how I painted a faux rug on our front steps. I am seriously loving how it turned out!

It was LOTS of work, but so worth it in the end. My rug is very simple and I'm sure you could really go elaborate if you wanted to, but for me, I chose easy for the first time around!

It makes a very dramatic change for sure. I added bunches of Fall goodness, like pumpkins and mums to really make it special!

STEP 1: PAINTING THE BASE
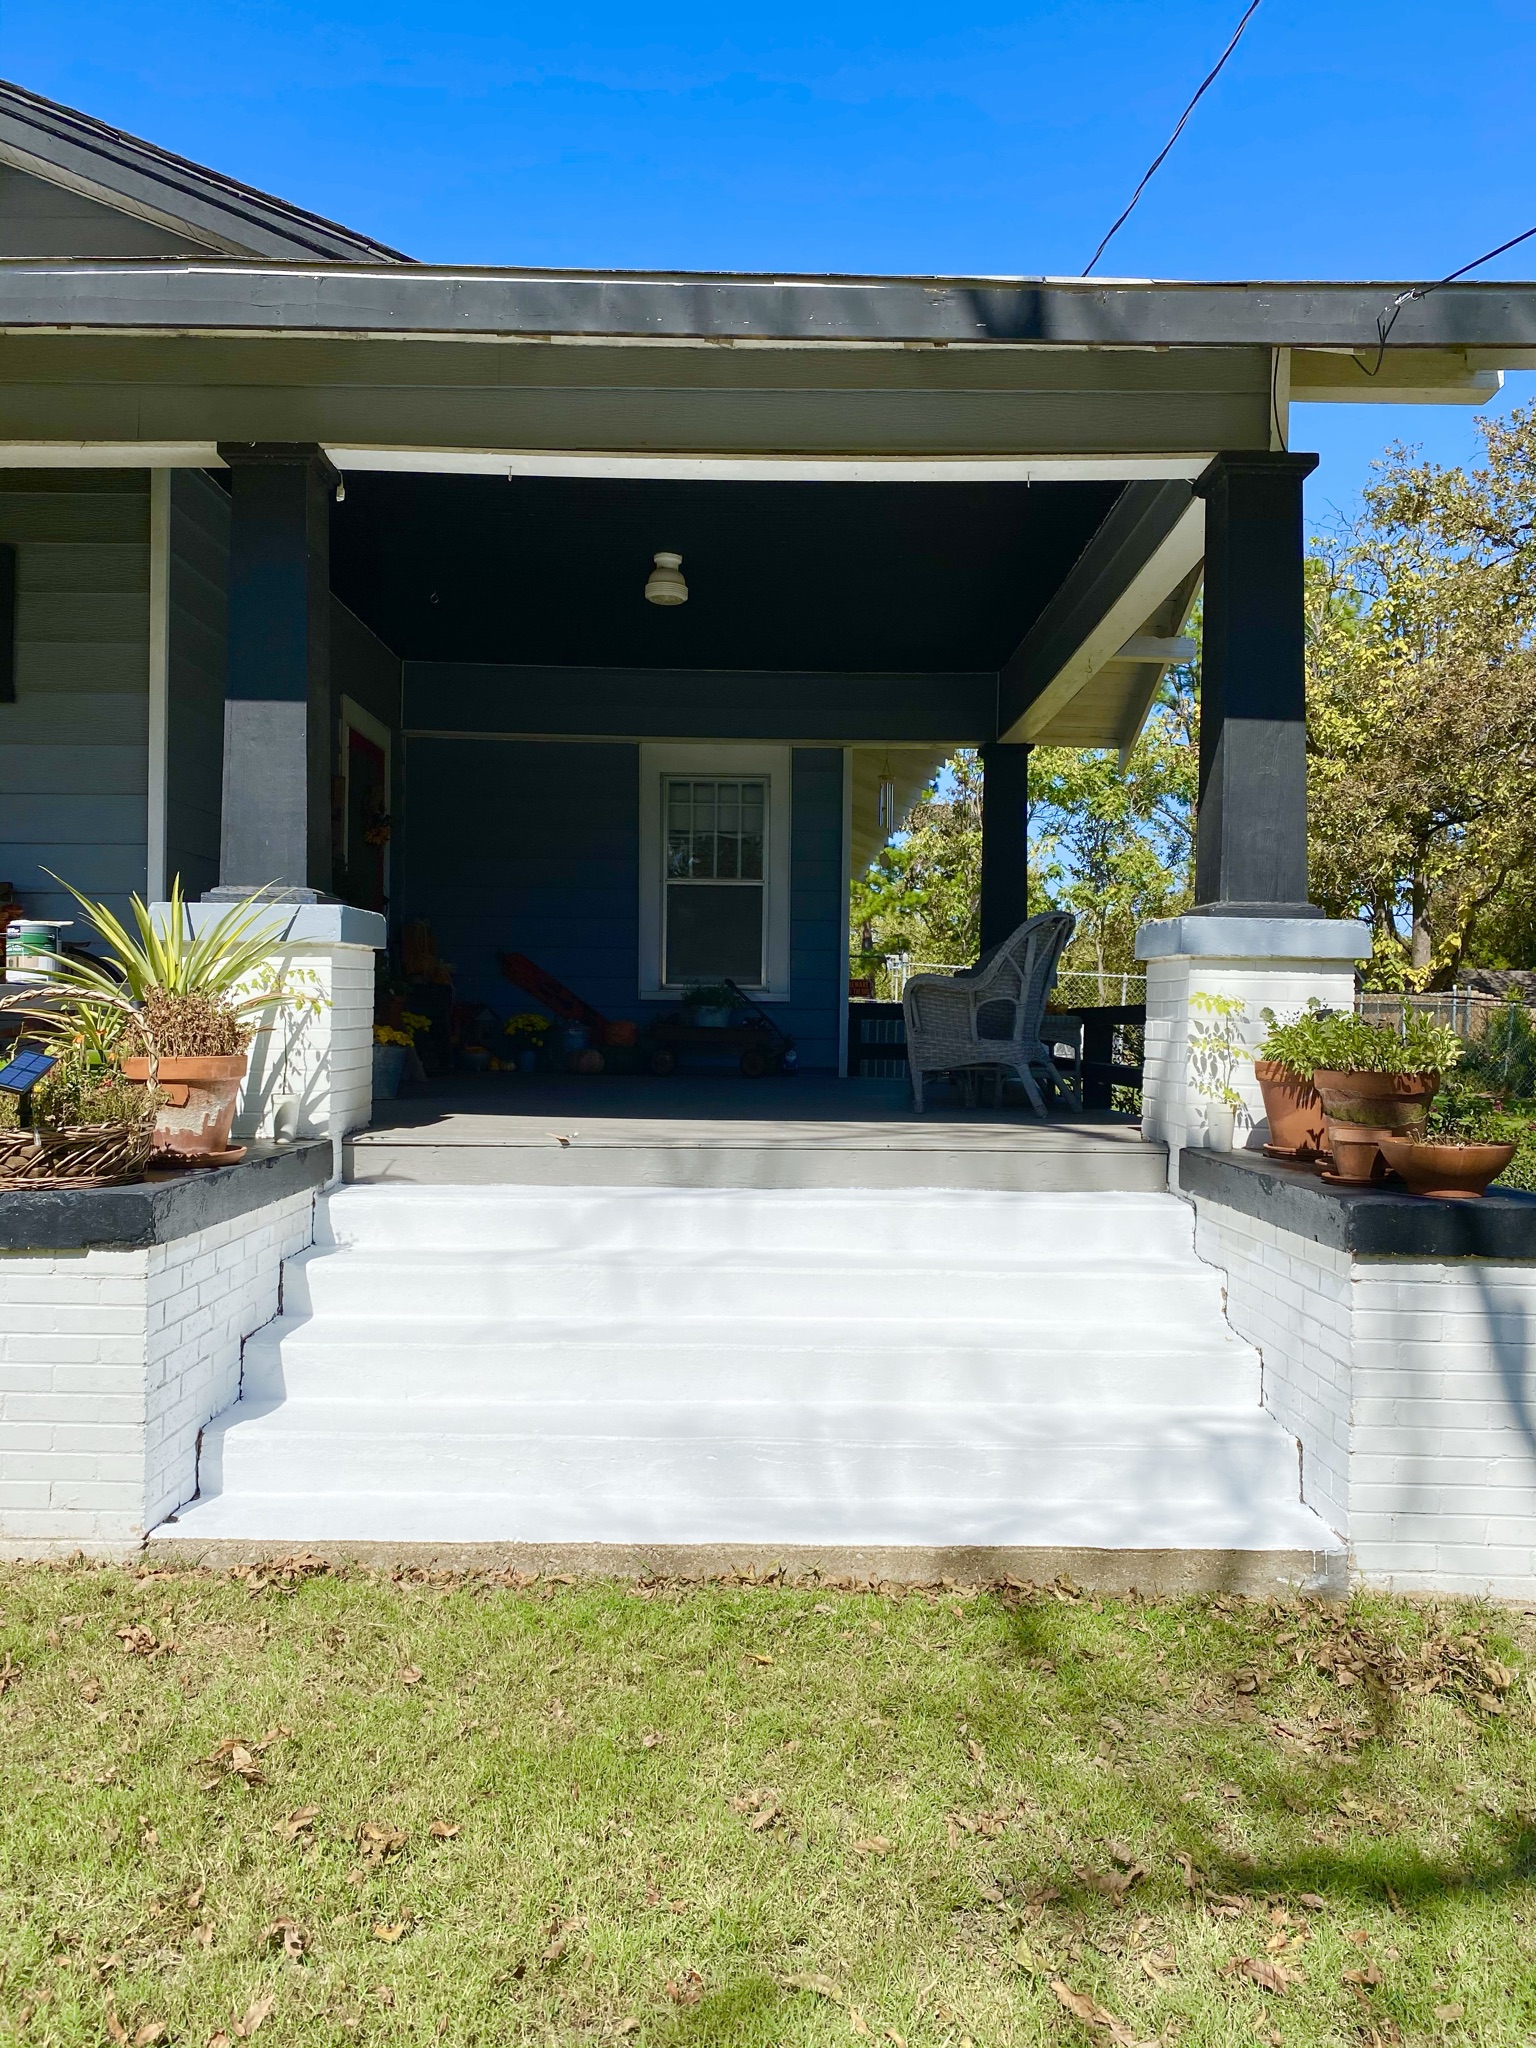
I gave the steps a good cleaning and then painted the entire thing white. I used a small roller brush to apply the paints. Here's what paints I used:
1 Gal. Ultra Pure White Textured Low-Lustre Enamel Interior/Exterior Anti-Slip Porch and Patio Floor Paint
and a small can of Behr Ultra Stain Blocking Paint and Primer in One in the Exterior Flat Deep base and had them tint it in black. Sorry, I can't link it because I could not find it on the site.

It's already looking much better! The paint that was on the steps was not for porches and was starting to chip off in places. Also, the concrete is very old and pitted, so it took two heavy coats of paint with lots of tapping brush work to fill in all the cracks and holes. I almost used the entire gallon of white paint.
 STEP 2: MARKING GUIDE LINES

Later in the evening after the paint was really good dry, we marked the lines for the tape to go down each step. Trust me, you need guide lines on a space this big! This part is totally up to you on how you want your end result to look. We measured in from each side, 18 inches and marked a line.

We laid the 2 inch painter's tape on the line we just made and then measured 3 inches over from the tape edge and made another line. I knew I wanted my white stripes smaller than the black stripes.

 This is how our pencil marks looked all the way down. This was my guide to lay down the tape on either side.

STEP 3: LAYING DOWN THE TAPE


The next day I got to taping off the stripes and got ready to paint. Since the tape is 2 inches wide, this left my white stripes 2 inches wide and the black stripes 3 inches wide.
NOTE: You want to rub the edges of the tape down as best as you can, its a chore and makes your fingers sore, but its necessary to keep as much paint as you can from seeping under the tape.
WARNING: Paint still gets under the tape!
 STEP 4: PAINTING ON THE "RUG"

Again, I used a small sponge roller (a new one because the one from the white paint was destroyed by the rough concrete) to paint on the flat black paint. I took a good two coats and then lots of touch ups with a sponge brush too. The concrete is not smooth and has lots of pits and chips to fill.
 STEP 5: REMOVE PAINTER'S TAPE

After two heavy coats of paint, I let it completely dry and then I removed the painter's tape.
 Oh wow! It looks awesome from way back here! Lol!
 STEP 6: TOUCH UPS


Up close, not so much! No matter how careful you put down the tape, it's going to seep under, it just is, its rough concrete! I used a small sponge brush and the white paint and touched up the line to make them sharper. Don't drink lots of coffee before this task! lol!

STEP 7: ADMIRE YOUR HANDY WORK - LOTS!
Now to let it dry really well overnight. I was so excited about how it turned out that I bet I came outside 15 more times just to stare at it! Ha!

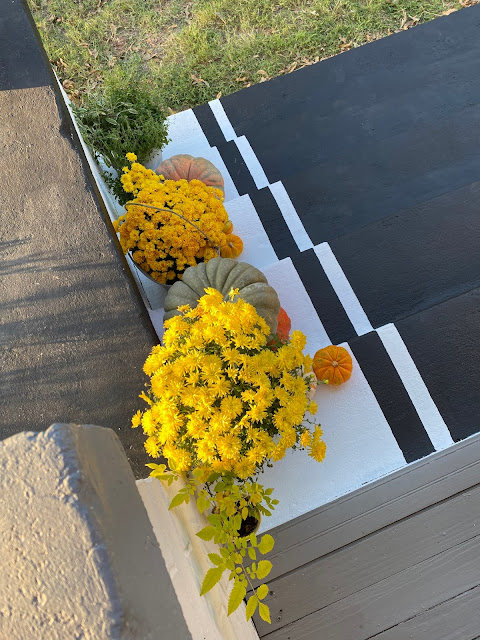
The next morning I added my pumpkins and mums to the stairs and snapped about 1 million pictures! It looks so pretty!


The white steps make everything look so much brighter, don't you think?
 It looks really nice from the street too! For a week after I painted the steps, I would slow down and look at them as I drove by! Hahah!

 Let me know what you think down below! Would you try this type of project? It's kinda tedious, but so worth the end results! Thanks for stopping by to see me!

Visit me over on Instagram @texasbluebingalow for more pretty views of this space!
If you loved this idea and want to save it for later, be sure to pin it to your favorite Pinterest board. I have a Pinterest board set up just for all things related to Halloween and its called Our 1922 Blue Bungalow and I'm pinning something new every day. Won't you join me?
GREAT
NEWS! I now have an Amazon Storefront! If you ever want to purchase
anything I'm showing you here, you can pop over to my shop and see what
I've picked out for you! Click right here to visit.

Wow! Your steps look so good. I've never even thought of painting like this. It adds so much! Thanks for sharing. I'm visiting from the Over the Moon link up. Have a great week DeeDee!
ReplyDeleteHi Marielle! Thank you so much sweet lady, I appreciate the kind words! :)
DeleteCute idea!
ReplyDeleteThanks so much sweet friend! :)
DeleteLooks so nice. I love your new place. Im not receiving your post anymore in my inbox.
ReplyDeleteThanks for sharing
Have a blessed day
Hi Judy! Thanks so much sweet friend! I took a little break, please see my most recent post for details. :)
DeleteThis is so awesome, looks so nice! I love it! Love your home and how you decorate. You have really great ideas.
ReplyDeleteHi Cheryl! Thank you so much for all your kind words my sweet friend! :)
DeleteLove your big front porch! The painted runner is the icing on the cake. It turned out so good! Visiting via Wonderful Wednesday :)
ReplyDeleteHi there! Thank you so much for visiting and leaving a kind comment! :)
DeleteDeeDee, your porch steps look amazing and add so much to your home's exterior! Thank you for sharing your project at the Tuesday Turn About Link Party. Look for your post to be featured this week!
ReplyDeleteHi there sweet friend! Thank you so much for the feature! I am so sorry I missed it! :)
DeleteI love this and think you did a great job! Such a great idea. Pinned! Thanks for sharing it on Farmhouse Friday too.
ReplyDeleteHi Cindy! Thank yo so much for your sweet comment and for sharing me too! :)
DeleteThis is gorgeous DeeDee! Thanks so much for sharing it with us at Farmhouse Friday - we're featuring you at tomorrow's party!
ReplyDeleteHi Michelle! Thank you so much for the feature my sweet friend! I am truly sorry that I missed it! :)
DeleteHi Marilyn! Thank you so much for always being so kind my sweet friend! :)
ReplyDelete