
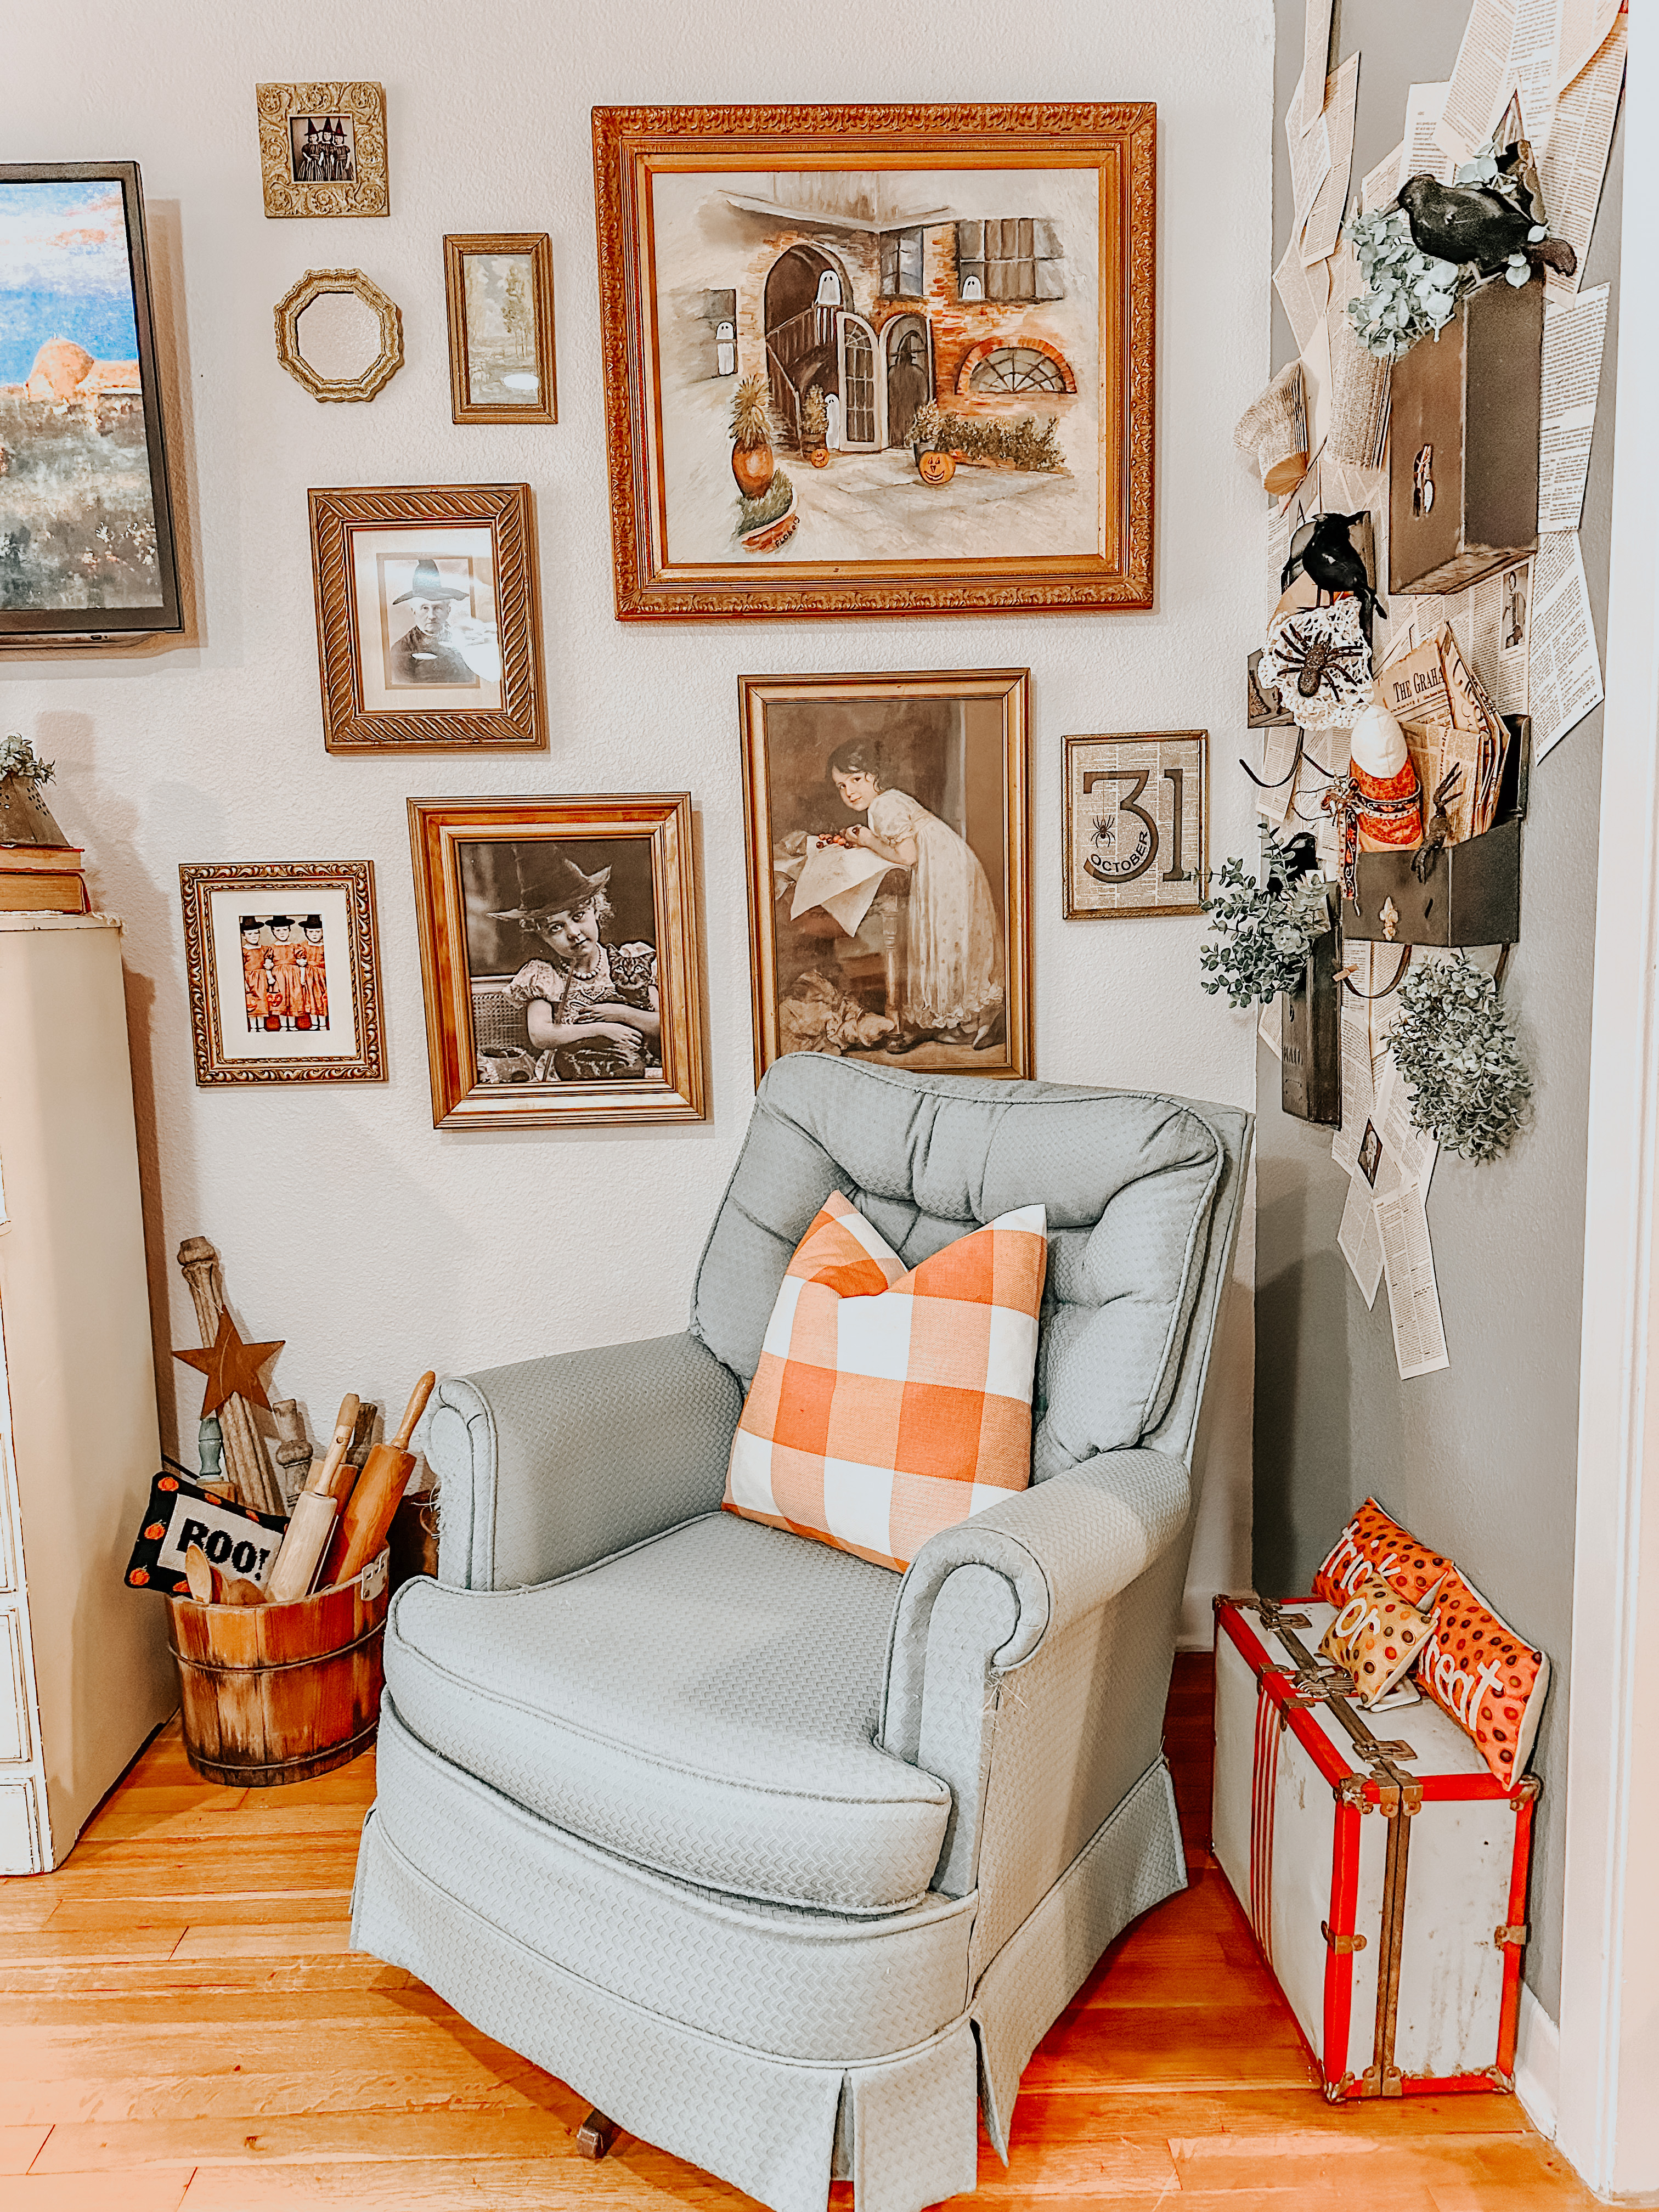
Hey there! I hope you are doing well! I'm doing pretty good because we finally have some cooler temps and RAIN!. Anywhoobs, if you follow me on Instagram then you've seen the gold frame gallery wall that I created in my living room. I have had some questions about where I got my witch portraits so I thought I'd share that with you and explain my thinking process.
Decorating your living space is a personal journey that allows you to express your style, taste, and personality. One fantastic way to add character and charm to your home is by creating a gallery wall. And what better way to do it than with vintage gold frames? These timeless pieces not only exude elegance but also bring a touch of history into your space.
In this blog post, I'll walk you through the steps of creating a stunning gallery wall using vintage gold frames. Whether you're a seasoned interior design enthusiast or just starting to explore the world of decor, this guide will help you curate a space that truly feels like home.

Step 1: Gather Your Materials
Before you start arranging frames, it's crucial to gather all the necessary materials:
- Vintage gold frames of various sizes and shapes. This does take some time to find a large amount of frames to use in your gallery wall.
- Artwork, photographs, mirrors or prints that you'd like to display. Use what comes in the thrifted frames, shop Etsy and simply google the type of art you are looking for.
- Measuring tape, level, and a pencil for accurate placement - TBH, I eyeball everything.
- Hammer, nails, or picture-hanging hooks (the best).
- Optional: Command strips for a damage-free alternative

Step 2: Plan Your Layout
Take a moment to envision how you want your gallery wall to look. Consider the arrangement of frames - will they be symmetrical, asymmetrical, or follow a specific pattern? Lay the frames on the floor to experiment with different configurations until you find one that feels balanced and visually appealing.

Step 3: Arrange and Rearrange
Once you've settled on a layout, it's time to transfer it onto the wall. Begin by marking the center point and work outward from there. Use a level to ensure that the frames are straight, and adjust as needed. Don't be afraid to rearrange if something doesn't quite feel right.

Step 4: Mix and Match
The beauty of vintage gold frames lies in their diversity. Mix different styles, sizes, and shapes to create a dynamic visual impact. Some frames may have intricate detailing, while others might be more understated. This interplay adds depth and interest to your gallery wall.

Step 5: Incorporate Artwork and Memorabilia
Now comes the fun part - adding your chosen artwork or photographs. Consider a mix of paintings, prints, and personal photos to infuse your personality into the display. Be mindful of color palettes and themes to ensure a cohesive look.

Step 6: Balance and Symmetry
Achieving balance is key to a visually pleasing gallery wall. Ensure that there's a sense of equilibrium in terms of color, size, and spacing. This can be achieved through careful arrangement and occasional adjustments.

Step 7: Admire Your Handiwork
Once your vintage gold frame gallery wall is in place, step back and take it all in. The result should be a striking focal point that not only reflects your style but also tells a story.
Shop Etsy prints:
Google: Free Vintage Witch Pictures and you will find many you will love.
FREE from The Navage Patch - a wonderful collection of freebies.

Maintenance Tips:
- Dust your frames regularly to maintain their luster, or don't if its the Halloween season.
- Ensure that the frames are securely fastened to the wall to prevent accidents.
- Consider rotating artwork periodically to refresh the look.
Creating a gallery wall with vintage gold frames is a wonderful way to infuse your living space with timeless elegance. With a thoughtful layout and carefully chosen artwork, you can transform any room into a space that exudes charm and character.
So, gather your frames, select your favorite pieces, and embark on this creative journey. Your gallery wall awaits, ready to tell your unique story to all who enter your home. Have Fun!
For more fun Fall ideas, go visit my Instagram. I post every single day. Find me @TexasBlueBunglaow on Instagram.
If you loved any of these ideas and want to save them for later, be sure to pin it to your favorite Pinterest board. I have a Pinterest board set up for all kinds of Fall Decorating ideas and it's called Fall Decor to Try. I'm pinning something new on Pinterest every day. Won't you join me?
***I am a participant in the Amazon Services LLC Associates Program, an affiliate advertising program designed to provide a means for me to earn fees by linking to Amazon.com and affiliated sites.**


So nice to see something that isn't white, black and gray!!! Great post...
ReplyDeleteHi Sandi, thank you my friend! I really love color in my home! :)
DeleteSuch lovely frames and colors used on your gallery wall!! I love all of the variety and different shapes. Looks so good!! Thanks for sharing at Home Imagined today!
ReplyDeleteAww, thank you so very much for that wonderful compliment sweet friend!
DeleteI love how all of these came together! It looks fantastic :)
ReplyDeleteThanks so very much sweet friend! :)
Delete