 |
| {Vanity top with sink and faucet installed} |
Happy Sunday!
I'm back to show you yet another step in the whole master bathroom vanity makeover. This time we're installing the sink and the faucet. |
| {Installing the faucet} |
 |
| {Getting everything tightened down} |
 |
| {This is how it looks all installed} |
 |
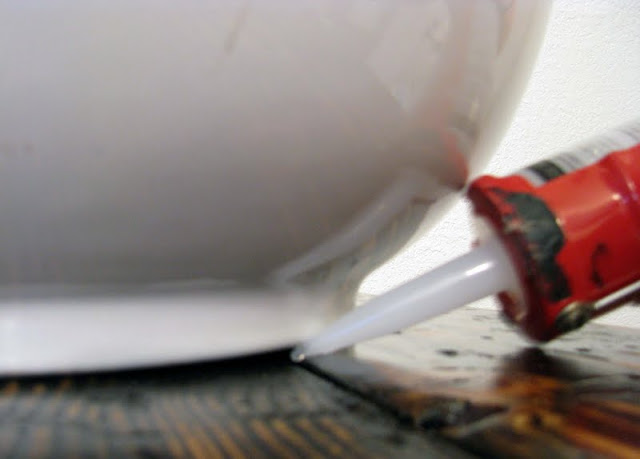
| {Adding silicone to the bottom of the sink} |
 |
| {sorry for the blur!} |
Next we added a line of silicone around the bottom of the sink to seal the gap. It sealed everything up and made it look finished.
We've learned so much from doing this project. As I said in the beginning, we are rookies and have no idea what we are doing, but I think its all turning out so beautiful. Really, that's all that counts huh?
Master Vanity Part 1 - Click here.
Master Vanity Part 2 - Click here.
Master Vanity Part 3 - Click here.
Master Vanity Part 4 - Click here.
Painting Our Cabinets - Click here.
It doesn't have to be done all at once. It is a slow process in the works! C-ya next time!

How did you attach the boards to each other and to the cabinet? I would love to do this!
ReplyDeleteHi there! I don't know if you can tell by the pictures above, but we used 2 x 4s and nailed them, one on each side to the top boards. Please see parts 1 and 2 as well for a better view. :)
DeleteHow did you attach the boards to each other and to the cabinet? I would love to do this!
ReplyDelete