Showing posts sorted by relevance for query farmhouse curtains. Sort by date Show all posts

Sunday, August 21, 2022

New Curtains with Tassels in the Living Room

Hello there! I am excited to say that we have some much needed rain and cooler temps on the way today!  I don't know about yall, but I am ready for cooler weather!  We Texans have had plenty of hot already this year! 

As you read in the title, I got new curtain for my living room!  They are so cute!  I believe I mentioned looking at them here.

I still can't get over how much light they let in!  The curtains I had in here before were left by the previous owners.  They were ok, but just not my style.  My new curtains have some fancy details, like tassels and a pretty stitching throughout that looks like they are plaid.  They are the Tassel Plaid Curtain Semi Blackout Drapes.  Mine are in the color coffee.

Oh my gosh, I almost forgot! We interrupt the story of my new curtains to let you know that I am in that Flea Market Decor magazine you see right there at the bottom of this picture.  Well, actually Hazel is in the magazine, I just took the picture of her.  I am very proud to be in a magazine again!

Shameless plug coming right up!😆

#28, that's us! I snapped that photo last Christmas before I moved out of my beautiful 100 year old home, The Texas Blue Bungalow.

Anyway, back to my new curtains!
The tassels are my favorite part.  I used (4) panels on each window.  I like for my curtains to be very gathered looking.  You can read all about the details on the curtains here.  I originally received four panels which I thought would do for both giant windows, 2 panels on each window, but I didn't like how it looked, so I used all four panels on one window and then ordered four more for the other window.


I found this beautiful velvet chair at Goodwill for $5 yall!  I couldn't get it in my car fast enough!  Zel thinks its his chair and loves lounging in it. I think it looks wonderful with my new curtains too!

Before I forget to tell you, I got my new curtains at Ownkoti.com.  They have anything you can think of for decorating your home.  You can use my code TEXAS15 to save yourself $$$$ if you want to go shopping for new curtains too!
 

If you loved any of these ideas and want to save them for later, be sure to pin it to your favorite Pinterest board.  I have a Pinterest board set up for all kinds of Farmhouse decor ideas and its called Farmhouse Decor Ideas.  I'm pinning something new on Pinterest every day. Won't you join me?

***I am a participant in the Amazon Services LLC Associates Program, an affiliate advertising program designed to provide a means for me to earn fees by linking to Amazon.com and affiliated sites.***


Pin It!

Sunday, February 28, 2021

DIY Curtain Rod and Curtains - Farmhouse Style

Hello there! I hope you are doing well!  We are doing great!

During the deep freeze about two weeks ago, we practically lived in our living room, huddled around the gas fireplace!  We realized that our beautiful 100 year old windows with wavy glass do not seal well anymore.  We put up some curtains from our old house temporarily to keep the cold at bay and it helped a lot, so we decided that curtains would be a great idea in here!

This is my newest TikTok (ddcamp170) for how we made the DIY Curtain Rod and Curtains.  See my Instagram Reels for more how tos.

When we decided to do this thing in our living room, we got right to it, Hazel, not so much! Haha! She makes the photo look beautiful though! :)

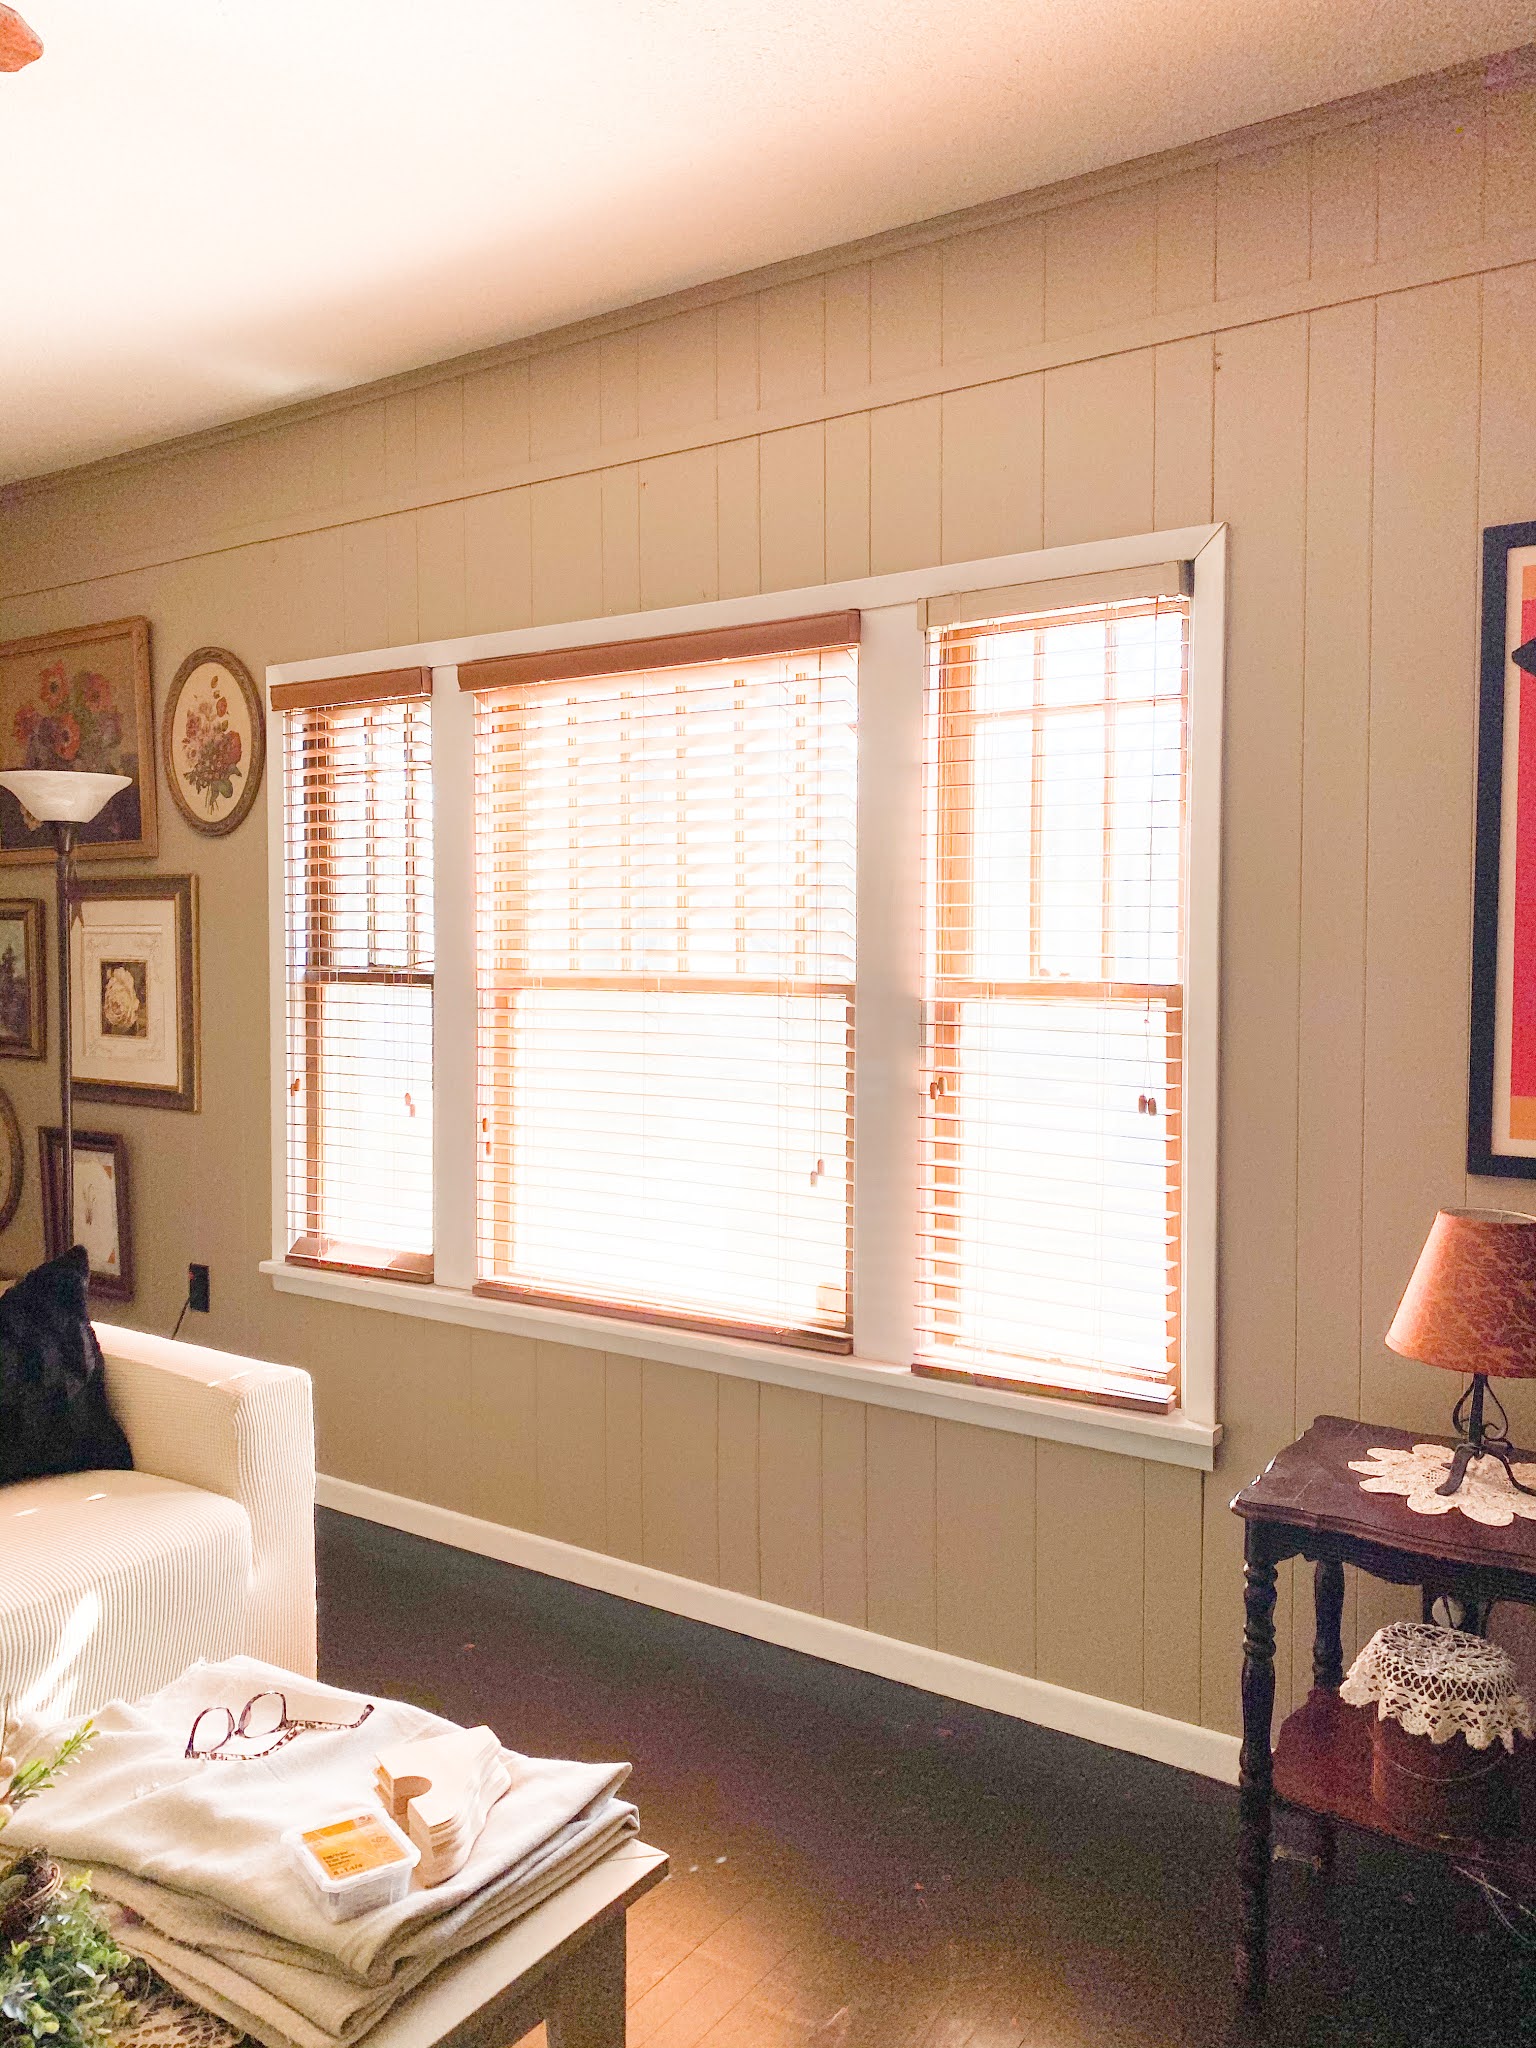
This was how the three windows in our living room has looked since we moved in.  It was time for a change, dontcha think?

Here's our list of supplies:

(3) small 6" x 8" wooden corbels - $1.62 each at Home Depot

(1) 1-1/4” x 10’ Dowel Rod - $17.70 at Home Depot

(2) 9’ x 12’ Drop Cloths

(10) Clip Rings to hang the curtains

1-1/4" hole saw with drill

fine sand paper (220)

Weathered Oak Stain and Snow White Paint to achieve the look of the wood.

My honey took 3 cheap corbels from Home Depot (I don't see them online to link them for you) and clamped them all together.  He used his 1-1/4" hole saw to cut a half circle in the corbels.  This is where the rod will sit. I used some fine sandpaper and smoothed out the rough edges after he was done.

Next he positioned the corbels about 12 inches above the window.  We have 10 foot ceilings and I wanted the curtains to mostly fill up the wall.


He found the center of the window and placed the first corbel there.  He then measured the same distance on either end from the edge of the window to get the end corbel placements.  Me, I eyeball stuff, he measures, he's more of a perfectionist than I am.  Haha! :)  Next he laid the dowel rod up on the installed corbels and said. "there ya go"!

He marked the dowel rod for me so I'd know where to put it back after I added the clip rings and curtains.  At this point I was planning on leaving all the wood natural, but then it just looked too yellow against the wall color, so I decided to tone it down a bit.

I went out to the shed to see what we had in our stash.  I normally like using dark stains, but that was not going to work in this case, so I chose this weathered oak stain by Minwax.

The wood was still looking a bit too yellow even with the stain on there, so I white washed it a bit with some snow white acrylic paint.  I did not seal these pieces because we are not going to be touching them that much.

NOTE: My version of white washing the wood in this case was me swiping on some white paint, spreading it around a bit and then using a damp paper towel to smooth it out and tone it down.

Next, I tried on the drop cloth to see how it looked.  It looked really wrinkled, so I washed and dried the drop cloths and then folded one end down about 34” and clipped it in place. I used these clips.

I am loving the final look and so does my honey!  I don't know why we didn't this sooner!

Who's ready for Spring? I sure am because I'm over all this cold weather and dreariness!

Visit me over on Instagram @texasbluebingalow for more pretty views of my vintage decor! 

If you loved this idea and want to save it for later, be sure to pin it to your favorite Pinterest board.  I have a Pinterest board set up just for all things related to Farmhouse Decor and its called Farmhouse Decor Ideas and I'm pinning something new every day. Won't you join me?

GREAT NEWS!  I now have an Amazon Storefront!  If you ever want to purchase anything I'm showing you here, you can pop over to my shop and see what I've picked out for you! Click right here to visit.
 

It doesn't have to be done all at once.  It is a slow process in the works! C-ya next time!


Pin It!

Sunday, August 28, 2022

Fall Fireplace Decor in My New Home

Hey there!  I hope your day is going well!  Mine is because I'm currently on a mini road trip with my cousin!  We're 11 days apart in age and we're celebrating our birthdays this weekend!

Enough of that, lets' get to my beautiful Fall decor on the fireplace!

My mantle is puny and also not very attractive, so I doll her up every chance I get! Shhhh,don't tell her!

First of all I have my VERY heavy mirror at front and center.  I topped it off with a wreath I made using all Dollar .25 Tree items!

The star of the show is this beautiful maple leaf garland from MIENNES HOME.  I think its gorgeous and I love when I get to use it.  Mine is extremely full because I tied 4 garland together to make it fluffy! Use my code DeeDee10 to save 10% off or tap here to apply this discount at checkout automatically!

I have several pieces of this black speckled enamelware.  I love to use it for my Fall decorating, it pairs well with my orange foliage.

I also added lots of my gold mirror and frame collection to the mantle to finish it off.  I think gold is perfect for Fall too.  What do you think?

I will definitely tweak it here and there and probably add some real pumpkins when they become available in my area.

Oh, speaking of pumpkins, I have some volunteer pumpkins from last years pumpkins that I moved over here with me.....yes, I saved my pumpkins.....I have three patches of pumpkins currently and only one tiny pumpkin so far.  I have babied these pumpkins all Summer through our heat wave and drought.  The rain we received a few days ago really pushed them along and finally popped out a baby pumpkin!  Fingers crossed it makes it!

In case you want to know, I got my new curtains at Ownkoti.com.  They have anything you can think of for decorating your home.  You can use my code TEXAS15 to save yourself $$$$ if you want to go shopping for new curtains too!
 

If you loved any of these ideas and want to save them for later, be sure to pin it to your favorite Pinterest board.  I have a Pinterest board set up for all kinds of Farmhouse decor ideas and its called Farmhouse Decor Ideas.  I'm pinning something new on Pinterest every day. Won't you join me?

***I am a participant in the Amazon Services LLC Associates Program, an affiliate advertising program designed to provide a means for me to earn fees by linking to Amazon.com and affiliated sites.***

Pin It!

Sunday, March 28, 2021

Our Farmhouse Spring Living Room

Hello there, how are you?  We are doing great!

I recently got a new slip cover for our couch in the living room and I thought I'd share it with you along with a few other Spring decorations I have in here. Oh, and the cats too....can't forget them, they go where Mama goes! Ha!

Here's Zel helping me with the photos of the new slip cover.  Isn't the cover so cute? I love that it's Farmhouse style to go with my vibes in here!

I have the cover linked in my Amazon shop if you need one too! :)  My couch slip cover is a size large in light yellow.  This is the second Surbtex slip cover we've purchased.  They are so easy to put on and wash up very well!


With three fur people in our home, we need a slip cover!  This is Hazel.  I'm not kidding when I say that when I start snapping photos, the two fuzzy people show up to pose for me.  They are naturals.

Piper on the other hand, does not like to have her picture taken.  Her Daddy was distracting her from the kitchen when I snapped this cute photo!  I have these pillow covers in my shop too, right here.

Did you know you can find FREE printables on Pinterest?  That's where I found this sweet bunny.  I made that big carrot on the right.  See how you can make one too, right here.  The old book page eggs I made are here.

My collection of vintage tarnished silver grows quite often, even my hubs buys it for me!  I love creating beautiful centerpieces with it! Find the beautiful life like tulips here.  They really feel and look real and you get lots for your dollar!

Did you see how we made our DIY curtain rod and curtains?  Check it out here.

I hope you've enjoyed the little tour of our living room Spring decor!  We are going to be working in the yard today to try and get ready for warmer weather!  Enjoy your day! :)

Visit me over on Instagram @texasbluebingalow for pretty views of my vintage decor!

If you loved this idea and want to save it for later, be sure to pin it to your favorite Pinterest board.  I have a Pinterest board set up for all things related to decor and its called Farmhouse Decor Ideas and I'm pinning something new every day. Won't you join me?

GREAT NEWS!  I now have an Amazon Storefront!  If you ever want to purchase anything I'm showing you here, you can pop over to my shop and see what I've picked out for you! Click right here to visit.
 

It doesn't have to be done all at once.  It is a slow process in the works! C-ya next time!

Pin It!

Sunday, March 5, 2017

Pioneer Woman Tablecloth Turned Into Curtains

Hello! We're back! I'm so glad to be back too.  Just a little update, we've been working away from our home and living in an RV for the past 5 1/2 months of our lives.  Let's just say that it was an adventure and we were both grateful to have jobs to go to every day. Yay!

Now back to our regularly scheduled DIY!

I received lots of Pioneer Woman Collection dishes, pots and pans and other odds and ends for Christmas.  After we returned home, I got to get them all out and play with them.  Then I decided I wanted a new curtain for the kitchen because the old one didnt match anymore.  I went to Pinterest of course and then the light bulb went on! Ding!
Disclaimer:  I'm not a seamstress.
I can run a pretty straight line (mostly) and the end product was all that mattered to me and I love how it turned out! 
NOTE: My kitchen window measures 33" x 33".  If your window is smaller or larger, you may end up with a totally different look.
I started with a 70" round tablecloth in the Country Garden print from Walmart. You can find it HERE.  I paid $13.96 for mine and got two small curtains out of it.
First you'll want to wash and dry your new tablecloth to prevent any shrinkage in the future.  Next, I cut mine directly in half.
I knew I wanted a big ruffle on the top so after I had it cut in half I held it up to my window to see how far down I wanted it to hang.  I decide to cut 12" off the unfinished side to make my ruffle.
Next I need to hem all of the raw edges so I pressed them with a steam iron first for easier stitching.  For the lower edge of my ruffle I folded over once like above, pressed, then folded over once again the same width and pressed to make sure I had no ravels (no raw edges showing) in the future.  Stitch in place.
Now that I have all the raw edges stitched, I placed the two pieces together, right sides up, and pinned them in place for stitching.
I needed a sleeve for the tension rod to slide through so I used the other half of the table cloth that was left over and I cut a 3" piece from that.
I folded the edges to the center and then pressed it for stitching.
Next I pinned the sleeve to the curtain back only, I left the ruffle out.  I ran a stitching line on the very lower edge of the sleeve and then the very upper edge of the sleeve.  Lastly, I pressed the whole curtain using some spray starch for a crisp smooth finish.
I threaded the curtain onto the tension rod and then placed it in the window and fluffed as needed to achieve the look I wanted.  I hate that our window frames are a dark color, but that's whole other post isn't it! lol!
Since I had most of the other half of the tablecloth left over and I've always liked how the under sink curtains look, I decided to make these little cuties. 
They are just simple stitching all the way around.  I measured my openings and allowed myself some hemming room and whipped them out in like five minutes.  They are also mounted on a tension rod.  Loves it!
I think the Pioneer Woman Collection is adorable and I'm trying really hard not to fill my whole entire kitchen with it, but its hard yall!

Would you like to see more about our kitchen remodel?
Tiling Our Kitchen Floor
Kitchen Cabinet Makeover Part 1
Kitchen Cabinet Makeover Part 2
Kitchen Cabinet Makeover Part 3
Building a Corner Cabinet
Building a Drop in Kitchen Cabinet
Installing a Farmhouse Sink
Pantry Remodel
DIY Mosaic Tile Backsplash

It doesn't have to be done all at once.  It is a slow process in the works! C-ya next time!
I'm Linking to:
These lovely and FUN parties!
Between Naps on the Porch

Pin It!
01 09 10