
Hello there! So much to be done, so little time. Isn't that how it always is? Haha!
Moving right along on all the repairs needed on the Texas Blue Bungalow. The guest bathroom needed floor repairs when we bought the house. They are finally completed 10 months later!
Remember when I painted this bathroom? Click HERE to see what color is used to be!


More missing over by the door too. It was crumbling and or missing throughout the entire walkway area. It's an old house and the wooden floor underneath it flexes is my guess at why the grout gave up and quit holding together, but don't quote me on that cuz IDK for sure!

Anywhoobs, here are a few shots of the worst damage where there was grout completely missing or just crumbled in the cracks.

You could hear the floor crunching when you walked on it before. NOT ANY MORE!

This is the caulk/grout used to do the repair and re-finish of the entire bathroom floor. It's siliconized sanded grout in a tube that came from Home Depot. To be honest, I never even knew this stuff existed until now! Best stuff ever!
Here's what I found on Amazon that is similar and look at this handy tool that I now need!
Step 1: Use a shop vac and vacuum the entire room, making sure to get all loose pieces out. You can use a flat head screwdriver to test if the grout wants to come loose too.
Step 2: Clean the entire floor well. I used a steam mop.

Step 3: Starting at the far end of the bathroom and working toward the door is the best idea. To refresh, run a bead of caulk/grout on each grout line.
Step 4: Smooth each line with a damp fingertip.
Step 5: Clean up excess grout with warm soapy water. I used a mop bucket and old micro fiber towels.
NOTE: This is WAY too much grout and WAY too big of an area to work with. It is not necessary to use large amounts of grout (unless there is a crack) , just small amounts will do.

Obviously, if you're trying to fill a gap, you will need to use more grout and keep pushing it in the crack until its full.
Let the caulk/grout cure 24 to 48 hours before you walk on it.

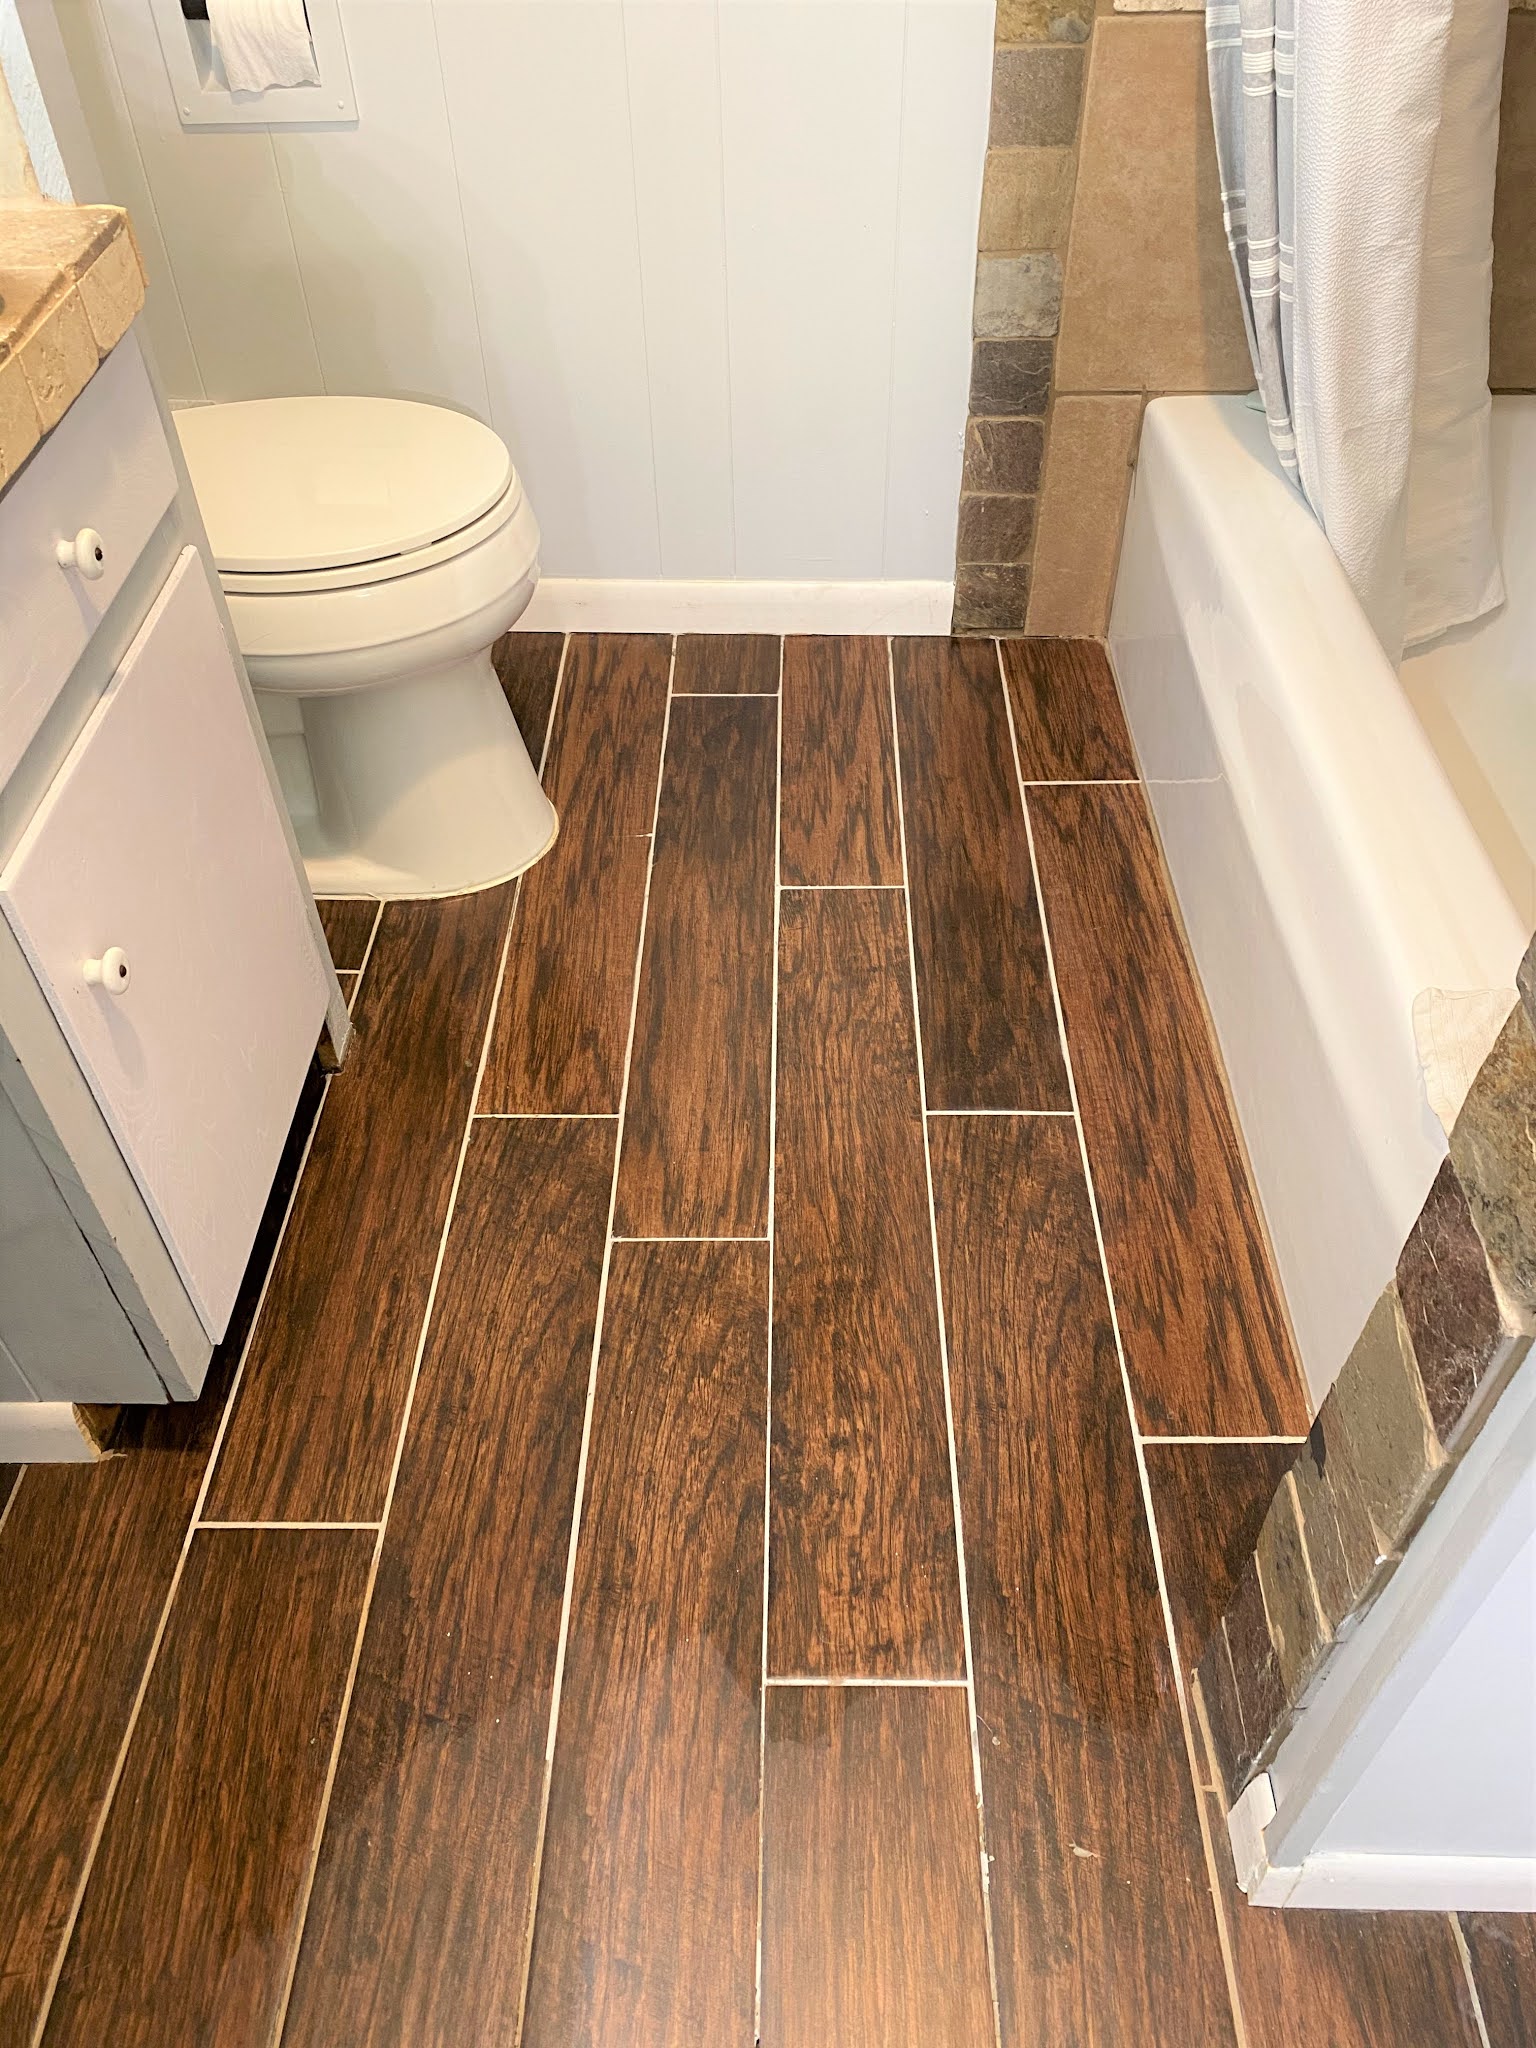
Wowee! What a big difference! It looks brand new now! Why didn't this happen sooner?

Just look at how nice its looking now! No more gaping cracks and crumbles!

I can't get over how easy this was to do! I will definitely be using this method again in the future!
If you loved this idea and want to save it for later, be sure to pin it to your favorite Pinterest board. I have a Pinterest board set up for all things related to the bathroom and its called Bathroom Beauty. I'm pinning something new every day. Won't you join me?
GREAT
NEWS! I now have an Amazon Storefront! If you ever want to purchase
anything I'm showing you here, you can pop over to my shop and see what
I've picked out for you! Click right here to visit.

Good when a project get's completed.
ReplyDeleteYour floor looks amazing! I hadn't heard of this product but I pinned this post to refer back to. Thanks so much for sharing the tips and the instructions. #HomeMattersParty
ReplyDelete