Hello there! Did you miss me? We sold our house and we closed on the sale on February 3rd! Yay! I had to take off from blogging a few weeks to finish getting packed, then moved and then settled. Our first day in the rental was January 23rd. The first two days was strictly cleaning the house and getting it ready for us to move our stuff in. With LOTS of help from our family and friends, we started moving on January 25th and slowly but surely (mostly weekends) finished up on February 2nd. Now we are in the tiny house rental! It is 982 square feet! It's small, yes, but we are getting settled in and getting used to it already.
Since this is a rental and we can't make permanent changes, I wanted to share with you how I used good ole contact paper to makeover a few areas in this house. Its an old house and its dated, so I tried to bring it up to date the best I could and being very frugal while doing so. This is our coffee station. The door to our bedroom is just to the left of it.
Here's the before and after of the coffee station area. In my excitement to try this makeover, I almost forgot to snap before pictures. My sweet cousin was there with me the day I made over these counter tops and without her, it would have taken me much longer than it did! Thank you so much Kim!
I apologize for not having pictures as we went, but at this point in the day we were both so tired of cleaning that I didn't even take time to snap pictures. It's as easy as peel and stick and if you don't get it quite right, peel back and go again.
NOTE: Make sure your counter tops are spotlessly clean before you start or the contact paper will not stick well.
Here's the other side of the kitchen with the long counter. This task took a bit longer, as you could imagine. I am so impressed with how well it all turned out. Two $5 rolls of contact paper and I've got a brand new counter tops now! I actually got my contact paper at WalMart, but you can also find the granite look contact paper that I used
right here.
Here's the before and after of the long counter. Big difference huh and it was all done with 4 hands, a box blade and a pair of scissors!
NOTE: We started with the "backsplash" and worked our way down using long pieces of paper at a time. If you are working alone, you may want to use shorter pieces that you can comfortably handle. Yes, there are seams, but you can not tell unless you feel for them.
Next up was the laundry nook. It needed a little something something so I added some brick peel and stick wallpaper. I purchased it from Walmart as well,
right here.
That counter top you see in the lower corner is the coffee station. The door to the right is our bedroom.
This is me half way through forgetting to snap before pictures again! Oh my goodness, what kind of blogger am I anyway?
Here it is with the wallpaper finished. One $6 roll of paper isn't bad to make over a laundry nook!
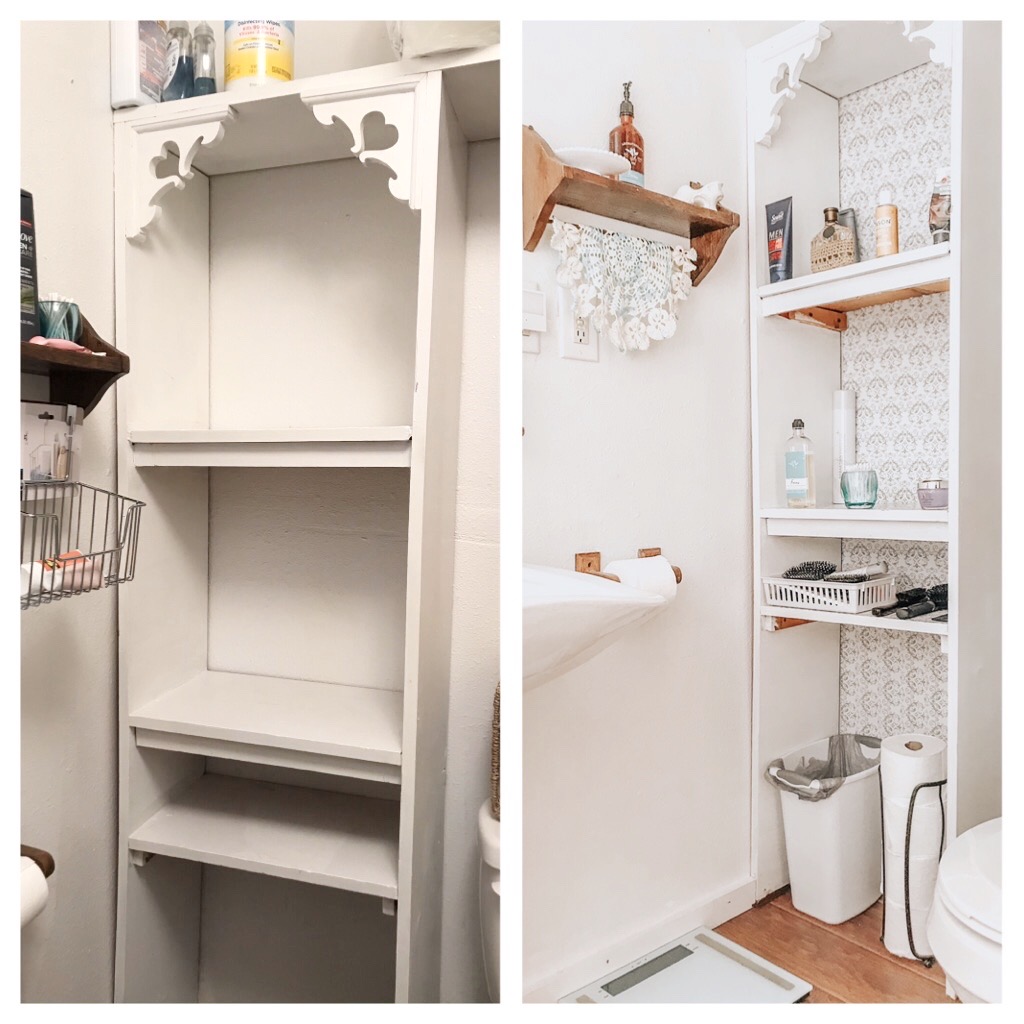
One last project in the bathroom. Again I purchased the contact paper at Walmart for $5 per roll. Its a mostly white background with a gray design, So fresh and clean looking. It may be an in store purchase only because I am unable to find it for you on WalMart.com right now.
Here is one that is very similar on Amazon.
Before and after!
Here's just a cute little peek at how cute the tub is in this tiny bathroom. I've never taken so many baths in all my life! Love it!
If you loved this idea and want to save it for later, be sure to pin it to your favorite Pinterest board. I have a Pinterest board all set up just for Tiny House Dreams and all kinds of other fun stuff and I'm pinning something new every day. Won't you join me?
GREAT
NEWS! I now have an Amazon Storefront! If you ever want to purchase
anything I'm showing you here, you can pop over to my shop and see what
I've picked out for you! Click right here to visit.
It doesn't have to be done all at once. It is a slow process in the works! C-ya next time!
I'm Linking to:
These lovely and FUN parties!
Between Naps on the Porch
The Dedicated House - (I was featured)
The Self Sufficient Home Acre


You've got it looking good.
ReplyDeleteAww, thank you so much! That's so sweet of you to say! :)
DeleteIt's amazing how contact paper can make a huge change and impact. Great job, it all looks great! I'm visiting from Craftastic Monday. I shared a Valentine printable, #14. Enjoy your week!
ReplyDeleteHi there! Thank you so much, yes it is amazing and so easy too! :)
DeleteLooks really nice. It already looks like you've been living there for years. Great job.
ReplyDeleteHi Judy! Thank you so much for the sweet compliment, I appreciate that! :)
DeleteI'm amazed that these are contact paper!! I've featured this today at Thursday Favorite Things.
ReplyDeleteHi Pam! Yes! Thank you so much sweet friend, I truly appreciate that! :)
DeleteLooks great. I can't believe how good the rounded corner edge looks!!
ReplyDeleteHi Dee! Thank you so much, I appreciate that! I just cut slits up into the contact paper toward the top and smoothed as I went to get it to look like that, pretty easy actually! :)
Delete