It seems that lemons and bumble bees are all the rage in decorating right now, so of course I jumped on the band wagon and made a bee garland to go with the bees on my chalkboard.
My friend Sheri @piratelife4she over on Instagram came up with the idea and of course, I had to make some too!
Also, see that cute little metal bee hanging on my coffee cup? I got that cutie for one whole $1 at Dollar General! Adorable!
You will need the following to make your own bee garland:
Yellow tissue paper (like for gifts)
Black chenille stems (I call them pipe cleaners)
Black ric-rac (optional, if you don't have chenille stems)
Tiny google eyes
White parchment paper
Straight pins
Small jute twine
Scissors
Hot Glue Gun and glue
Wire Cutters (optional)
Since I didn't have step by step instructions to go by, it was trial and error until I got it down. I was a pro when I made the last one! Ha!
Step one: Cut one piece of gift tissue in half and then half again until your piece resembles the photo above. Approximately 10" x 10".
Step 2: Wad up your tissue (like you're going to throw it away) into a longer shape to resemble a bee.
PRO TIP: start crunching the outside edges of the paper inward toward the middle shaping it as you go.
Step 3: Cut two (2) pieces of chenille stem, about 3 inches long. Wrap one piece around the front section and one piece around the back section. Use a twist tie motion to connect them on the bottom of the bee. Bend ends toward the center of the body.
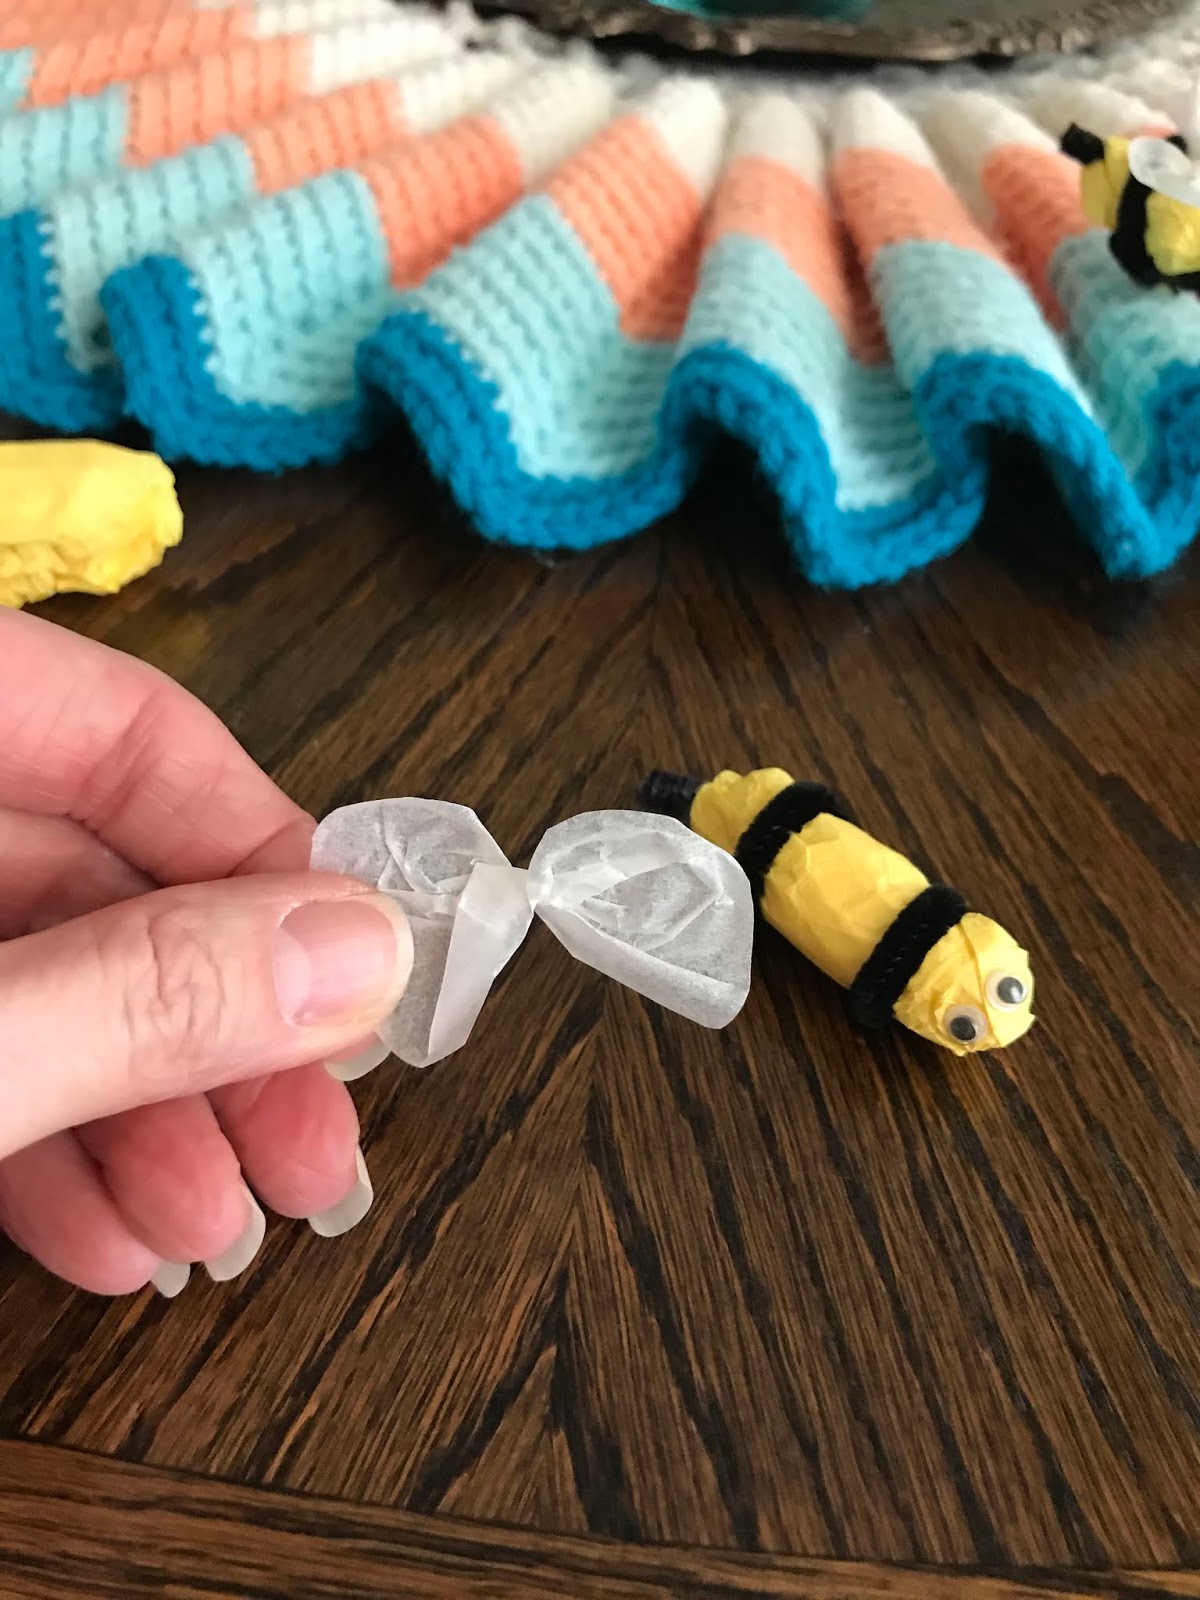
Step 4: Wings. Cut a piece of parchment paper into a approximate 3 inch square.
Step 5: Using your scissors, round off the edges.
Step 6: Gather the wings in the middle and to the center and twist two times. It should look like a little bow.
Step 7: You will attach the wings with a straight pin, but before you do that, your length of jute twine will go between the bee and the wings. This is how the bees go on the garland.
If you just want to use them on things other than a garland, use the pin to attach them. If you use them on the garland, you will have to use wire cutters and snip off the excess pin and then bend it back to avoid the sharp edge.
Step 8: Add tiny google eyes and a small piece of chenille stem for her stinger. I added both of these with tiny dots of hot glue.
This is what they look like finished and without the jute twine.
Aren't they adorable in their own little crunched up way!?
I wanted mine to fly, so I used the jute twine for a garland look.
PRO TIP: Use uneven numbers when creating your garland. I made five (5) bees for mine, but you can add more if you have a larger space to cover.
They are happily buzzing around my coffee bar hanging out with all the pretty flowers on my
Pioneer Woman Collection.
These little bees would be adorable on a flower arrangement too! I hope you can try them out for yourself.
Are you decorating with bees or lemons this year? Let me know!
I'm having a giveaway over on my Instagram, go sign up and WIN! @ddcamp170
It doesn't have to be done all at once. It is a slow process in the works! C-ya next time!
GREAT
NEWS! I now have an Amazon Storefront! If you ever want to purchase
anything I'm showing you here, you can pop over to my shop and see what
I've picked out for you! Click right here to visit.
If you loved this idea and want to save it for later, be sure to pin it to your favorite Pinterest board. I have a Pinterest board all set up just for Kitchen Goodness and I'm pinning something new every day.
I'm Linking to:
These lovely and FUN parties!
Between Naps on the Porch
The Dedicated House - (I was featured)
French Country Cottage


aw, those are super cute
ReplyDeleteThank you so much, they sure were fun to make! :)
DeleteWhat a cute and smart idea, DeeDee! Always happy to have you at Homestyle Gathering, friend!
ReplyDeleteThank you so much Julie, I'm always have to join in! Have a wonderful week!:)
DeleteThank you so much for pinning and sharing Marilyn, have a wonderful week! :)
ReplyDelete