I saw this idea
HERE and wanted to make one for myself, so I did! There's no link to the person who created the one I saw on Pinterest, but thank you to whoever you are for the inspiration!
I already had everything I needed to create my framed art so this was a FREE project! Woohoo! Those are the best kind!
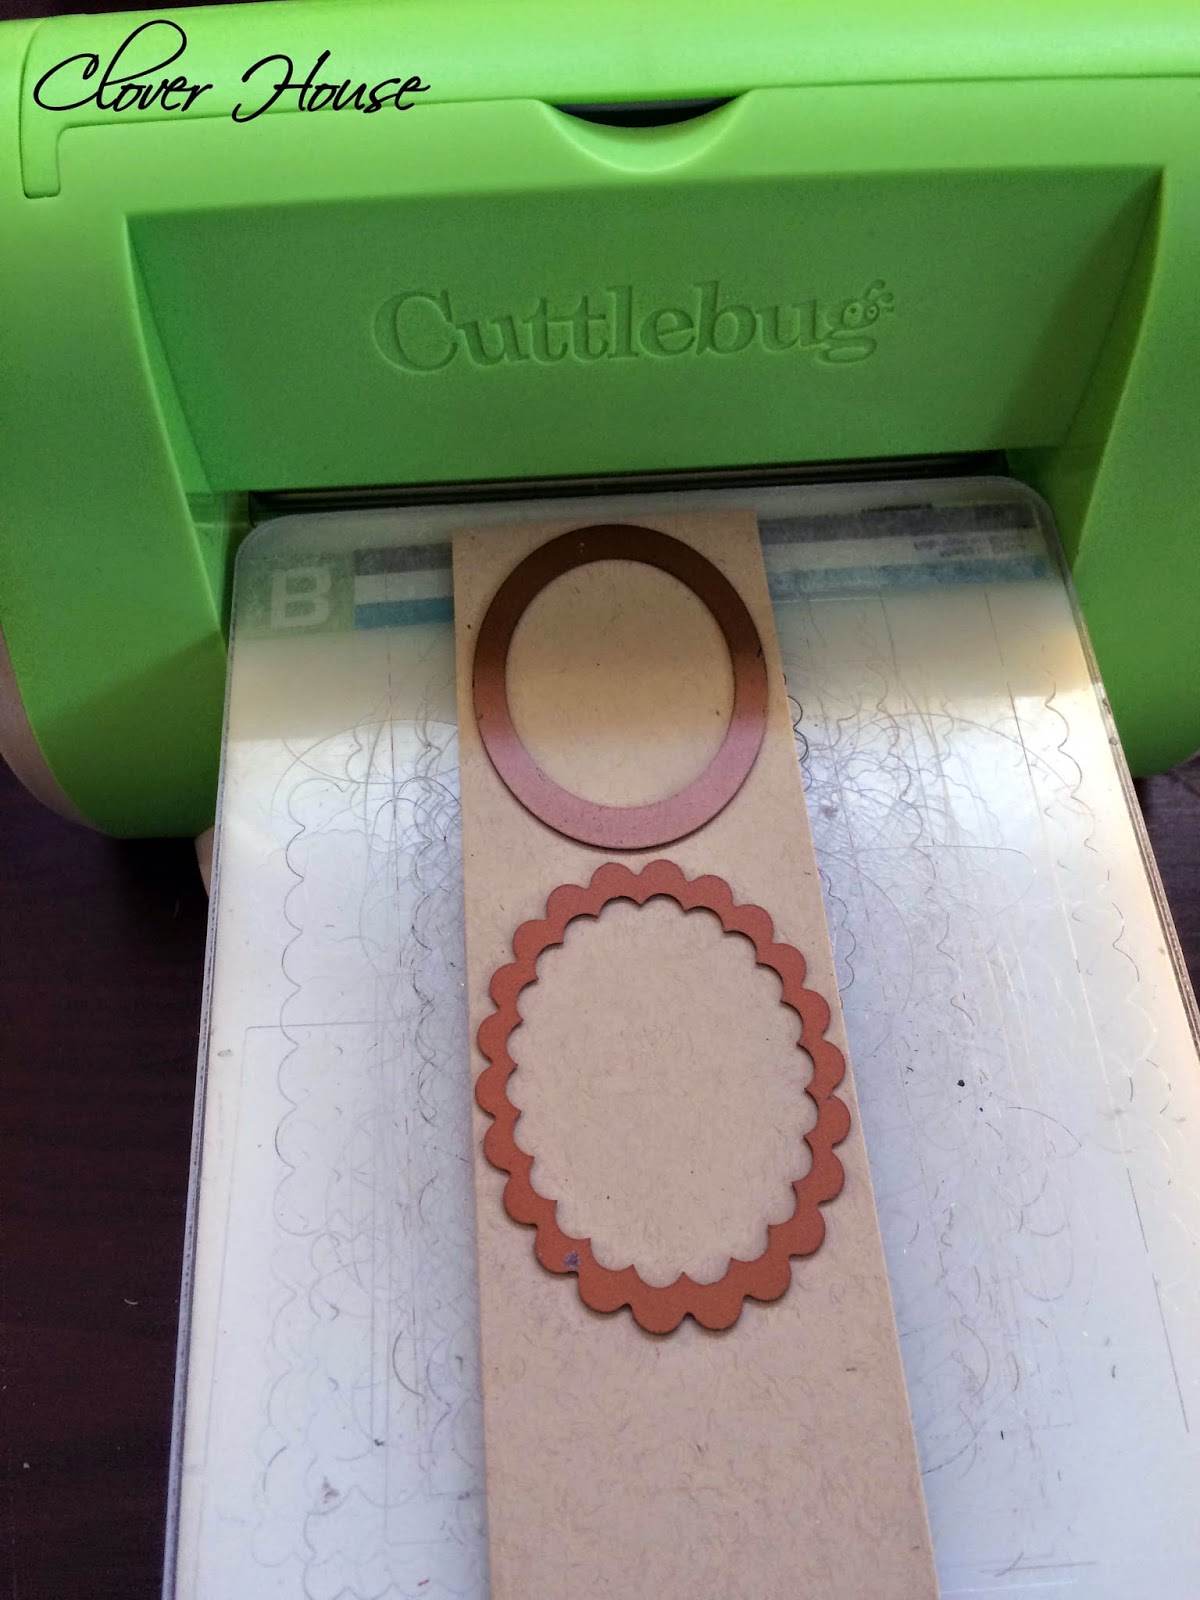
I used my oval Nesties with my Cuttle bug, a Kim Hughes stamp set, some leather cord, some leaf ribbon, Kraft card stock, a cheap 8 X 10 frame and some orange recycled paper (its a frozen dinner box). You can see how I originally made these pumpkins
HERE.
You will need 18 small ovals and 3 large ovals all cut out of the paper you choose to have your pumpkins from.
Using Kraft card stock and the larger oval cut one for stamping your sentiment and then one scalloped oval for backing the sentiment oval.
Now to make the pumpkins: I used Aleene's quick dry tacky glue for this project. It dries quickly, but also gives you enough time to adjust your pieces before they dry completely.
Place a small amount of glue on the inside edge of one oval piece like you see above.
Use one more oval piece to spread it around a bit and adjust it like you see above.
Take your third oval piece and add a line of glue right down the center like you see above.
Place it right on top center of the other two and adjust to your liking.
Lastly add your stem and leaves. I used leather cord for the stem and the leaf ribbon for the leaves. Two leaves for the large pumpkin and only one for the smaller ones.
I used Tim Holtz Distress Ink in Walnut Stain for my sentiment. Just center it best you can on the large oval.
Now adhere it to the large scalloped oval.
I used a 5 X 7 piece of Kraft card stock to adhere all the pumpkins and sentiment to. Space them evenly like so. Glue each one in place.
You can add more to this art if you'd like, but I chose to keep mine plain and simple.
I love these little oval Nestability pumpkins made from recycled card board. So cute!
Who knew frozen dinner boxes could be cute little pumpkins?
I used a chocolate brown piece of card stock as a mat for my creation and then added it to a frame I already had in my stash.
This would be an awesome gift for the person who is hosting your Thanksgiving dinner this year. They will think you're the most awesome crafter ever!
It doesn't have to be done all at once. It is a slow process in the works! C-ya next time!
I'm Linking to:
These lovely and FUN parties!
Between Naps on the Porch
DIY Home Sweet Home
We Call It Junkin


Love this project!! I pinned it :) Can't wait to use my cricut for something similar!! Thanks for sharing!
ReplyDeleteLindi @ www.lovecreatecelebrate.com