Showing posts with label Glamping. Show all posts

Sunday, September 28, 2014

Campfire Foil Packs

Recently we took a little 3 day camping trip to Lake Murray State Park in Oklahoma. It was beautiful and oh so peaceful!  While we were there we made this yummy recipe and I thought I'd share it with you.

These campfire foil packs are very easy to prepare and I believe you're going to love them as much as we do.  Oh and in case you aren't planning a camping trip anytime soon, these can be made at home on your grill or in the oven too.
First of all you need to decide what you want in your foil packs.  We chose smoked sausage (we like Eckrich skinless beef), yellow bell pepper, onion, zucchini, yellow squash, whole garlic cloves, salt and pepper.
Build your packet with the amount of goodies you think you need and top with a tablespoon of butter.
Fold up the sides of  your packets to form a good seal.  This keeps all the steam and juices in.  Place them on your campfire for about 20-30 minutes depending on how much you placed in your packs.  If you want to use your oven, it would be 350 degrees for about 30 minutes.  I marked our packs with H for hot and M for mild.  My honey loves his hot stuff, me, not so much!
Just look at this yumminess!  The combination of flavors is so good!  We made extras for the night we traveled home, that way I didn't have to cook after all the unpacking and such that goes on after a trip.  I've also made these at home and we had leftovers for lunches the next week.  Yum!
How about a few pictures of our trip?  If you follow my Instagram (ddcamp170) you've already seen these pictures, but if not.....you're welcome! :)  This is our rig just before we left our house early that morning.
This is our little camp site in the Oklahoma Lake Murray State Park in Cedar Cove, lot #10 to be exact.  The lake was just a rocks toss away.  We loved it!
The friends we met at the marina.  Can you see the giant fish in the water?  The marina had food to feed them too!  We went to the marina to purchase a one day fishing license for my honey, he loves to fish.
This is our first sunrise there.  I took this sitting on our "front porch" looking out toward the lake.  So quiet and peaceful there.
Here's my honey checking his minnow trap.  The Oklahoma minnows were way too smart for this trap, either that or they just were not hungry.  He never caught not even one even though there were thousands of them swimming around his feet.
And our final sunrise of the trip.  God's work is amazing isn't it?  We will definitely go back sometime soon.

It doesn't have to be done all at once.  It is a slow process in the works! C-ya next time!

I'm Linking to:
These lovely and FUN parties!
Between Naps on the Porch
DIY Home Sweet Home
We Call It Junkin

Pin It!

Sunday, March 23, 2014

RV Fridge Makeover with Chalk Paint

Our camper had a bit of damage to the fridge door.  It bugged me!  I fixed it...with chalk paint!  Everything is better with chalk paint, right?
I'm going to have so much fun keeping the camper themed chalk art on here!  There are so many cute ones out there too!
See the "T" shaped damage there? I think the previous owners must have taped something there and when removed, the tape took off the "wood grained" paper covering on the doors.  I fixed it in a flash using my chalk paint.
First, I taped off the parts I didn't want painted with some blue painter's tape.  Make sure you get a tight seal with your tape or you may have leaks where you don't want them.
Here's a trick I found on Pinterest.  Cover your paint tray with foil for faster clean up!  Love it!  I wish you could cover your brush and roller too! LOL!  I put down a drop cloth and wore gloves because I'm messy when I paint!
I applied the first coat of paint with the brush.  It didn't cover very well as you can see above.  I can still see the damage at this point too. Not good.
I applied the second coat of paint with the roller.  Much better this time but I can still see the damage!  Maybe one more coat?
All together I applied 3 coats of chalk paint, actually more over the damaged area, but if you look really hard, you can still see the damage a little bit. Darn it!  Well, its not glowing like it was before I started the process.
As directed, I waited 48 hours for the paint to cure and then I primed it by using a piece of white chalk.  Using the side of the chalk, rub the entire surface like you see above.  Remove the chalk with a dry cloth and you're on your way to creating your chalk art designs!
You can find lots of designs for chalk art on Pinterest.  I even have a board all about Chalky Love.  I also previously made a camping themed chalk board art HERE.
Since I created this art, we've gone camping with the kiddos.  Being that the fridge is right near the door, the art didn't fair too well.  Must be time for another design!

It doesn't have to be done all at once.  It is a slow process in the works! C-ya next time!

I'm Linking to:
These lovely and FUN parties!
Between Naps on the Porch
DIY Home Sweet Home

Pin It!

Saturday, March 1, 2014

Our "New-To-Us" Camper Repairs

Remember HERE and HERE when we remodeled our little popup camper?  Well, we upgraded to a 2005 Fleetwood Terry 27 foot camper and lets just say that it needed a little TLC after sitting unused for about 2 1/2 years.
There she is on the left, our new toy.  Our little popup camper, on the right, has already found a new home, a first time popup owner!  I snapped this picture on the day we transferred all our camping gear from old to new.  There are lots of little things to do to the new one, so it will be a while before she's just the way we want her.  We've already started fixing things here and there.
First off, one of the back end jacks had been damaged and needed to be replaced.
Quick work for my handy man honey!  He went ahead installed two new jacks on the back end simply because they came in a pair when we bought them. Very nice work honey!
Inside the camper I got to work cleaning and spiffing things up.  The previous owner left some type of frozen something in the freezer (from over 2 years ago) and oh em gee it smelled disgusting!  I cleaned it really good with windex with vinegar, but it still smelled really bad in there.  I placed a box of soda inside with the door shut to see if that helped....NO.....it did not!  Now I have it propped open to try and see if that will work. So gross, that smell!  Any ideas?
This is the freezer, where the stinky crime happened.  The finish on the bottom did not fair too well.  My Daddy gave me some appliance repair paint to help stop the breakdown.  I'm hoping it works.
The ceiling near the air conditioning vent was a bit dirty with a really fine black dust, so I sprayed it down with windex and made it all sparkly white again.  I also wiped down the vent itself and cleaned the filter while I was at it.  I simply vacuumed it clean with our little shop vac.
This was happening in a few places throughout the camper.  This is over the stove, so maybe the steam from cooking helped it along, but I'm not sure what the other spots excuses where.
This area in the kitchen had all turned a green color.  They used to be brown to match the rest, but now, not so much!
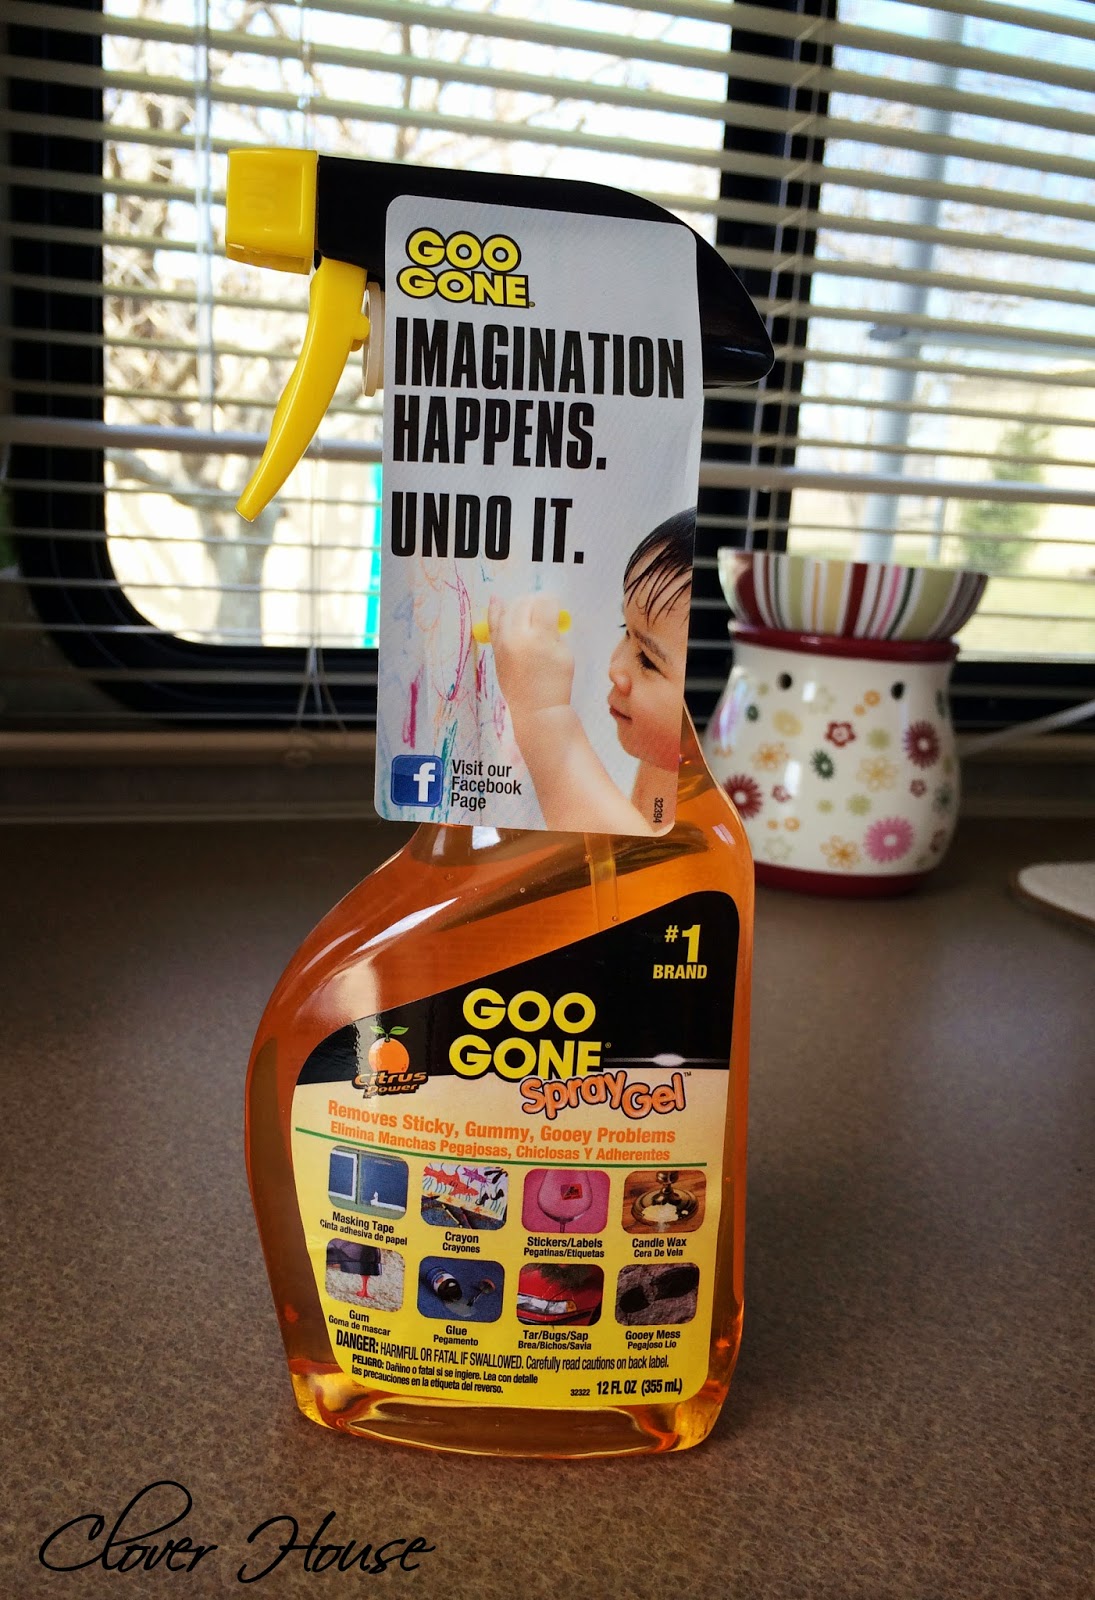
Long story short, I pulled all of the border paper off and used goo gone to clean off the adhesive left behind...very sticky adhesive.  I'm still working on that project, but boy does this stuff work well on it!
On the outside again my honey got to work with the pressure washer cleaning the whole camper so it would be pretty for our maiden voyage coming up in oh about 2 weeks! Woohoo!
This man is detailed I'm telling you!  Who would ever see the top of the camper?  Oh but it needed it so he could seal all the seams and around everything on the roof to prevent leaks.  He used Dicor Rubber Roof Lap Sealant in white It's specially made for RVs.
Um eeeew!  That's a lot of grime on there huh?  Not anymore!  He made it look like new again!  He used marine and RV concentrate soap from Lowe's along with the pressure washer to make it look new again.
Back inside, but time for my honey's skills.  The kitchen faucet leaked really bad when turned on, so he replaced it with a nice new one we picked up at Lowe's.  He had to drill a hole for the sprayer because this faucet was a bit different installation than the original one.  He used a small hole saw to drill the hole and then I used the shop vac to clean up the mess.  Easy!
So very nice now and guess what? No more leaks!  You know, its almost like home in there now!  Thank you honey!  Well, that's all I have for you this time, but stay tuned for more camper updates coming soon!  We are trying our best to bring our new toy into the year 2014. Lots to do!

It doesn't have to be done all at once.  It is a slow process in the works! C-ya next time!

I'm Linking to:
These lovely and FUN parties!
Between Naps on the Porch
DIY Home Sweet Home

Pin It!

Sunday, June 9, 2013

Chalkboard Art for Camping

We're still working on the kitchen remodel, its a big job so we'll be in there for a while.  The cabinets are on the "to-do" list right now and since we are using our existing cabinets and re-working them, we've ran into a few snags we are trying to work out,  Maybe next week I'll have some pictures for you to see!  Check out my Instagram link on the right for some sneak peeks!
On to today's subject. I decided to decorate our little chalkboard with a new subject.  Camping!  We haven't gone camping as much as we've wanted to, but we will get there some day.  This is what I'm thinking all the time...Let's go camping!
I even added the little ham can camper that I'd love to have some day.  They are so cute and it would be so much fun to restore one and go camping in it!
See the blue chalk outline around the word camping. It made a huge difference in the look of my final art piece.
Here's the before look that I stared at for about a week thinking something was missing.  It just needed something else to make it look finished.  The "m" and the "p" were not separated and it was bothering me.
I like it much better outlined.  It makes the letters more defined and also highlights the main subject of the art.  I think I've told you before that I have a hard time erasing these chalkboard creations, but this one may be even harder to do!

It doesn't have to be done all at once.  It is a slow process in the works! C-ya next time!

I'm Linking to:

Sunday
Under the Table and Dreaming by Stephanie Lynn
, The Self Sufficient Home Acre , The Chicken Chick
 
Monday
Craft-O-Maniac, Between Naps on the Porch, DIY Home Sweet Home
, Keeping it  Simple , The Dedicated House, Skip to my Lou
Married Filing JointlyHome Coming
 

Tuesday
Not Just a Housewife, My Uncommon Slice of Suburbia,  Sugar Bee CraftsNew NostalgiaIt's your Life, 
BeBetsy

Wednesday
Lil’ Luna, Clean and Scentsible, Lady Behind the CurtainFamily Home and Life,  Ducks n a Row, 
VMG206

Thursday
 Bloom,  Two Yellow Birds DecorThe Busy B'sThe Taylor House.  52 Mantels,  Domesblissity,  Redfly Creations,   4 You With Love

Friday 
Tatertots and Jello,  Five Simple Things,  Craftionary,  Diana Rambles

Saturday 

Angels HomesteadPositively Splendid,  I Heart Nap TimeOr So She Says Your Homebased Mom What's Cooking with Ruthie 

Pin It!

Sunday, May 5, 2013

RV Remodel on a Budget - Floor Update

As promised from last week's post we have our pop-up camper floor remodel to show you!  It makes such a huge difference in the look of the camper.  We love how it turned out!
We went from the 80s to 2013 in just about 5 hours.  It actually took a lot longer than we expected, but it was well worth it.
Our camper is 11' x 6' but the floor of course is much smaller than that, so we purchased 2 boxes of the peel and stick flooring just to be sure we had enough.  It's the cheapest brand at Lowe's and it cost about $30 per box.  We used one full box and a quarter of the second one.
We simply followed the package instructions to install the flooring.  First of all you need to clean the floor really well.  Vacuum first.
Using a handheld sander, remove the shine from the original flooring.  This helps the new flooring to adhere better.  Of course you'll need to vacuum again to remove the dust.
Next we used a mixture of vinegar, original dawn dish soap and water to clean the floor before we started applying the new flooring.  Mix 2 cups warm water, 1 cup vinegar and 1 teaspoon of original dawn dish soap.  Let the floor dry well before starting your installation.
First find the center of your "room" and mark it for your starting point.  We used a laser level to mark our starting line so the floor would start out straight and end up straight.
The back of your tiles will have an arrow marked on them.  Make sure you keep your arrows all going in the same direction when laying your tiles.  If they don't all go in the same direction, it will cause the flooring to have noticeable variations in the overall "look".  We used a sharpie and wrote directly on the old floor to mark the direction of our arrows to remind us.
We chose to stagger the tiles to give it a more natural look.  This caused the job to take much longer due to the fact of having to measure and cut tiles and make sure the butted lines were not all going to end up exactly the same.  Also, as I've said before, my honey is a perfectionist and it HAS to be perfect!  I love that about him!
Cutting the tiles are easy.  Simply mark your straight line in pencil and cut with your kitchen scissors.  NOTE: You will need to clean your scissors with alcohol to remove the adhesive when you're finished.
Here are a few before and after pictures showing the awesome difference a little peel and stick tile made in our tiny little pop-up camper!
We love, love, love how it turned out!  There was lots of tricky curvy parts that took some crafty planning to cut the tiles and get them laid just so, but in the end it was very rewarding to see the final look!
My honey finished off the floor by installing some trim around the floor/walls to complete our little RV floor update.  Now we are contemplating recovering the seat cushions.....what do you think?

It doesn't have to be done all at once.  It is a slow process in the works! C-ya next time!

I'm Linking to:

Sunday
Under the Table and Dreaming by Stephanie Lynn
, The Self Sufficient Home Acre , The Chicken Chick
 
Monday
Craft-O-Maniac, Between Naps on the Porch, DIY Home Sweet Home
, Keeping it  Simple , The Dedicated House, Skip to my Lou
Married Filing JointlyHome Coming
 

Tuesday
Not Just a Housewife, My Uncommon Slice of Suburbia,  Sugar Bee CraftsNew NostalgiaIt's your Life


Wednesday
Lil’ Luna, Clean and Scentsible, Lady Behind the CurtainFamily Home and Life,  Ducks n a Row


Thursday
 Bloom,  Two Yellow Birds DecorThe Busy B'sThe Taylor House.  52 Mantels,  Domesblissity

Friday 
Tatertots and Jello,  Five Simple Things,  Craftionary,  Diana Rambles,  Rooted In Thyme
Saturday 

Angels HomesteadPositively Splendid,  I Heart Nap TimeOr So She Says Your Homebased Mom What's Cooking with Ruthie 

Pin It!
01 09 10