If you've been following me for a while, you've seen me make a sign like this one before. If not,
click right here to see it.
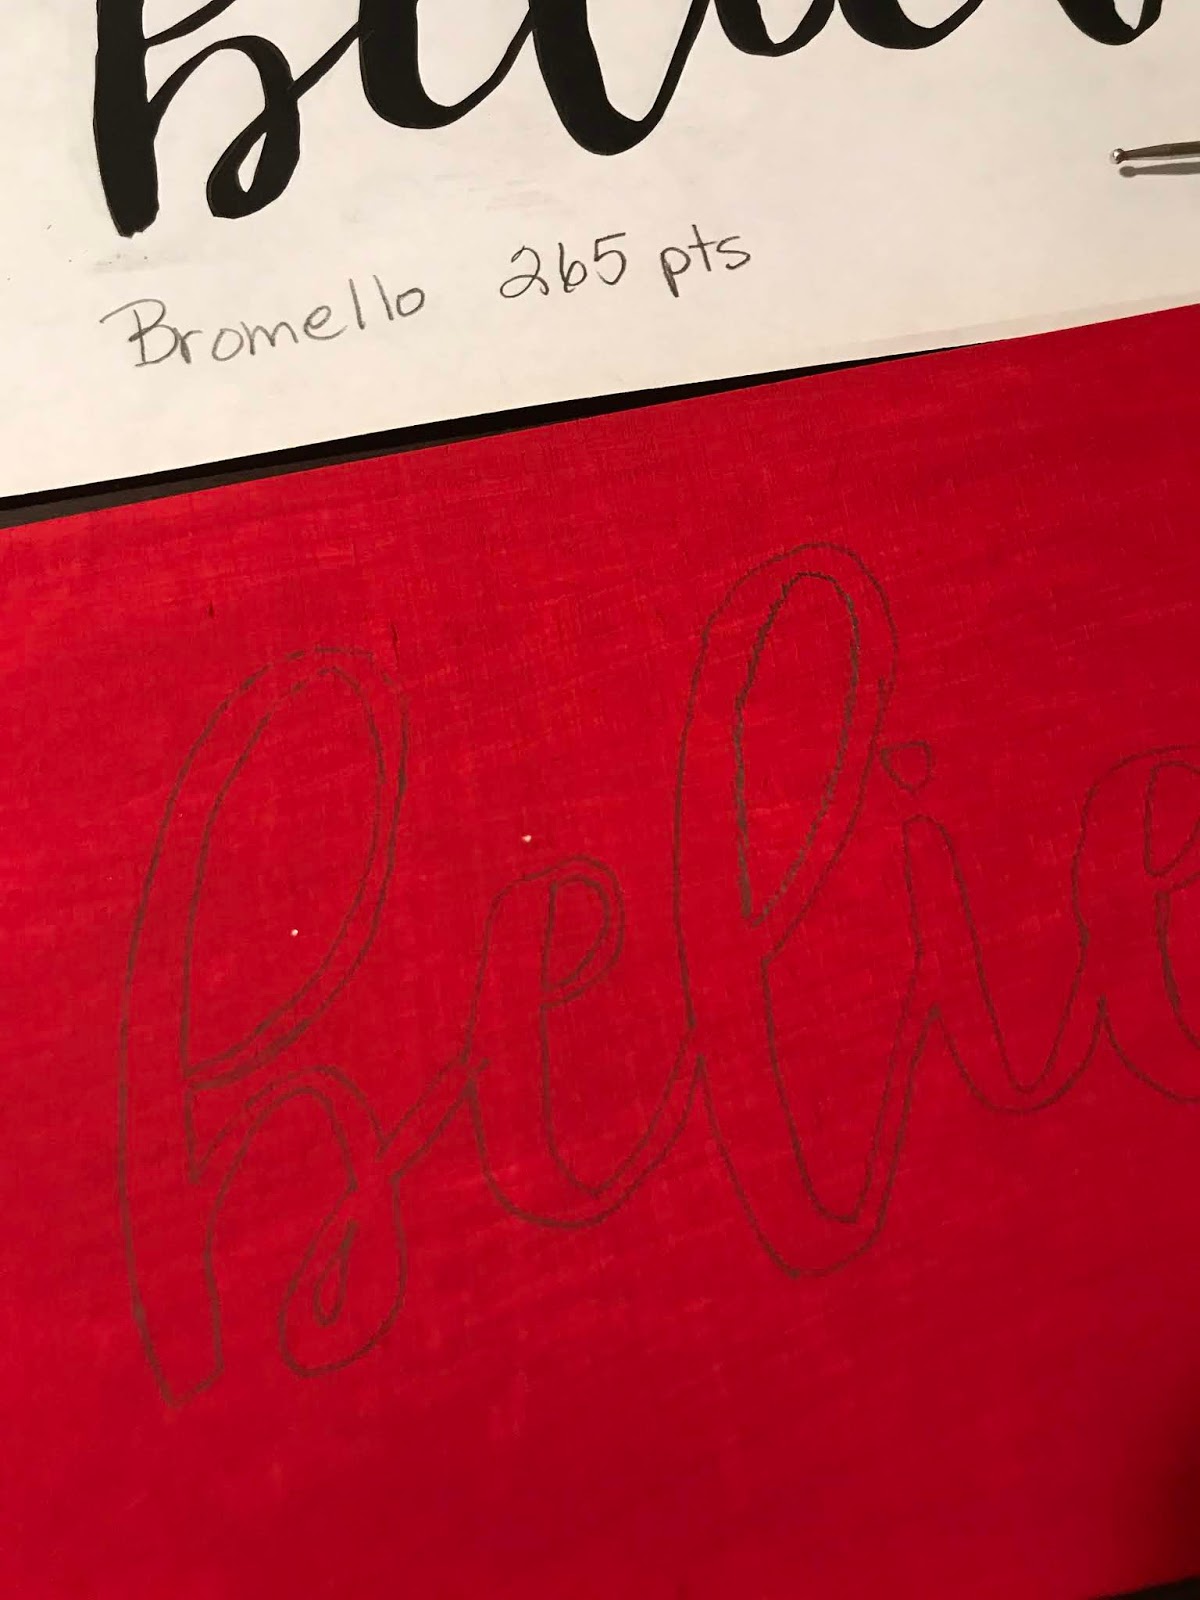
I'm in love with the Bromello font, so I used it again to make this believe sign for Christmas.
My piece of board is 13" wide x 6" tall and maybe a 1/4" thick. Its just a scrap board that my uncle gave us a while back. Using
my home printer, I printed out my word using the Bromello font, setting it at 265 pts for the size. This fit my board perfectly.
First, using my
chip brush, I grabbed some
red acrylic paint and painted the entire board (font side only) and let that dry really well.
While my paint was drying I went ahead and grabbed a pencil and on the back side of the print out, I covered the entire word with pencil like above.
Carefully, using
washi tape, I added the printed word with pencil scribble to the front of my painted board. I used my
embossing tool to trace the entire word. You can use the same pencil you used for the back if you don't have an embossing tool.
When you've traced the whole word, remove the paper and you should have an outline like this.
I used a
fine tip brush and white acrylic paint to fill in my word. This is tedious and it takes a while, but its so worth it in the end.
GO SLOW and take your time. Turn the board as needed to keep from getting your hand in the wet paint.
When you're done it should look like this. What I like about the Bromello font is that its not perfect to start with, its a bit jiggly already, so if you're painting skills aren't perfect, you've still done a great job! :)
After I made sure the entire painted area was dry (I waited about 1 hour) I took it out to the shop and distressed it with some
fine grit sand paper. I just grabbed a used piece of paper and a scrap 2x4 block and got to sanding.
Now its distressed like I like it. You do not have to do this step if you don't want to, its just how I like it. I got a damp paper towel and wiped all the dust off after I sanded it.
If you loved this project and want to save it for later, be sure to pin it to your favorite Pinterest board.
Want to see more Christmas Ideas? Click on the links below.
It doesn't have to be done all at once. It is a slow process in the works! C-ya next time!
I'm Linking to:
These lovely and FUN parties!
Between Naps on the Porch
The Dedicated House - (I was featured


Looks beautiful.
ReplyDeleteThank you so much! I hope you had a wonderful holiday! :)
Delete